Note: I realize that many of you are experienced book makers and art journalers. However, this tutorial will make no assumptions about where you are at in your path. It is written for anyone, even those with little or no experience. You are welcome to follow exactly, or adapt it to your own skill level and needs.
For this tutorial you are going to make a colored background across a two-page spread in your art journal.
Simple Background 2
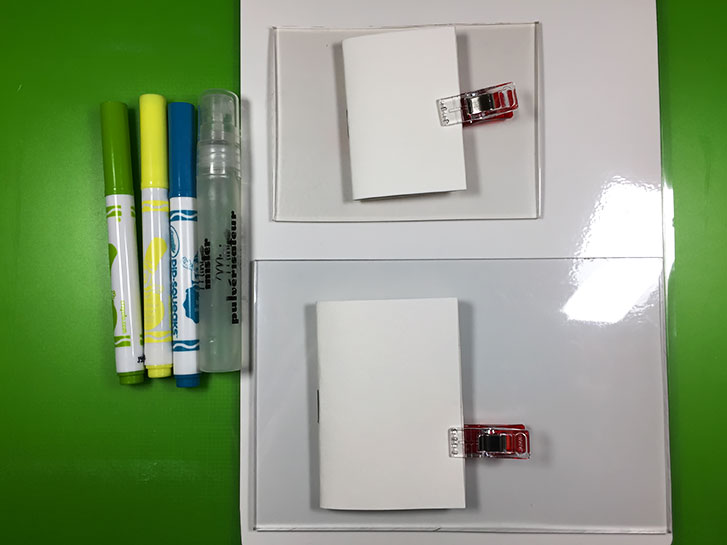
The materials you will need are:
- Scrap paper
- Your Art Journal, a clip
- Water-based markers
- water
The tools you will need are:
- Something to protect your desk from color and water
- Flat piece of clear plastic, slightly larger than a double-page
- spread in your book
- Small mister filled with water
Optional things you may want:
- Washi tape
- A plastic mat or other item to protect your work area
- Apron so you don’t get ink on your clothing
- Paper towels
Here are the steps for creating a simple background.
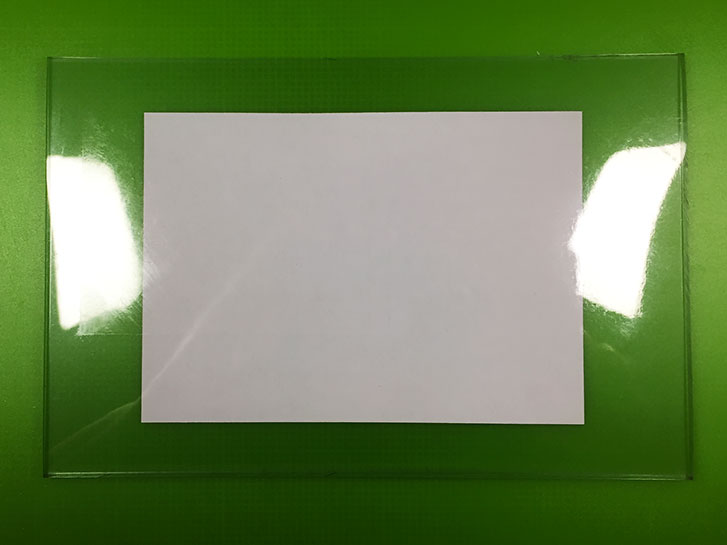
Note: I am using a sheet of clear carve, used to make your own carved stamps. You can get it on line and at most full-service art supply stores. I like it because it is thick and heavy, and doesn’t move around on my desk.
If you are using packaging plastic, you may need to use washi tape to keep it from scooting around. Just tape down one edge to whatever covering you are using to protect your desk.
Cut a piece of scrap paper the size of a double page spread of your book. Center this template under the plastic.
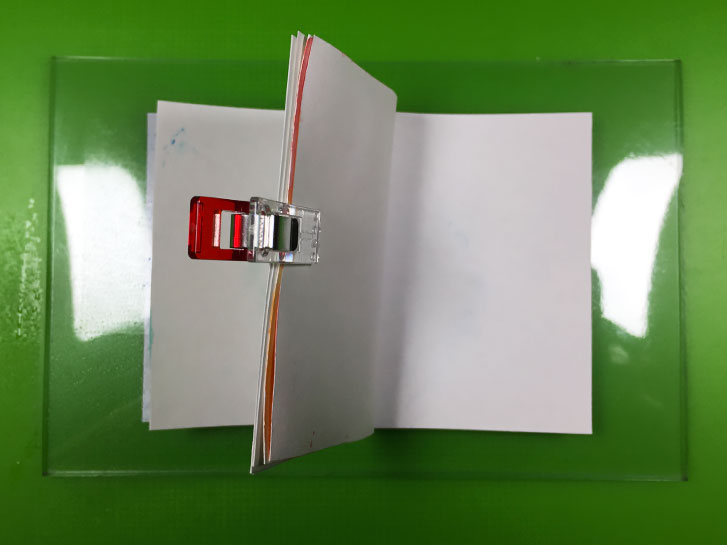
Skip the next 2-page spread in your book. You will be making this background on the next layout after the skipped one.
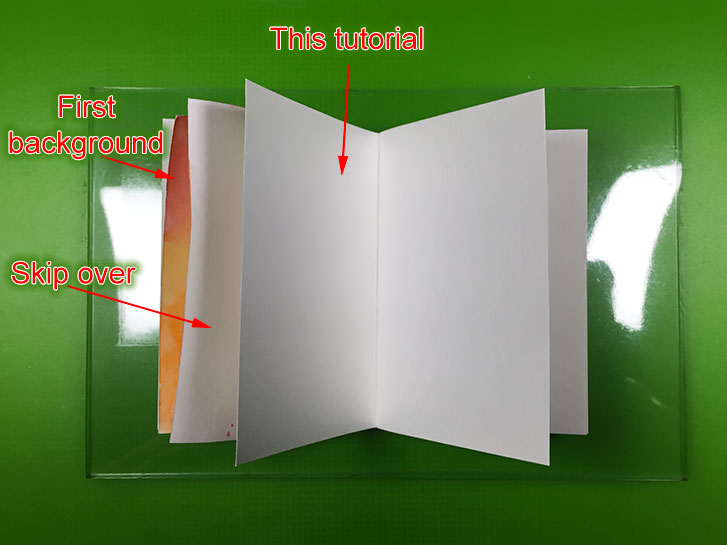
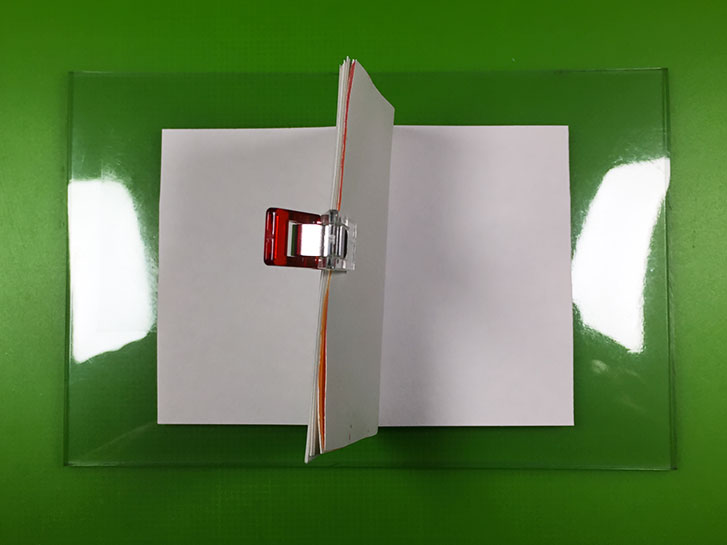
Flip the book to the outside and fold up the parts of the book you are not using to make a handle. Hold in place with the clip.
Use your markers to scribble color onto the piece of plastic, keeping your scribbling in the area of the white template.
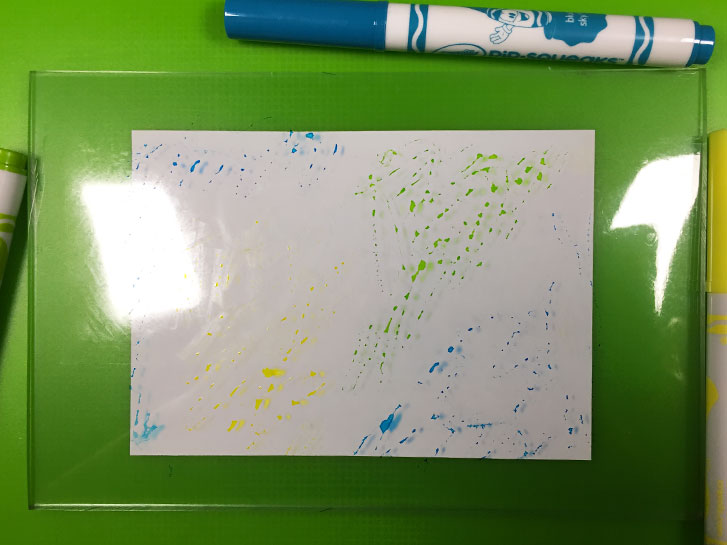
Using the misting bottle, mist the area you’ve scribbled on. Don’t make it sopping wet, just a few pumps will usually be enough.

Carefully, using the handle you made from the book pages, place your double-page spread face down on the inked plastic.
Rub gently to spread the color around and let set for a few seconds. Remove the book from the plastic.
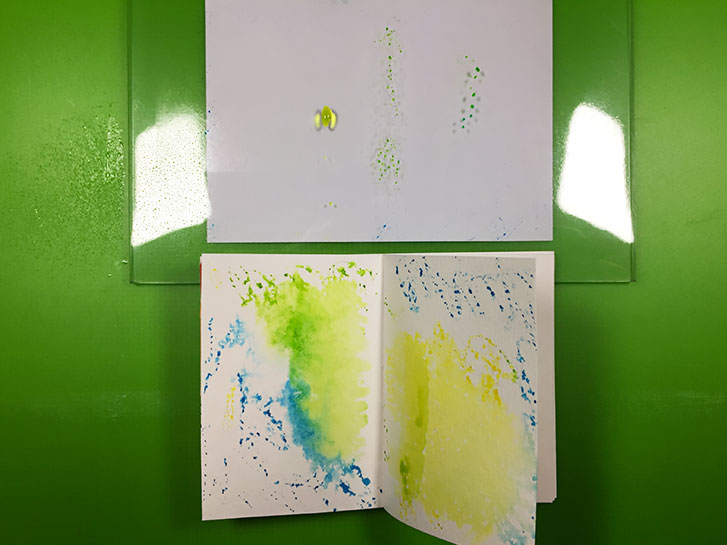
If there is still more wet ink on the plastic, you can rotate your book around and stamp it on the plastic again.
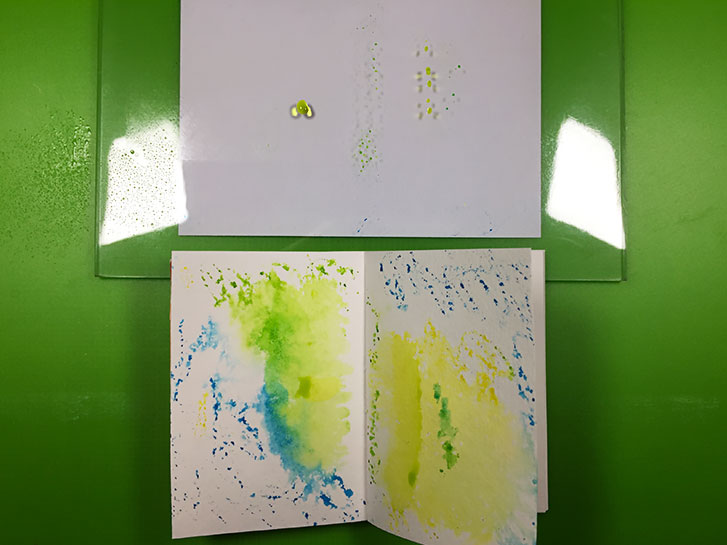
Let dry.
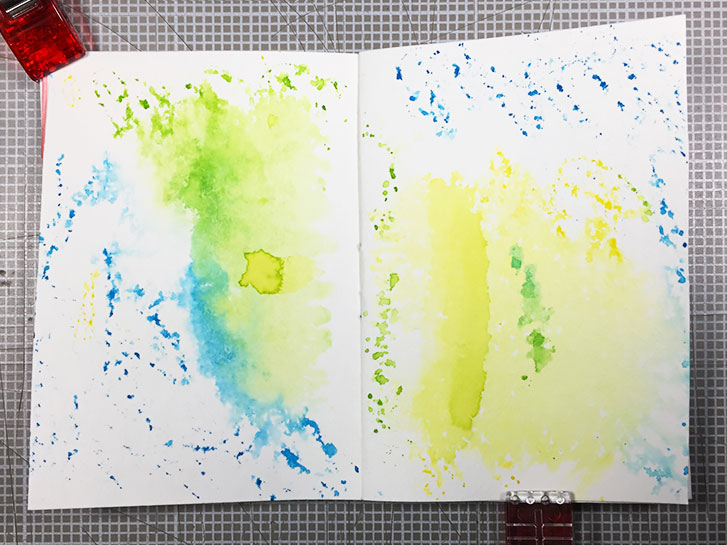
Congratulations! You’ve created the second background in your micro art journal!
If you would like to join a group of fellow art journalists, follow along with these and other tutorials, and show off your work, you can find this and more in the Micro Art Journal group on Facebook!
#microart #microartjournal #miniatureartjournal #miniartjournal #miniatureart #tinyjournalnation #allthingstiny #allthingsminiature #microartjournaling #tinyartjournal #travelersnotebook