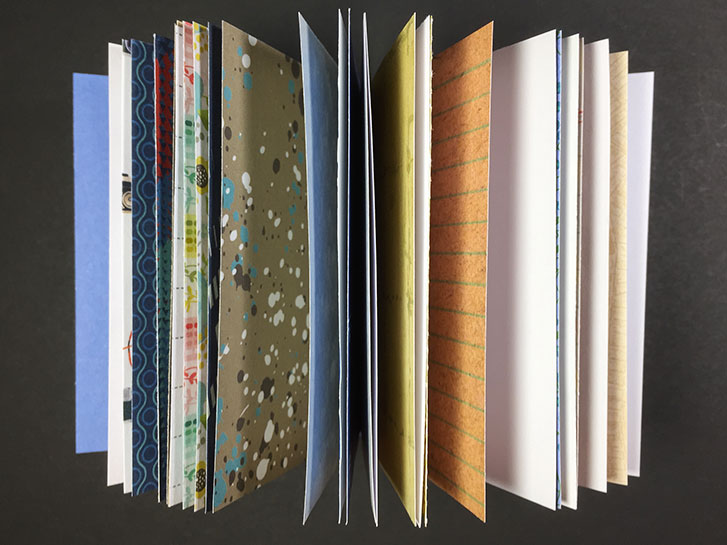
In yesterday's post , I showed you how I was changing a small book into a type of junk journal. Today, I’m continuing with how I created the new book. We left off with cutting out a number of new pages from all different kinds of paper.
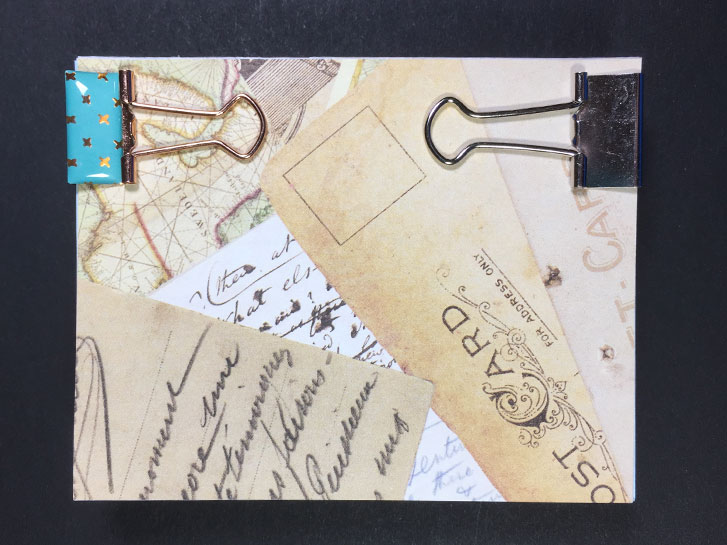
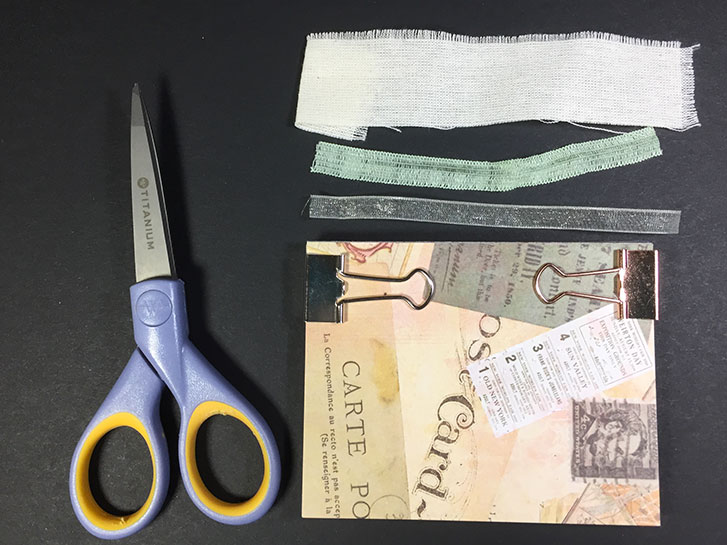
The next step is to stack up all of the pages, and align them at the spine. Then use clothes pins or binder clips or something similar to hold all the pages tightly in space near the spine edge.

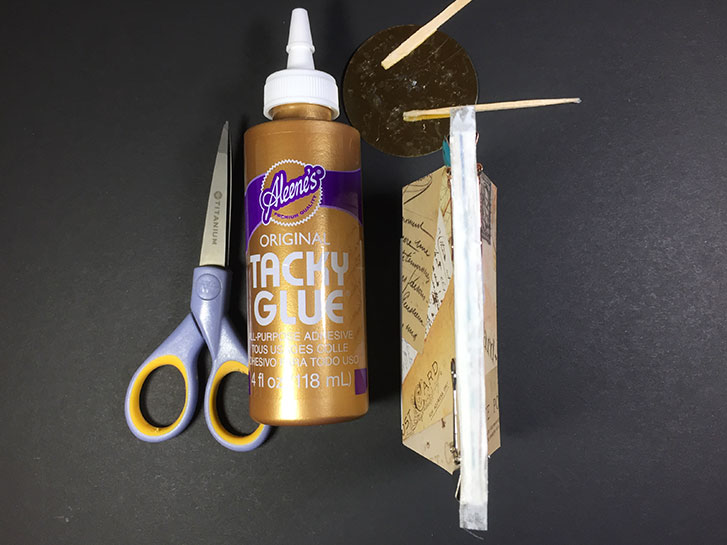
For the next steps you will need several coats of Tacky Glue , or other thick, white, PVA glue. You will also need a toothpick, skewer or some other tool to help spread the glue.
Stand the pages up with the spine at the top. Spread a thick coat of glue over the entire spine. Make sure you go all the way to the edges on the side so that all the pages are locked together by the glue. Be careful to not let glue get onto the top or bottom edge where it might stick individual pages together making it difficult to turn them. Let this layer of glue dry completely.
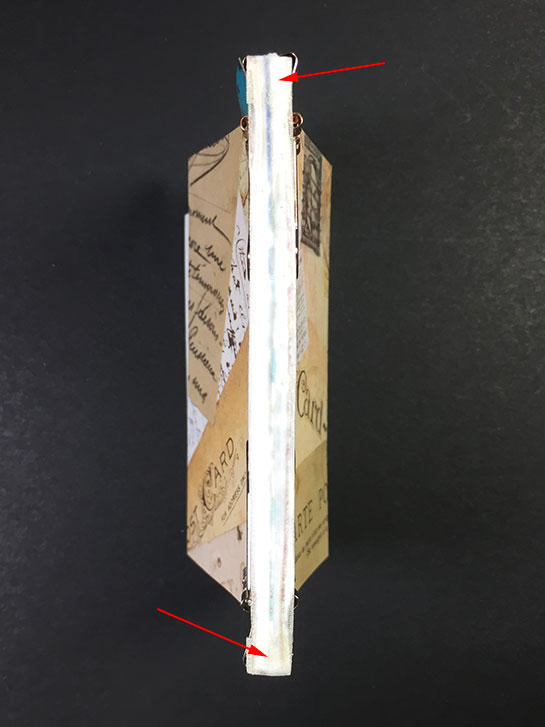
I like to use a piece of netting, thin gauze, or muslin for this next step. Cut a piece that is the same width, but about 1/4 inch longer at the top and bottom than the spine. Attach this with another thick layer of white glue that completely covers the spine. There will be 1/4 inch hanging off the top and bottom. Allow the glue to dry completely.
Add another layer of glue, this time folding over the ends of the ribbon and gluing them down against the spine. Allow the glue to dry completely, preferably over night.
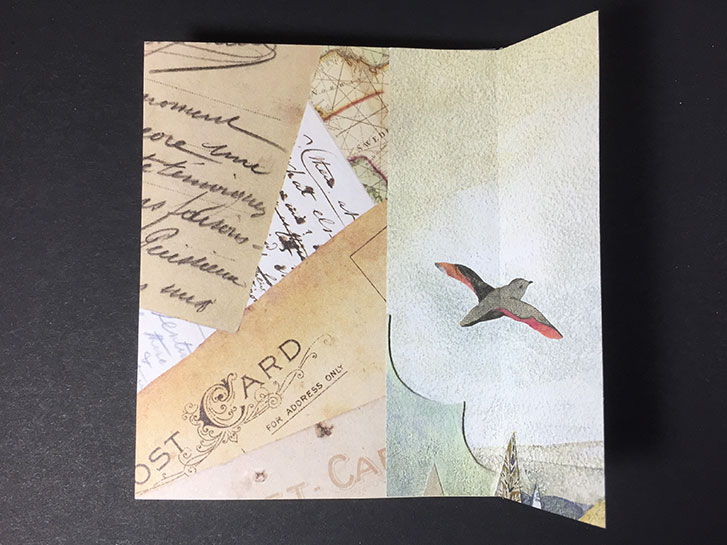
I saved the first and last endleaf paper, and cut it into strips to use to attach the pages back to the cover. As an alternative, you could use a double-page size piece of paper of your choice.
Whichever you choose, fold the paper in half. Prefolding will make this next part easier.
Glue one side of the folded paper to the stack of pages (see picture above). Make sure your glue goes all the way to the edge of the paper! Wipe off any glue that is exposed on the paper or the top and bottom edges. If glue squishes out onto the spine, it should be fine. Allow to dry completely.
Repeat this process on the back side of the stack of pages. Again, allow the glue to dry completely.
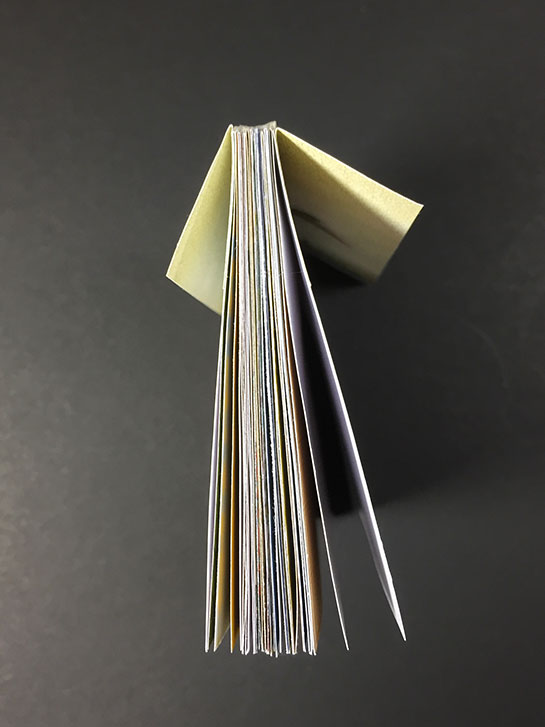
When the glue is dry, and you look at the block of pages from the top, it should look similar to the image below.
For this next part, you will need 4 binder clips. Before you do any gluing, you will need to clip the back and front to the book cover to make sure it is centered properly.
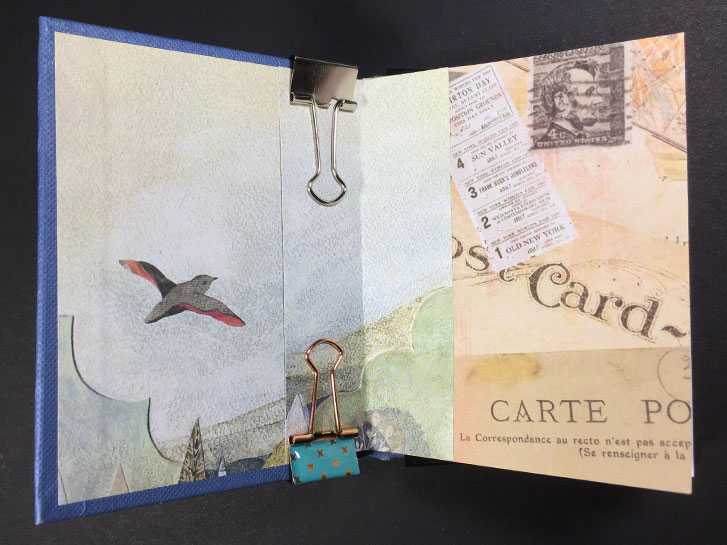
The fold of the new paper you’re adding should be right where you cut out the original pages, at the cover.
Note: You may want to read the rest of these instructions before you start gluing.
Line up the front paper and clip it in place near the spine of the new pages. Repeat this on the back cover. You may have to go back and forth, adjusting the placement of the front and back until everything is lined up.
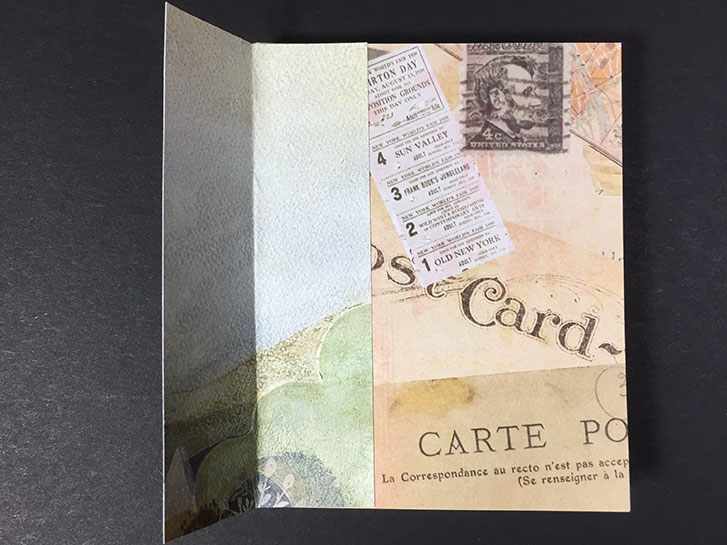
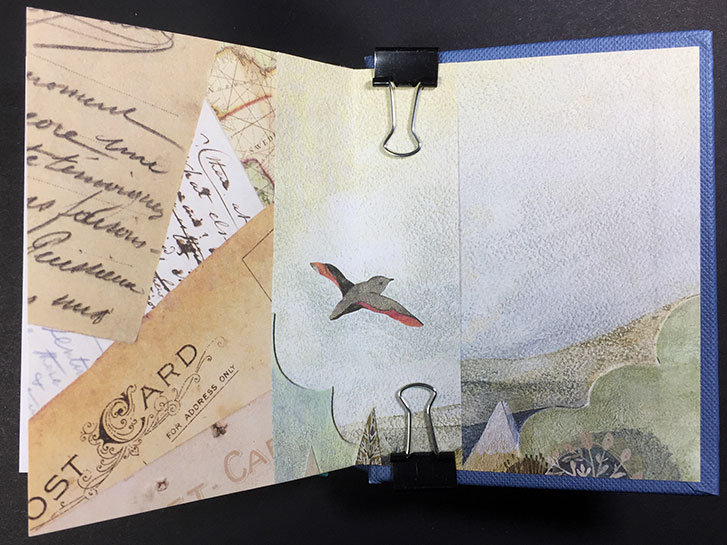
When both sides are correct, look carefully at the paper alignment for the front. Remove the clips, and glue the paper in place. Allow the glue to dry completely.
Repeat this process on the back cover. Allow the glue to dry overnight before manipulating the book.
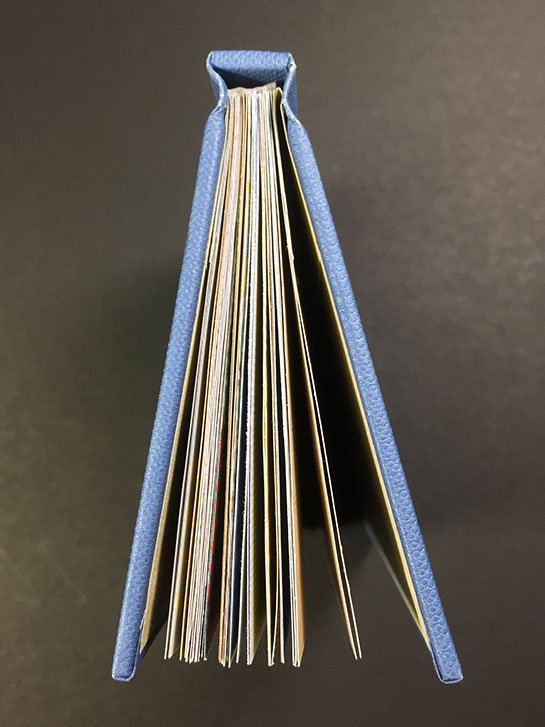
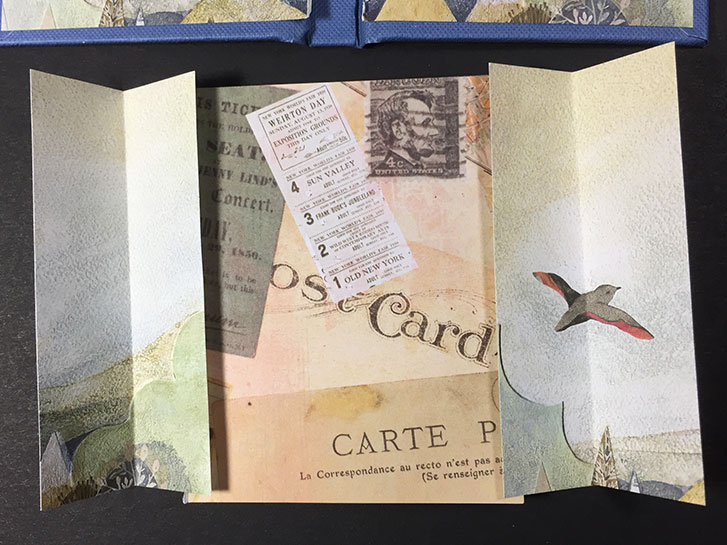
In the image above, you can see the position of the spine of the pages in relationship to the book cover. You will notice that mine is a little bit crooked. That is the way it ended up after the end papers were in the correct postion. I probably didn’t have the spine stacked perfectly. However, this had no discernable effect on how the book works.
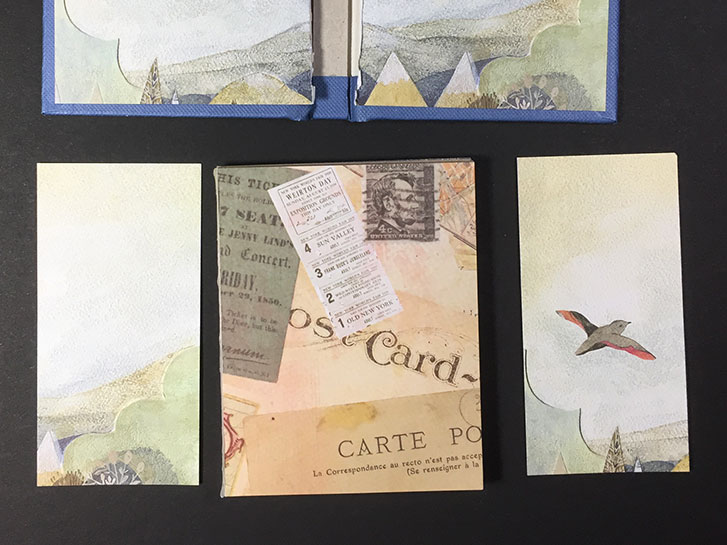
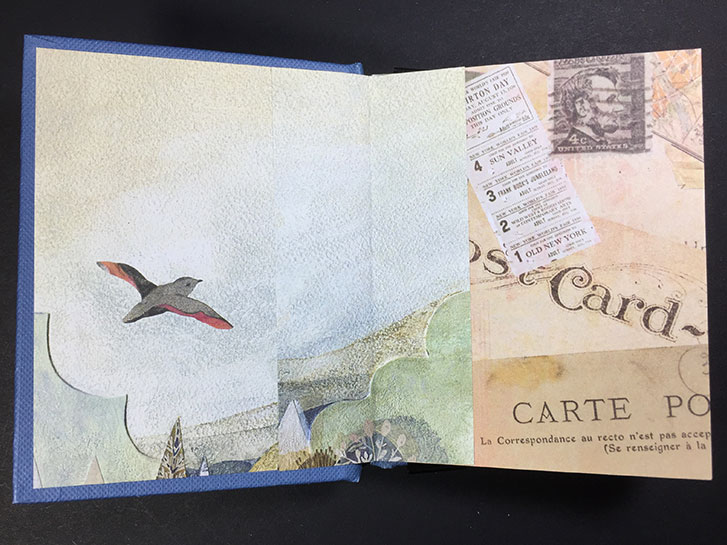
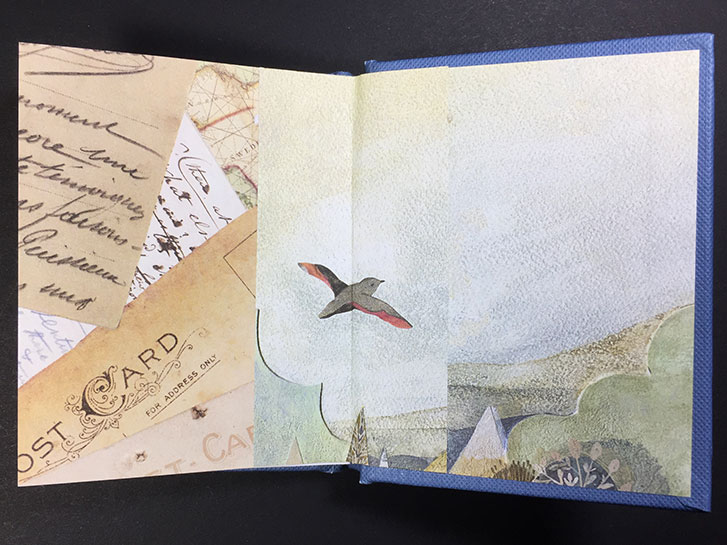
My book is finished! If you saw yesterday’s post, you can see that it still looks just like it did with the original, printed pages.
But now, it is filled with the papers that I chose. It’s all ready to add journaling, artwork, and designs of my choice!