I figured out, right away, when I first started drawing Zentangles that I would need a method for keeping track of how to draw specific tangles.
After a bit of experimentation, I settled on testing the pattern in a small sketch book. I could draw it once or several times, just to see if I could do it, and if I would like working with a particular design.
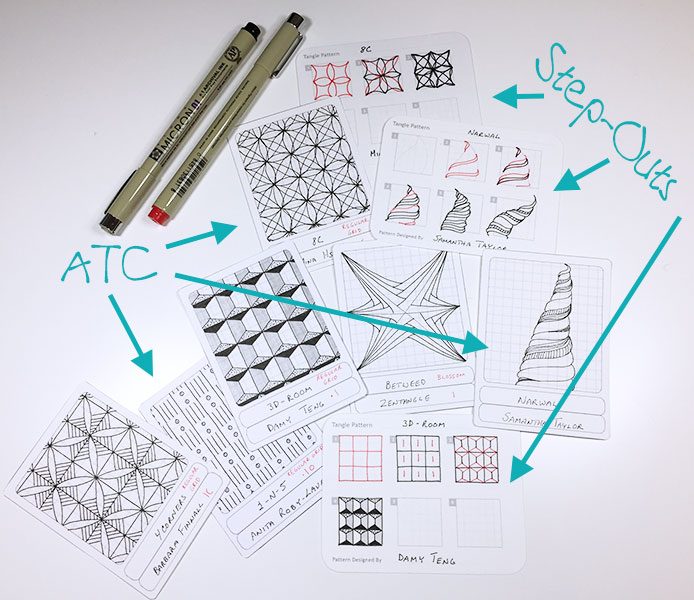
Then, I created “step-out” cards which illustrated each step in the process. I didn‘t think a lot about the size, just that they had to be around the same size as a playing card. I had a box that I though would hold them all, and I created an alphabetical index for it.
A couple of years later, I decided I wanted a “bigger picture” of what each tangle looked like. I chose to make those on ATC (Artist‘s Trading Card) sized cards because I could store them in plastic pages in a ringed binder. That allowed me to flip through my collection and choose tangles based on their appearance.
However this method has developed a few problems over time. There are currently 571 tangles in my collection. Occasionally I add new ones. The first problem is that my step-outs have grown into a second box, which makes them more awkward to deal with!
The second problem comes when looking through the ATCs. If I find a tangle I like, but don‘t remember how to draw it, I need to pull the step-out card… and now I have two loose cards to keep track of!
The third problem is that, over time, I‘ve learned more about how different strokes make up specific tangles, and how tangles are classified by their structure. My card system doesn‘t offer any easy way to keep track of this information!
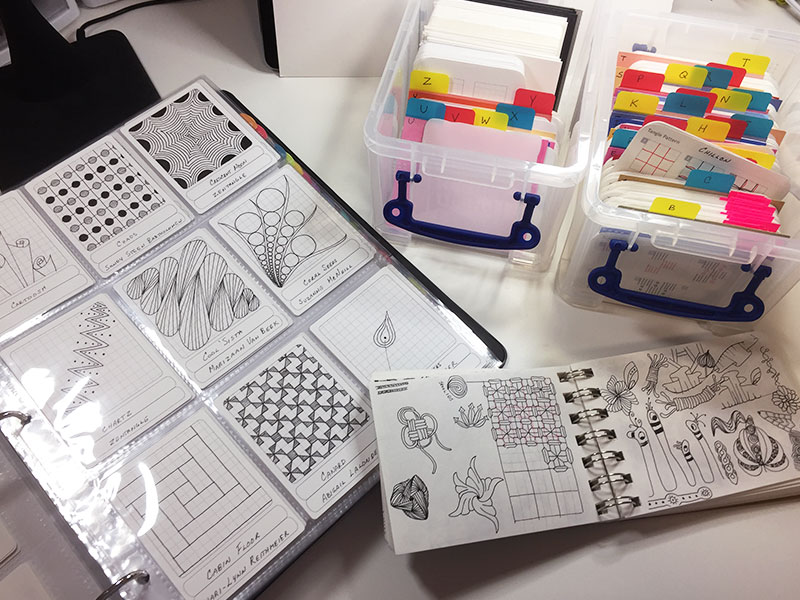
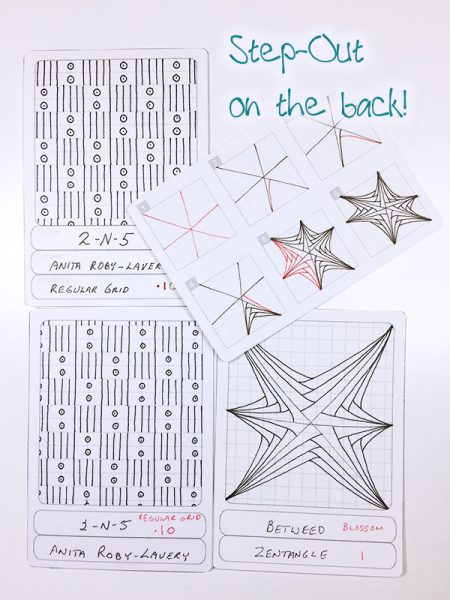
Here you can see individual cards, and get a feel of what my desk often looks like when I‘m working on a Zentangle.
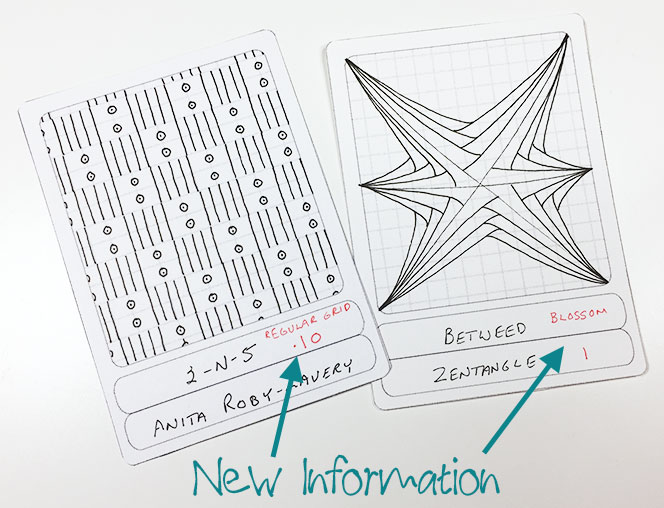
You will notice new information that I wrote in red on some of the ATCs.
It‘s time for a change.
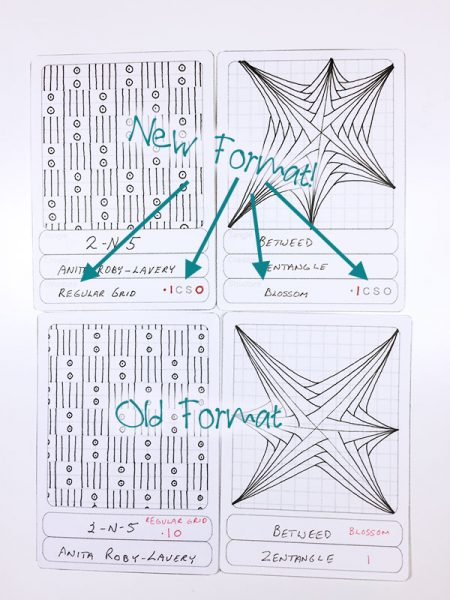
I redesigned the ATC so that there is an additional section for writing in the structure and the stroke(s).
Then I eliminated was the need for two different cards. It‘s a little more work to print, but now the step-out is on the back of the ATC! It actually worked out really well because the boxes to draw in turned out to be a bit bigger than the old ones, giving me more room to work in.
I no longer need the plastic boxes with the step-out cards. I will just use one of them to hold blank cards and Zentangle tiles and re-purpose the other one. That makes for less clutter in my work area. I will just use the 3-ring binder and store the ATC cards in the plastic pages. I can flip through the book and see what each tangle really looks like. If I need the step-out instructions, they are right on the back and I can see them by flipping the page! When I pull cards out of the book, they will be much easier to deal with because there is only one!
While I hope my method has been food for thought, each Zentangle artist keeps track of their tangles in a way that works for them. There is no “right” or “wrong” way to do it. Use whatever method works best for you!