I’ve been thinking for a while about trying to make a faux leather Traveler’s Notebook cover for my tiny art journals. I’ve been saving up brown paper grocery bags, thinking they might work if I glued a few layers together.
Then I saw a series of tutorials by Jolene Payne, from the Art Journaling for Beginners Facebook group. Her tutorial series is for using this technique and making many pieces, stitching them together and making a cover for a large book.
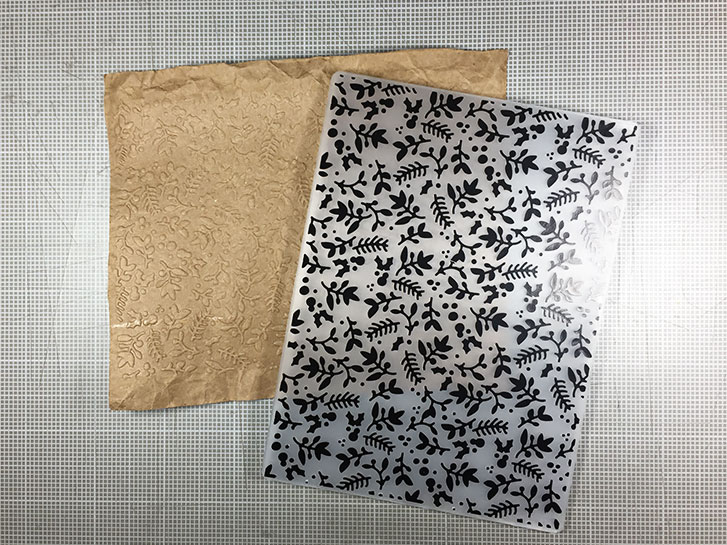
I started by cutting out pieces of the shopping bag that were larger than the final size I needed. I cut three of them.
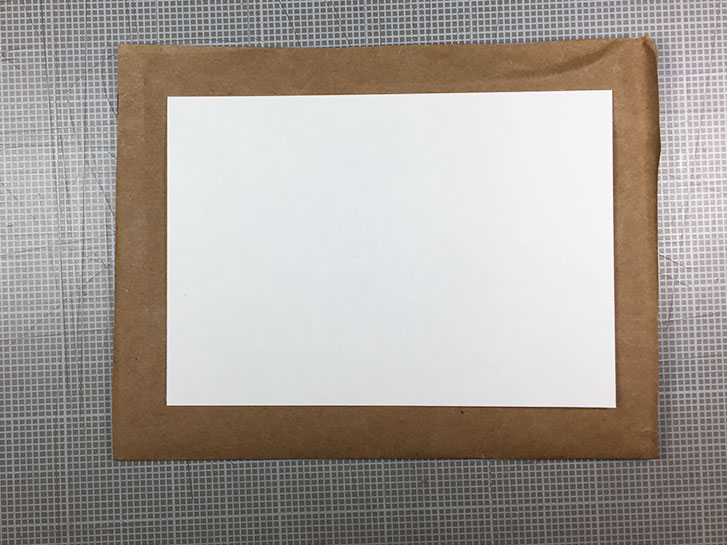
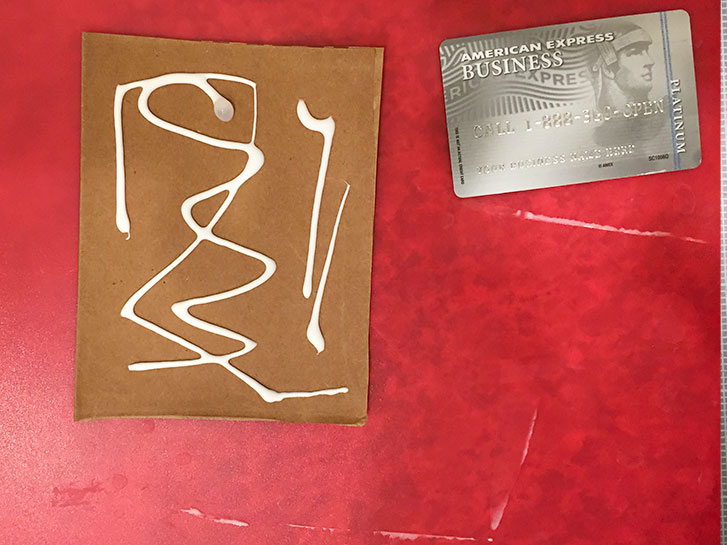
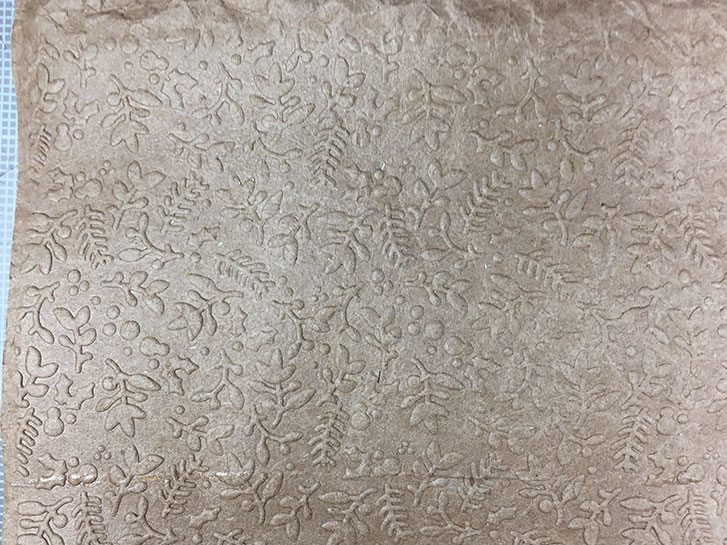
Then I glued the layers together with white glue. I just squeezed it out of the bottle, spread it around with a junk card that came in an advertisement.
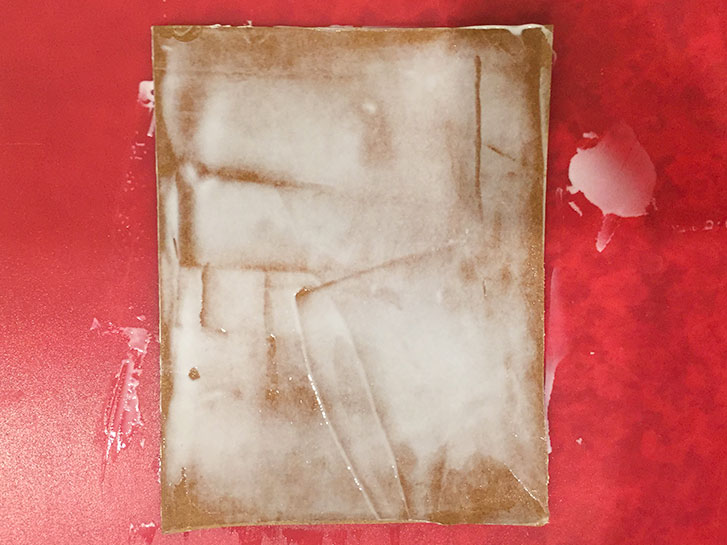
I used a brayer to flatten out the stack and then I let it sit for a while. While it was still a bit damp I ran it through my Sizzix in an embossing folder.
I let this dry over night, sitting on a bakery cooling rack, a raised metal grid. I put it on the rack so air could circulate on both sides, since it was really damp.
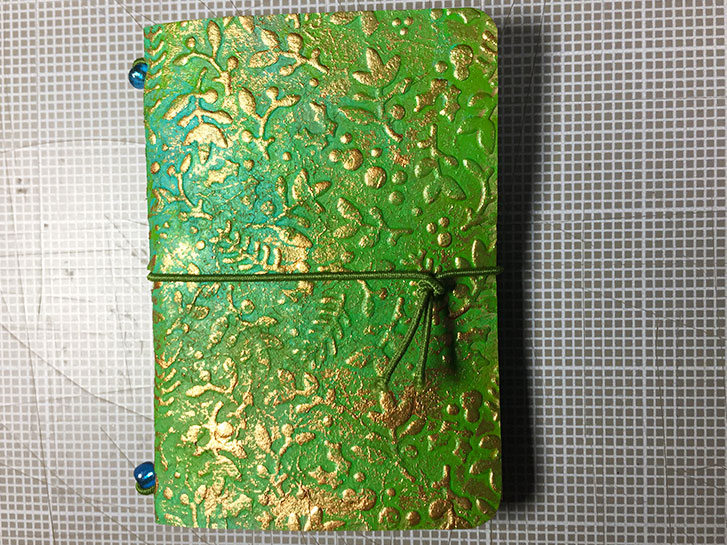
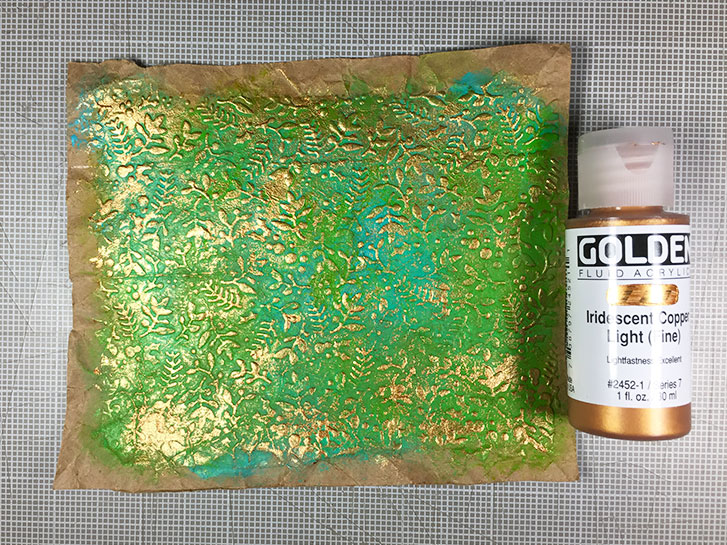
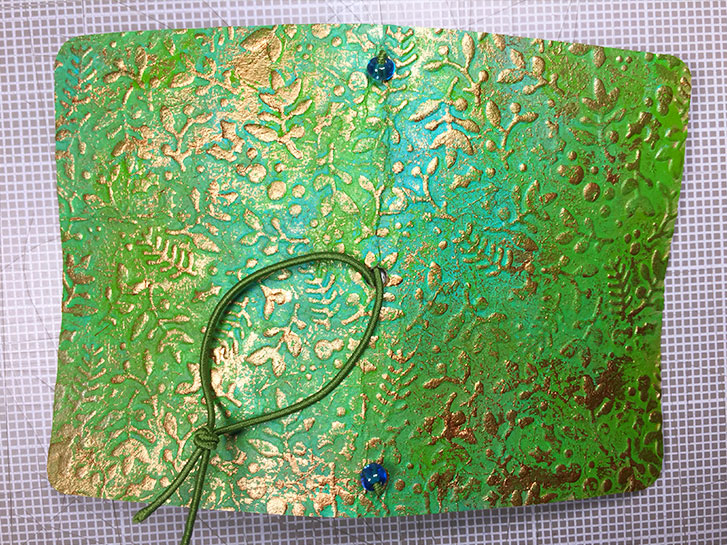
I painted the outside with Golden liquid acrylic. I used the Airbrush Medium to thin out the paint a bit, just a few drops. It wasn’t really necessary, water would probably have worked, too.

Then I used irridescent copper paint and applied it very lightly, so it would be mostly on the raised part of the design.
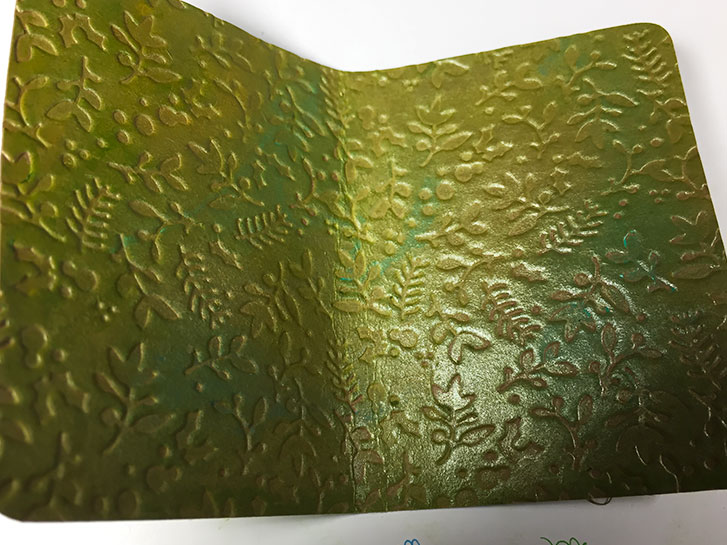
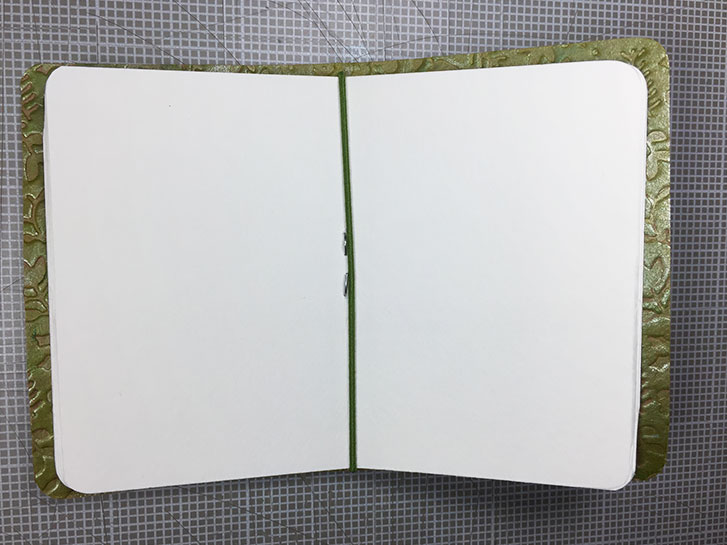
I let all of this dry and then cut out the cover. I wanted to see what would happen if I used Gellatos on this embossed material, so I tried it on the inside of the cover. I used gold and a yellow-green.
I like the way the paper feels after using the Gellatos, so I’m going to have to do some more experimenting with those.
The elastic stringing for the book is about as simple as it gets, with a single piece being used. The beads are bigger than the holes, allowing the elastic to go in and out of a single opening. The same elastic is tied for the closure.
This is sized to accomodate the normal size tiny TN inserts that I art journal in. The tutorial for making these inserts is here .
All in all, I’m happy with the way it came out. I am going to do some more experimenting, to see if I can get a bit more pliable texture and possibly use the gellatos or something similar in conjunction with the paint. I just need to make sure that whatever I use is doesn’t rub off, or is permanent.
If you would like to join a group of fellow art journalists, follow along with tutorials, and show off your work, you can find this and more in the Micro Art Journal group on Facebook!
#microart #microartjournal #miniatureartjournal #miniartjournal #miniatureart #tinyjournalnation #allthingstiny #allthingsminiature #microartjournaling #tinyartjournal #travelersnotebook