The
Entanglement
library has a few grid-based tangles now: Huggins,
W-2
, Ambler and Emingle. But we have limited control over the grid: we can affect the spacing in the x and y directions, and we can add some random fluctuations to where each intersection on the grid ends up. Wouldn’t it be nice if we could warp the grid in some more dramatic ways? Yes, I thought so too! So I spent some time adding some more grid options. This turned out to be harder to do than I thought it would be – I ended up having to rewrite big chunks of the Tangle class, then I ended up subclassing Tangle and creating a special class just for grid-based tangles: GridTangle.
“Ugh!”, I can hear you saying! “He created some breaking changes, and now all the work I’ve done up until now will have to be redone!”. Not so! It works almost as it did before, although you will need version 0.0.7 of Entanglement to follow along with these examples.
<script src="https://cdn.jsdelivr.net/gh/tektsu/entanglement@0.0.7/dist/entanglement.js"></script>
Also, any grid-based tangles you have created will have to be based on GridTangle instead of Tangle.
Looking at the GridTangleOptions, you’ll see all the options we have discussed in the past, plus a few new ones. gridXSpacingMode and gridYSpacingMode set the mode – the algorithm used to determine where the points go. gridXFrequency, gridYFrequency, gridXAmplitude and gridYAmplitude are a bit more vague. What they do is entirely dependent on the mode. A particular mode is free to ignore these or use their values as a basis for whatever it might want to do. There is no guarantee the use will correspond to anything having to do with frequencies or amplitudes, either! So it makes no sense to discuss these unless talking about a particular mode.
Entanglement currently has four modes: static, linear, wave and compression.
Static Mode
Static mode is the default, and it provides the same behavior as all Entanglement grids sported up until now. It’s just a basic, rectangular grid. You can set the x and y spacing, and you can randomly vary the intersections. Nothing new to see here; read on for the shiny new stuff!
Linear Mode
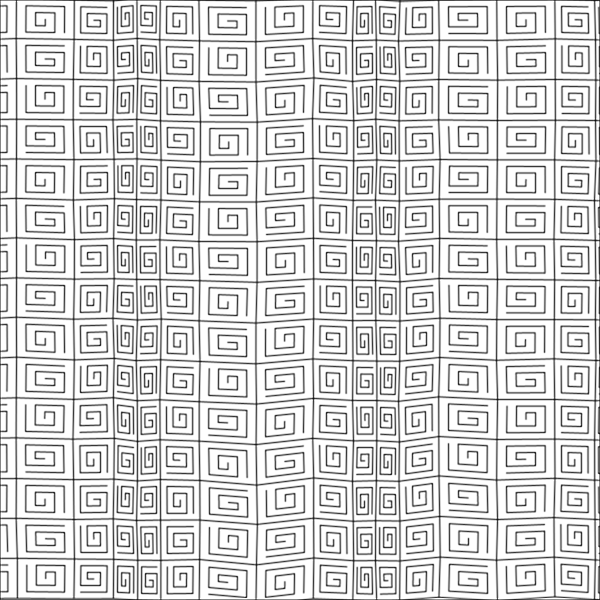
Linear mode is an attempt to create a grid that gets larger as you move in a positive direction. You do this by specifying the linear mode and passing in a Range. This works, but not very successfully, as if you specify a range from, say 10 to 50 in the x direction, it will start with a spacing of 10 on the left size of the tangle. But the spacing will increase linearly until it reaches 50 at the other end of the grid. Unfortunately, the number of divisions in the grid is based on the number that would with in the tangle at the minimum size, so by the time the spacing gets to 50, the drawing area is way outside the drawing area of the tangke, and you never see it. You have to play with the values to get the effect you want. There is room for improvement here.
Here’s an example. Note that the range of x spacing is 10 to 200, but the spacing at the right side of the tangle is nowhere near 200.
const height = 600;
const width = 600;

function setup() {
    createCanvas(width, height);
    background(255);
    const t = new Ambler([
        new Point(0, 0),
        new Point(width, 0),
        new Point(width, height),
        new Point(0, height),
    ], {
        gridXSpacingMode: 'linear',
        gridXSpacing: new Range(10, 200),
    });
    image(t.g, 0, 0);
}

Wave Mode
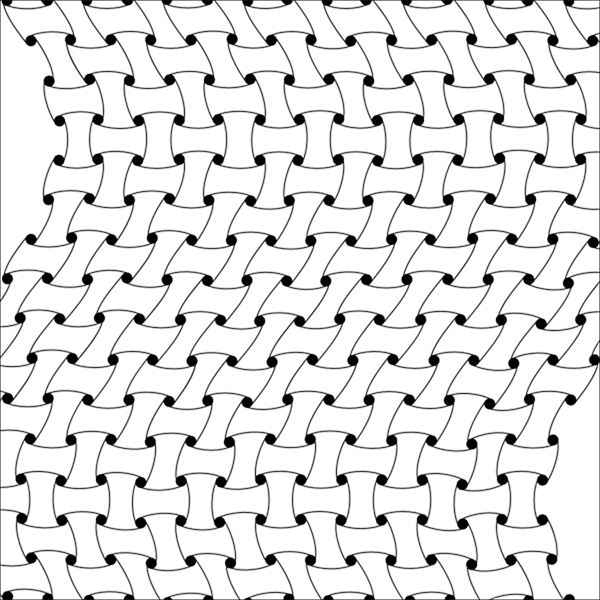
Wave mode warps the grid using a sine wave. It accepts amplitude and frequency parameters. These are optional; the amplitude defaults to 1, which make the wave height approximately equal to the spacing, and the frequency defaults to a value that will produce about one full wave across the tangle area. The effect of the frequency value changes depending on the spacing, but in general, the higher the value, the more full waves in the tangle area.
Here’s an example. Notice that there are portions of the tangle area not filled by a tangle.
const height = 600;
const width = 600;

function setup() {
    createCanvas(width, height);
    background(255);
    const t = new Huggins([
        new Point(0, 0),
        new Point(width, 0),
        new Point(width, height),
        new Point(0, height),
    ], {
        gridXSpacingMode: 'wave',
        gridXAmplitude: 2,
        gridXFrequency: 20,
        curve: 10,
    });
    image(t.g, 0, 0);
}

Compression Mode
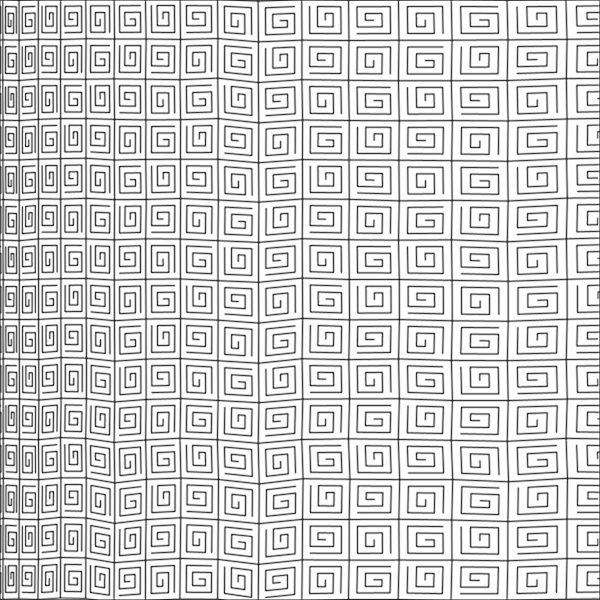
Compression mode is also based on a sine wave, but the grid spacing is affected by the wave function instead of the position of the grid intersections (picture looking at the wave from the top instead of from the side.) The frequency and amplitude values work the same as in the wave mode. Amplitude in this case defaults to .5 instead of 1 so the minimum spacing doesn’t drop to zero!
Here’s an example:
const height = 600;
const width = 600;

function setup() {
    createCanvas(width, height);
    background(255);
    const t = new Ambler([
        new Point(0, 0),
        new Point(width, 0),
        new Point(width, height),
        new Point(0, height),
    ], {
        gridXSpacingMode: 'compression',
        gridXFrequency: 60,
    });
    image(t.g, 0, 0);
}

Other Options
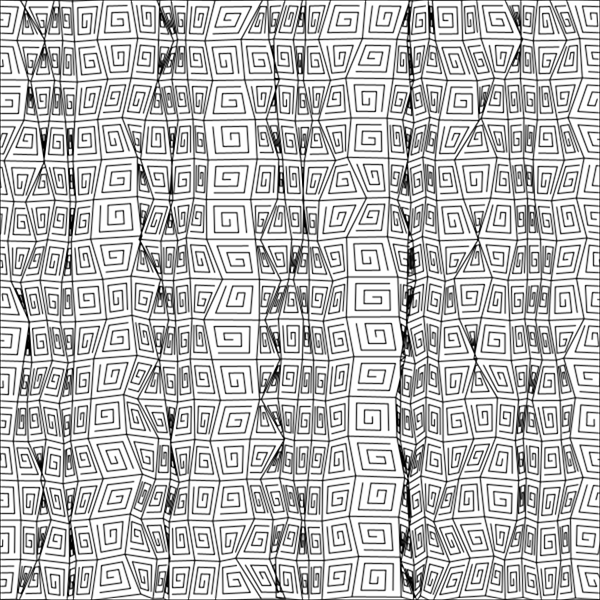
Note that in the above example, the grid spacing is is varying over a range, but not because a Range has been specified as the spacing value. Instead, the spacing is set to a single value, and varied by the wave function according the the requested frequency. Passing the Range to the spacing does something completely different: each time the value of the spacing is needed, it will be a random value from the specified range. If you don’t mind a little chaos in your life (and who can get through 2020 without learning to love a little chaos?) then you can do both! Vary the spacing in compression mode, and pass a Range as the spacing value. In this example, notice that spacing still varies with the wave, but the exact value it varies from is randomized. This a a fairly extreme example, but used subtly, it’s another way to introduce some randomness in into the final image.
const height = 600;
const width = 600;

function setup() {
    createCanvas(width, height);
    background(255);
    const t = new Ambler([
        new Point(0, 0),
        new Point(width, 0),
        new Point(width, height),
        new Point(0, height),
    ], {
        gridXSpacingMode: 'compression',
        gridXFrequency: 60,
        gridXSpacing: new Range(10, 30),
    });
    image(t.g, 0, 0);
}

All of the options you’ll find at GridTangleOptions can be used at the same time, and may interact in unexpected ways. Also, remember that you can use different modes in the x and y directions for more interesting effects.
One thing missing from Engtanglement is a way for you, the user of the library, to write your own grid-warping functions. We’ll save that for the future… Have fun!