
Merry Christmas.
Here’s wishing you all, friends, family, fellow tanglers, a very Merry Christmas. May this day be filled with joy, good company, and lots of fun for you all.
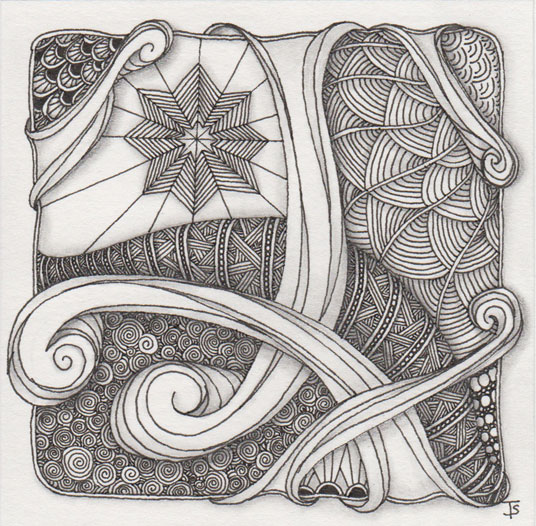
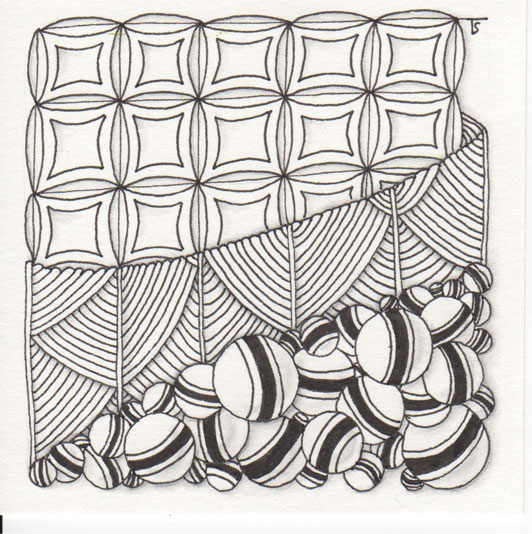
Zentangle drawn on Strathmore Vellum Bristol using a black, Micron pen. Shading done with graphite pencil.
Tangles: Dewd Shattuck Zailz
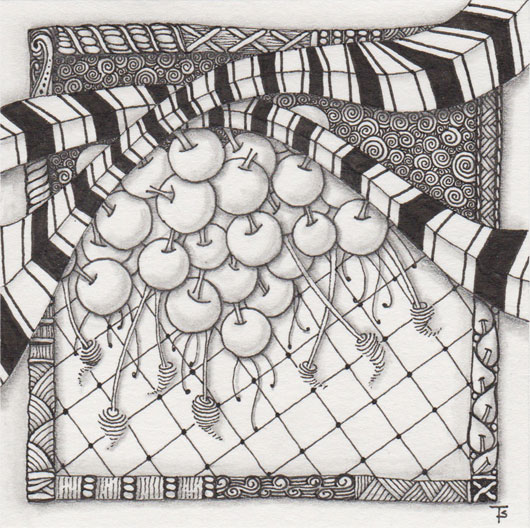
From the Zentangle Primer: Lesson 3, page 55, Exercise #9. We are instructed to let our tangles extend beyond the border.
In my tile, above, I decided to extend Braze all the way to the very edge of the tile. It looks as if it was dropped onto the drawing. I made the border very definite by turning it into a tangled frame all around the center of the tile. Florz made a nice, simple background that didn’t distract from the tangles sitting on top of it!
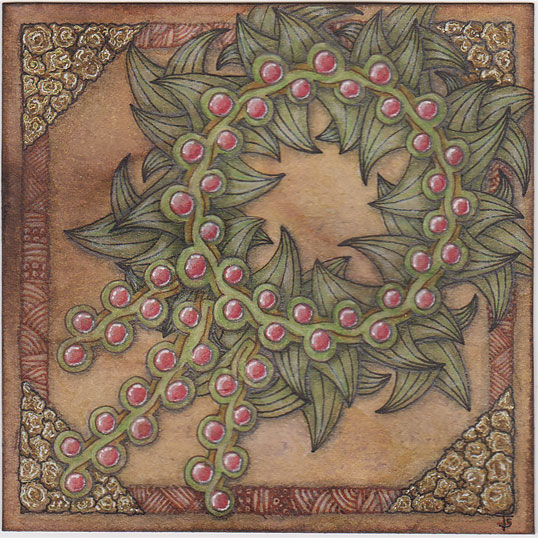
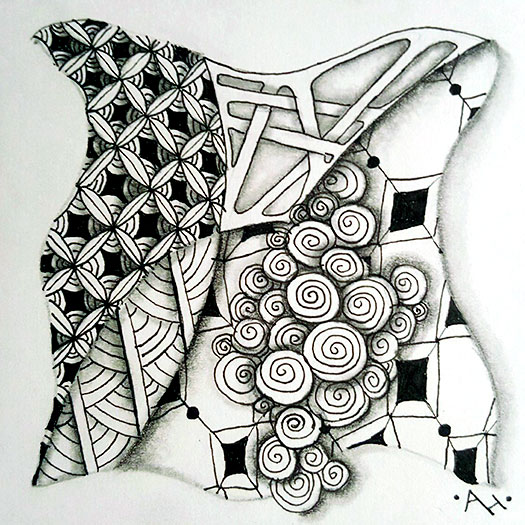
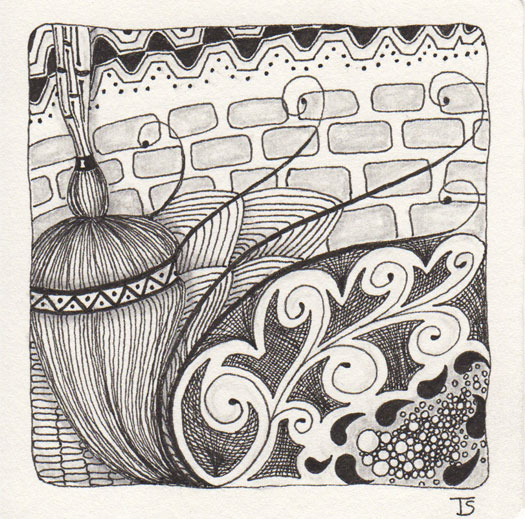
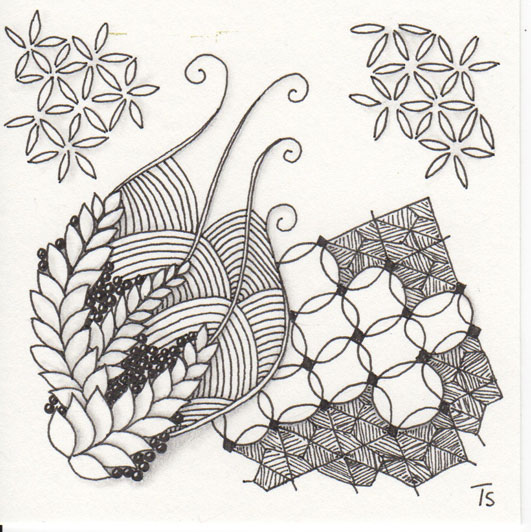
This is another in the series of Tan Treasure tiles . I decided to combine the treasure tile with the Distressed tile technique. For the theme, I chose a wreath. It’s the time of year when we start decorating for Christmas, so I thought it would be appropriate.
In addition, Zailz was used because it is the focus tangle for this week for one of the Facebook Groups that I participate in. I have to say, I didn’t think I would particularly like this tangle. But, I love it used here!
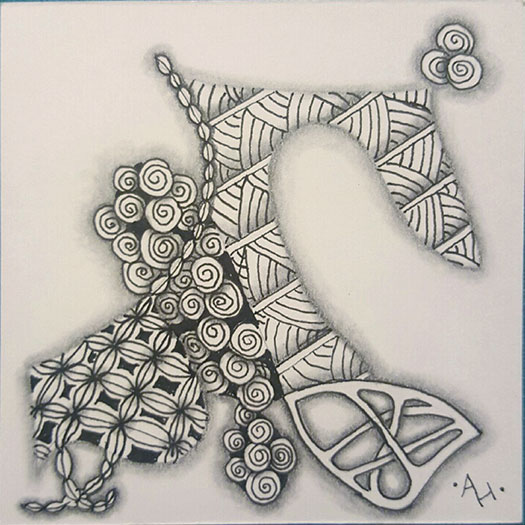
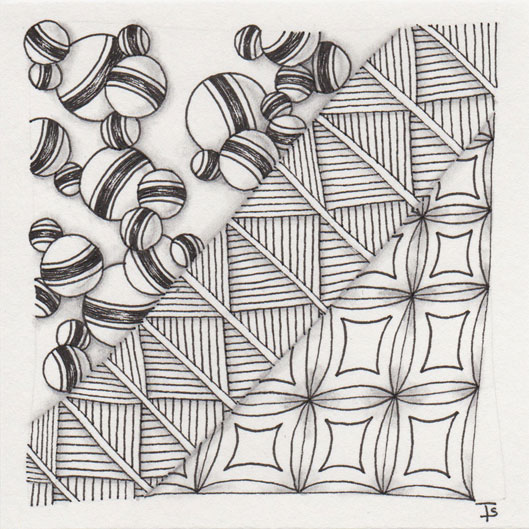
From the Zentangle Primer: Lesson 3, page 55, Exercise #7.
In this lesson, we are learning about strings. For the first exercise, we are supposed to combine two (or more) sections of our string together to form a new section that is better suited for the tangle we want to use.
Here is what Amanda’s original string looked like, so you can compare it with her finished Zentangle above.
Giving thanks.
I have so many things to be thankful for this year, it would make a very long post to list them all. So I am going to tell you that I am grateful for my wonderful husband, beautiful daughters, and fabulous grandchildren. I am thankful for my good health and good life.
I also am very thankful that I discovered Eni Oken. She is a fabulous artist that shares herself, her talent and her knowledge with others. Over this year, learning from her has taken my art to a whole ’nother level, as they say. This tile is another one based on her Tan Treasure video lesson . I think this is my favorite of all the techniques I’ve learned so far!
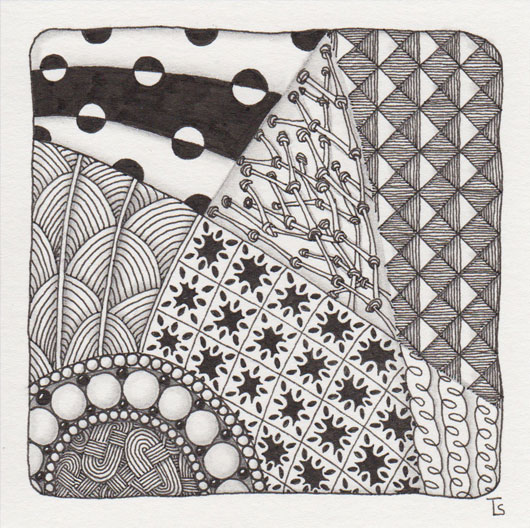
From the Zentangle Primer: Lesson 2, page 45, Exercise 4.
For this exercise, we were to use all the same tangles: Shattuck, Jetties and Bales, but use different shading.
I think Amanda (above) did a fantastic job with this tile! I love that she used several tanglations: Bales, Hollibaugh, Florz, and Jetties! My favorite is her version of Bales. It has so much depth to it now!
My artwork is above. I mixed Bales and Florz togther for my background, and pillow-shaded each floret in the design. I had a lot of fun with Jetties. I decided to treat them more like beads, and made each one different, although a few original Jetties snuck in on their own. I’ve drawn Shattuck many times, this is the first time I’ve added perfs to them.
From the Zentangle Primer: Lesson 2, page 36.
In this chapter, we are learning three new tangles: Bales, Jetties and Shattuck.
For the first tile in this chapter, there are step-by-step instructions that tell you where to put each tangle and how to draw and shade it.
I did make a few choices like drawing straight instead of curved lines for the Shattuck, and I chose to overlap my Jetties, rather than make them all touching. However, I did try to follow the shading instructions as exactly as I could.
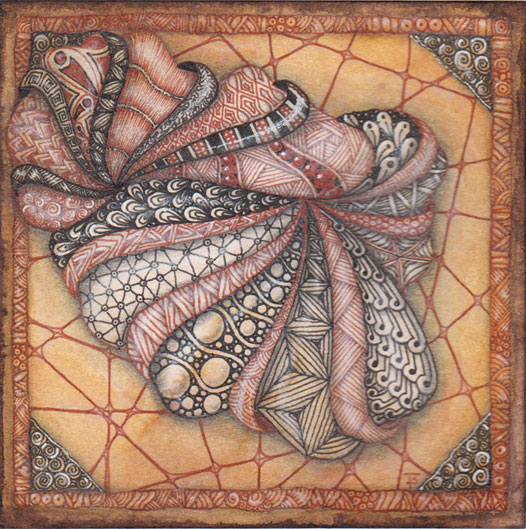
Brooch.
The brooch was hidden among all the fine fabrics in the second wagon of the caravan. They were concerned for robbers and pirates along the road to the castle. They worked to keep the Queen’s treasures safe all along the way.
I am always fascinated by the end result of using random strings and random tangles. When I start, I have no idea what the finished piece will turn out like. I think it’s one of the things that keeps each Zentangle different from the next. Each one is a transcendent adventure while also allowing for the Zen of simply drawing one line at a time.
Unknown.
I don’t know what the tangle at the upper right is. I can’t find it in my step-outs. If you recognize it, please join in on Facebook and let me know!
Zentangle drawn on an Official Zentangle tile using a black, Micron pen. Shading done with graphite pencil.
Tangles: Black Box Nipa Nzeppel Shattuck Tipple Wadical Yincut
Dingbatz.
I‘m still trying to wrap my brain around the Dingbatz-style Mookas. I decided to try making them over-sized to see if that made any difference. I kind of like the way tese wrap around to the back of the tile. But After I did them, I realized I should apply the same techniques used for twisted ropes to them. I‘ll have to give that a try here in the future!
My tangle painter.
I think this tile shows a peek at my tangle brush painting designs across the tile.
Zentangle drawn on Official Zentangle tile using a black, Micron pen.
Tangles: Bamboo Cheesecloth Ennies Opus Ramy Rain Stacks Shattuck Stonework
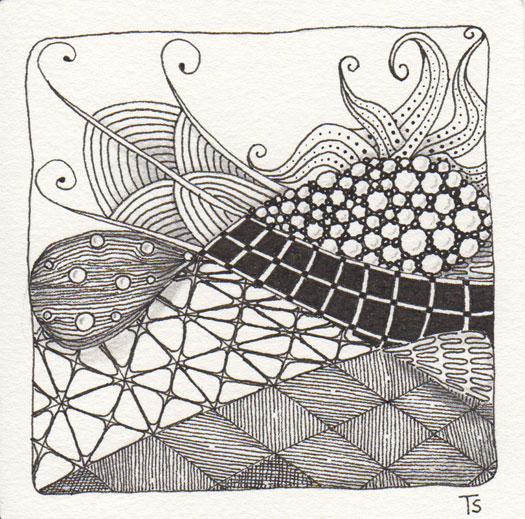
Something fishy.
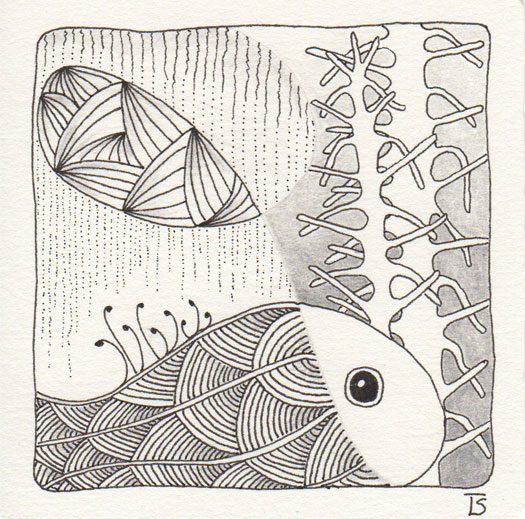
This tile didn‘t start out to be an underwater scene. I was trying to decide which tangle to put in the space where the “eye” is. In the process of rotating the tile around and thinking, I realized it looked a bit like an underwater scene and the Shattuck reminded me of scales. So I added the “eye” (which is now a tangle called Caviar!) and the Fescu to look a bit like a fin. That completed the illusion for me.

Browns.
I wanted to experiment with different tonal values. Since Micron makes two different brown pens, I though combining those with black would be interesting. I shaded this tile with brown colored pencils.
Zentangle drawn on Official Zentangle tile using brown, sepia and black Micron pens.
Tangles: Centipede Flora Isochor Lacy Locar Purk Ripple Shattuck
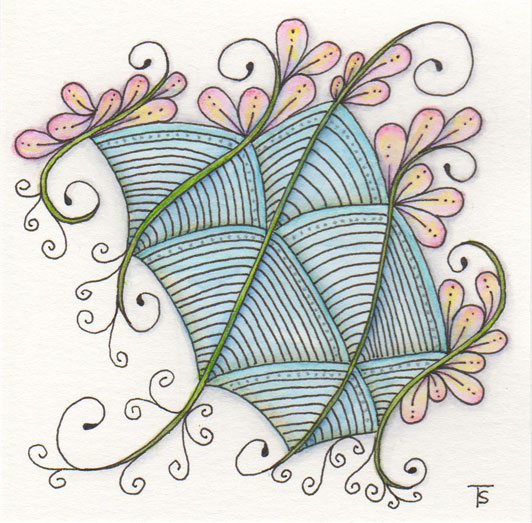
A hint of Spring.
I wanted to play with the watercolor concept again, but using a more spring-like color palette. I think one of the hardest things to learn for this technique, is to do a little at a time, and to know when to stop.
Zentangle drawn on Strathmore Vellum Bristol using a black, Micron pen. Coloring was done with Tombow, Zig and Distress markers. Accents were done with Distress and Stablo markers.
Lesson 2.
This is the tile I drew from the instructions in the second chapter in the Zentangle Primer. I‘m not sure that I like Bales, but I tried a different way of shading it on this tile. I‘m also trying to draw my tangles larger, so it felt different to draw the grid this large.
Zentangle drawn on Strathmore Vellum Bristol using a black, Micron pen.
Tangles: Bales Jetties Shattuck
No boundaries.
I decided to do this tile without my usual border or string. Instead, I simply started drawing the Ynix in one corner and progressed from there. Sometimes, you just have to go for it, without imposing limitations on yourself!
Zentangle drawn on Strathmore Vellum Bristol using a black, Micron pen.
Tangles: Bucky OOF Quandry Shattuck Ynix