Note: I realize that many of you are experienced book makers and art journalers. However, this tutorial will make no assumptions about where you are at in your path. It is written for anyone, even those with little or no experience. You are welcome to follow exactly, or adapt it to your own skill level and needs.
For this tutorial you are going to make a colored background across a two-page spread in your art journal.
Simple Background 4
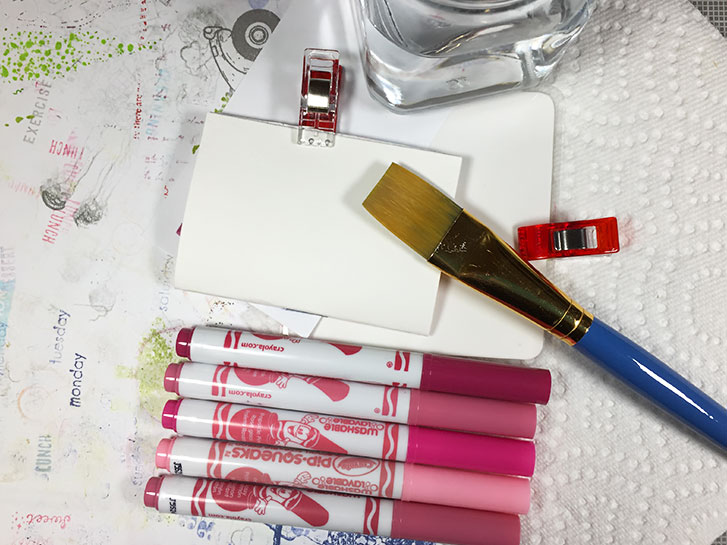
The materials you will need are:
- Your Art Journal, dashboards and clips or washi tape
- Inexpensive, water-based markers
- A small container of water
- Paper towel
The tools you will need are:
- Medium-large, flat paint brush
Optional things you may want:
- A plastic mat, scrap paper or other item to protect your work area from ink
- Apron so you don’t get ink on your clothing
Here are the steps for creating this simple background.
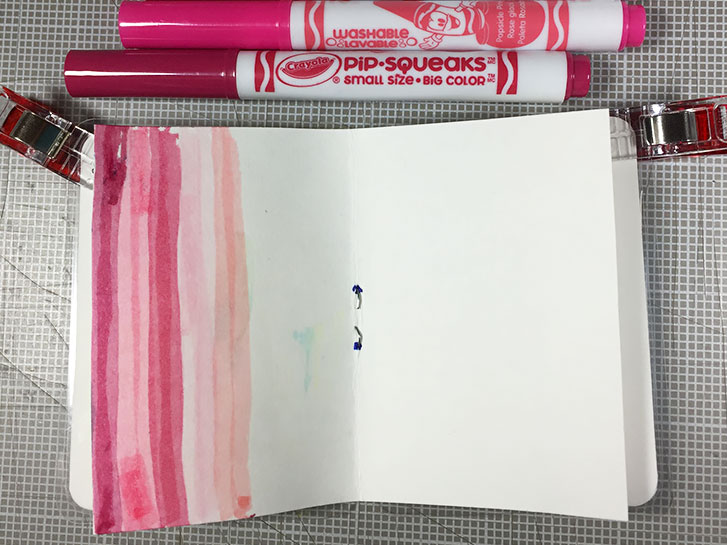
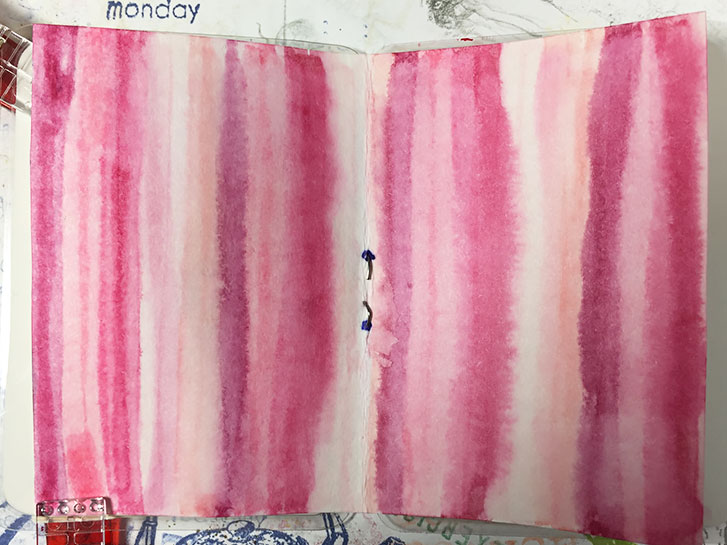
Open your journal to the to the next double-page spread. This should be the center of your book, where the ends of the staples are.
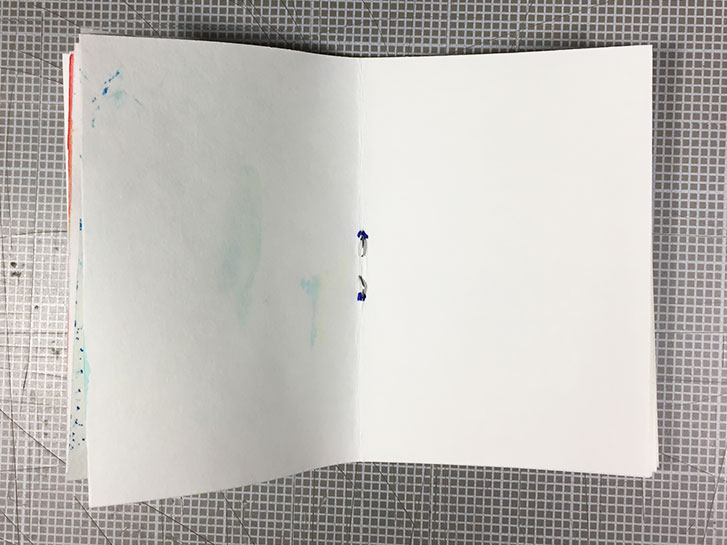
Note: If you look closely at the picture above, you will see ink that leaked in around the staple from doing the simple background tutorial 3. There is also some ink that migrated from the previous layout on the upper left of the page. I used my heat gun and ran it over the dry ink just a bit to try and set it in place.
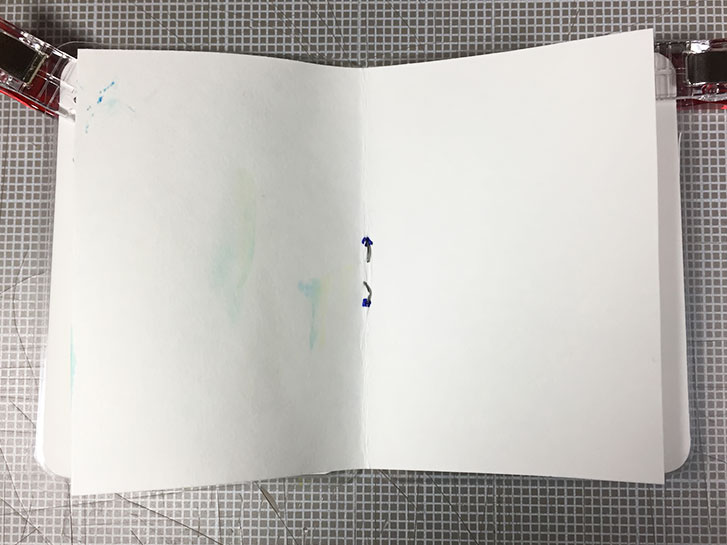
Put your dashboards in place behind the pages you’re going to work on.
Select several markers, preferably all in the same color family. If you only have a few markers, arrange what you have in order like a rainbow, or some other pleasing combination.
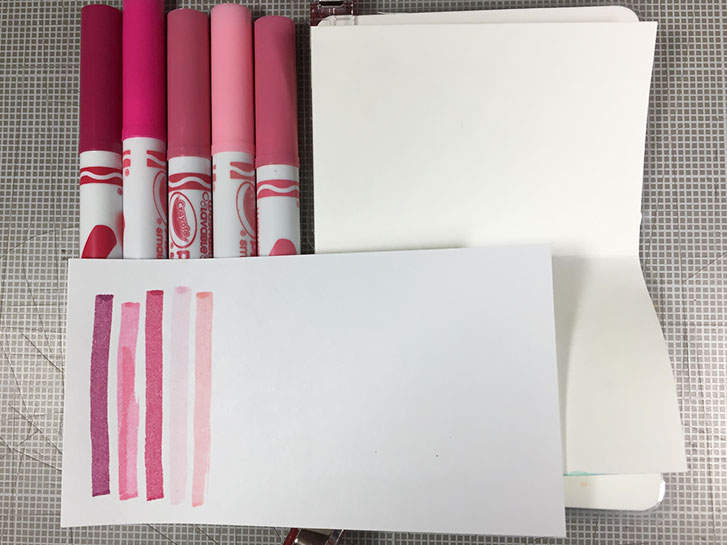
Start at the edge of the layout opposite your dominant hand. I am right-handed so I will be starting on the left side of the layout.
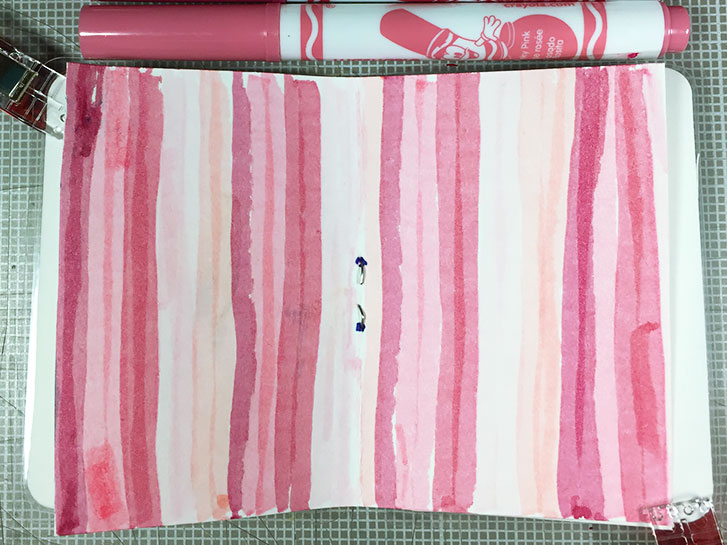
Draw vertical lines with the markers, from edge to edge, creating one or two lines for each color. Your lines do not have to be perfectly straight! As a matter of fact, they will actually be more interesting if they are not! Draw one line from the top down and the next from the bottom up, just to vary the lines.
Note: You’ll notice that I just ignored the other marks on the page and colored right over them. Don’t worry, it will be fine!
Continue drawing lines, rotating through the colors, all the way across the layout.
Note: You’ll notice that I didn’t color directly over the ink around the staples. I just marked close to it.
Dip your brush into the water and get it wet. For this next part, you need a minimum amount of water. So the brush needs to be damp/wet, but not dripping. You can use the paper towel to blot off any excess. Start on the same side you started with the lines Working vertically, the same direction as the stripes, gently brush along them with the damp brush. The goal is for the colors of the strips to blur a bit, but not so much you no longer have vertical lines!
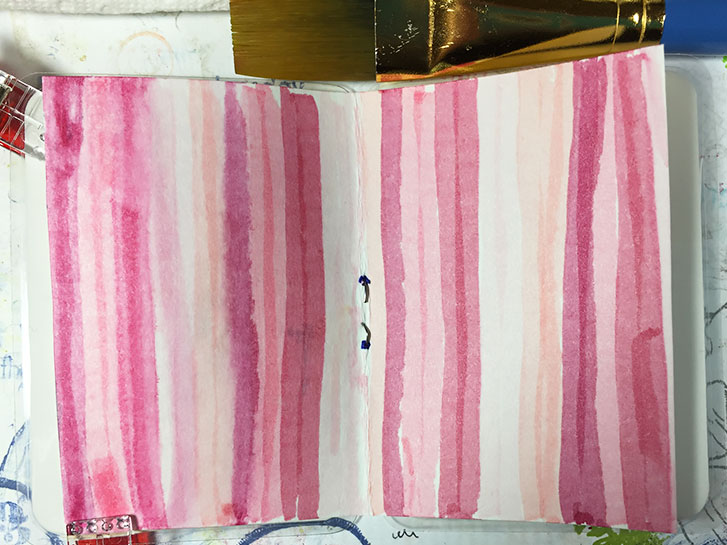
Continue working across the layout.
Note: If you have ink from the dark layout in the center by the staple, work close to that part but don’t go over it yet.
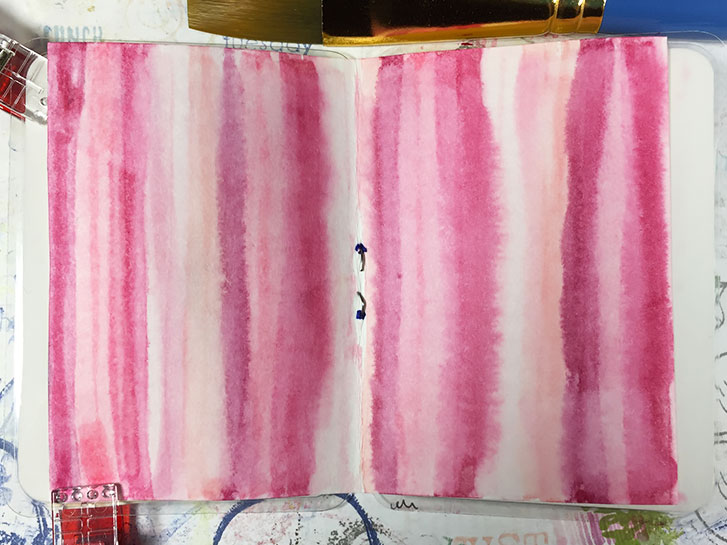
After you have finished, go back, and with a damp, blotted brush, make one swipe down the center of your book.
Note: Keeping the brush just damp for this last pass should cause the colored strips in the center to blend without causing too much of the ink around the staple to move about.
Let dry completely.
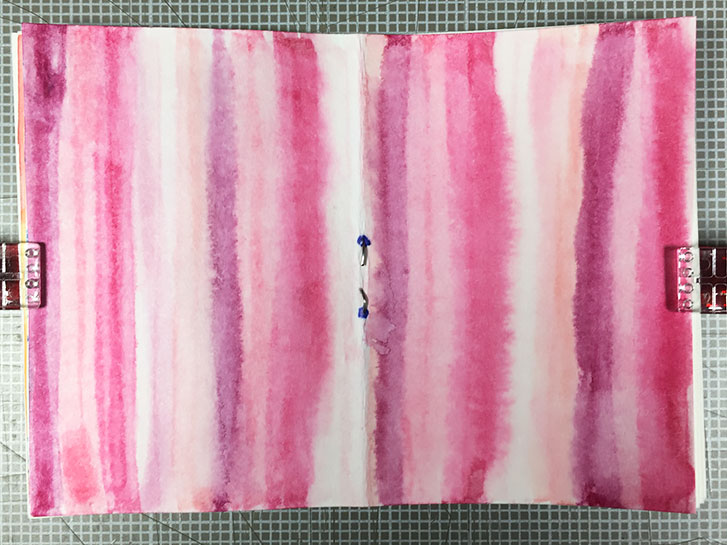
Note: As you can see, the ink in the staple holes didn’t move at all and the ink on the left side just blended in without any problems!
Congratulations! You are half-way through your book, making the base, background layers! See, that wasn’t hard!
This tutorial is for personal use only. ©2019 Tandika Star
If you would like to join a group of fellow art journalists, follow along with these and other tutorials, and show off your work, you can find this and more in the Micro Art Journal group on Facebook!
#microart #microartjournal #miniatureartjournal #miniartjournal #miniatureart #tinyjournalnation #allthingstiny #allthingsminiature #microartjournaling #tinyartjournal #travelersnotebook