
Note: I realize that many of you are experienced book makers and art journalers. However, this tutorial will make no assumptions about where you are at in your path. It is written for anyone, even those with little or no experience. You are welcome to follow exactly, or adapt it to your own skill level and needs.
For this tutorial you are going to make a resist, colored background across a two-page spread in your art journal.
Two-Step Background 1
The materials you will need are:
- Your Art Journal, dashboards and clips or washi tape
- Inexpensive, water-based markers
- White, Prismacolor colored pencil
- Prismacolor wax blending pencil
- Water
- Paper towel
The tools you will need are:
- Medium, flat or round paint brush
- Pencil sharpener
- Plastic palette or piece of plastic
- Small container to hold water
Optional things you may want:
- Shape stencil
- A plastic mat, scrap paper or other item to protect your work area from ink
- Apron so you don’t get ink on your clothing
Here are the steps for creating this two step background.
Open your tiny art journal to the next blank layout. We’re going to skip this one, so turn the page to the next one.
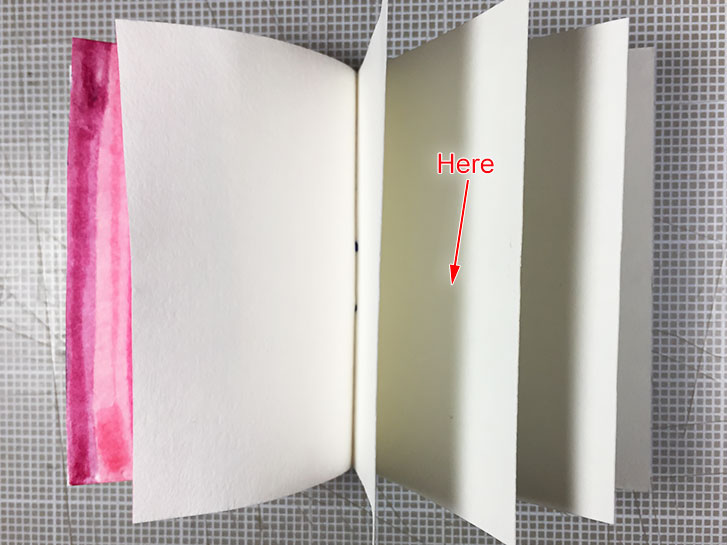
Before we begin creating the background, let’s take care of any ink that has leaked through from other pages.
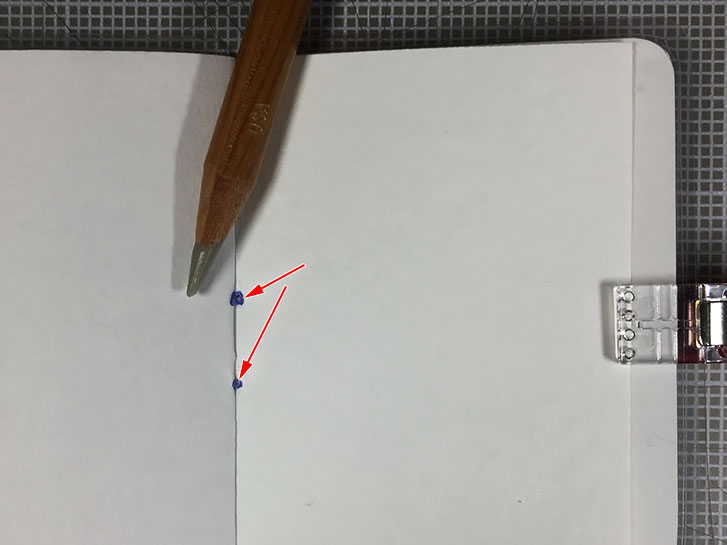
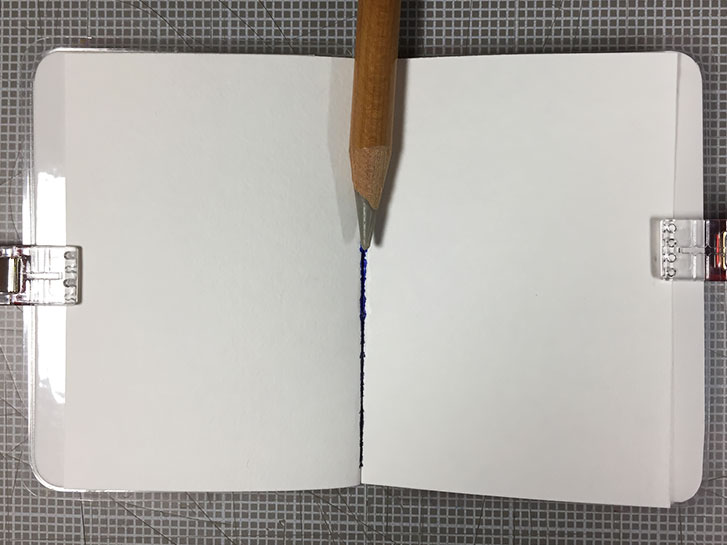
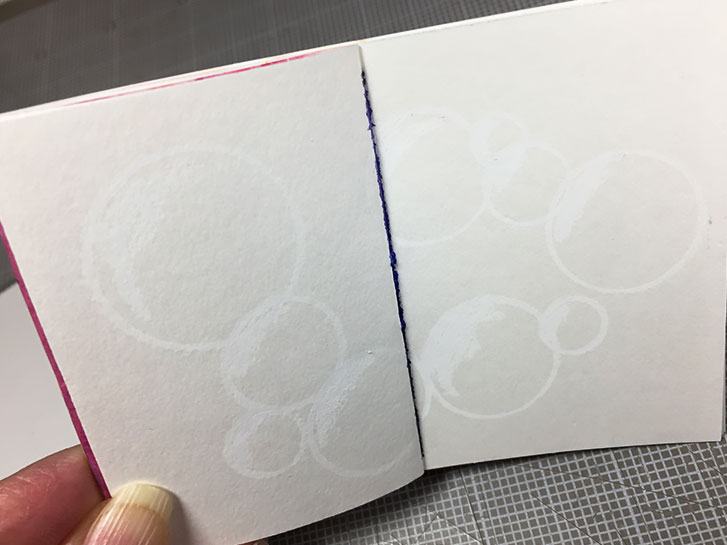
Use the Prismacolor wax blending pencil to scribble on top of the ink stains. Try not to go past the edges. In the pages above, I only had to scribble over the small dots. However. On the pages I’m using for this tutorial, the ink is all along the center line. I scribbled all along the center, covering the ink thoroughly.
Now we can tackle the background for this layout. Here’s what you need for this step. The template is optional. You can draw shapes free-hand. Select one shape, circles, squares, triangles, whichever appeal to you.
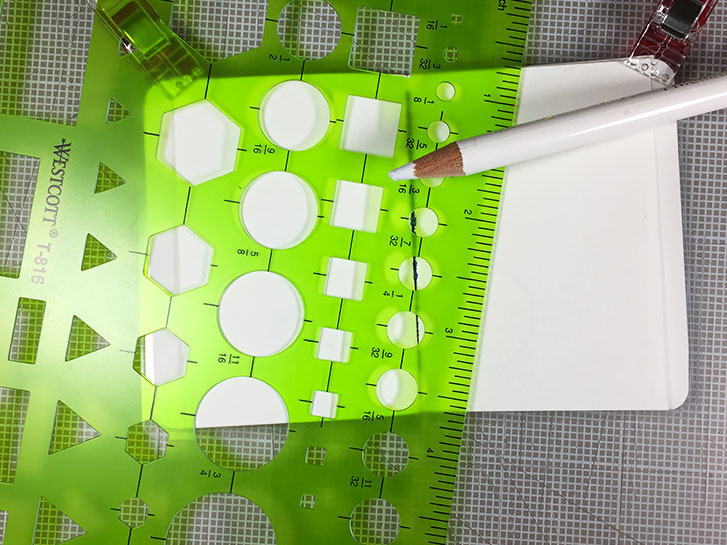
Select one shape, circles, squares, triangles, whichever appeal to you. Using your white pencil, draw shapes across the layout. Vary the sizes of the shapes. Overlap some shapes. Keep going until you are happy with what you have. This layer is to add a texture resist to the paper. Where there are pencil marks, your marker will not stick, leaving the paper white.
The second layer is color. Here’s what you need.
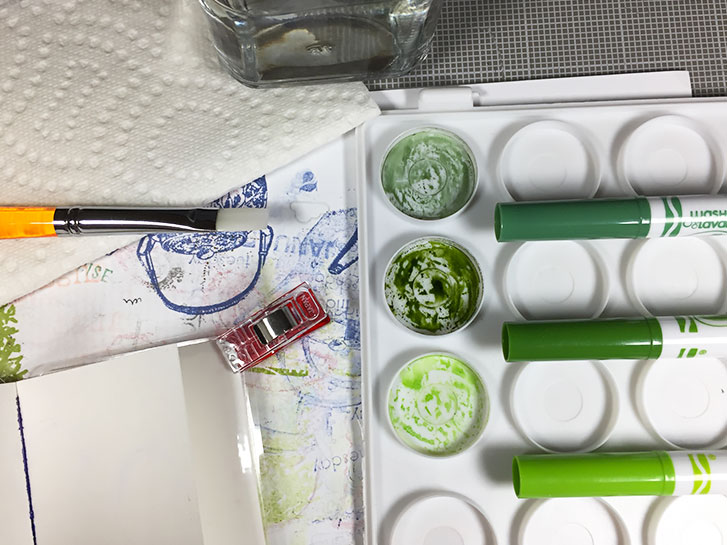
Scribble with your markers on the palette or piece of plastic. Using a bit of water, pick up the color and paint an area of color on the pages. Repeat with the various colors you are using, until the layout is covered, and your pencil marks appear.
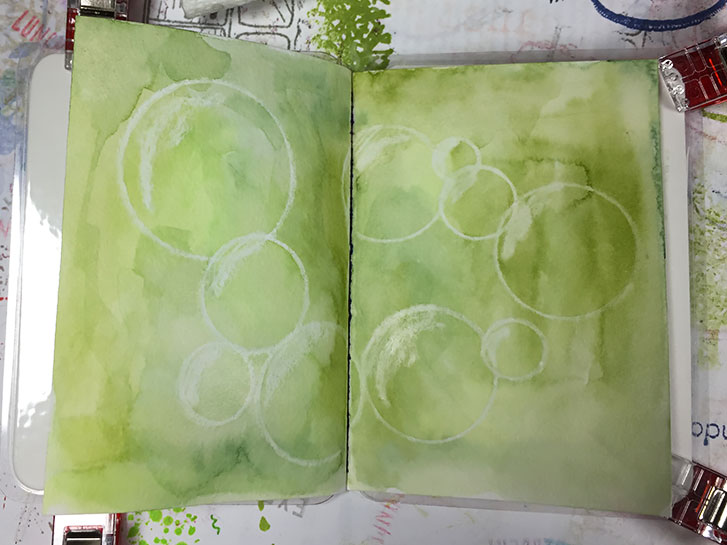
Allow to dry completely.
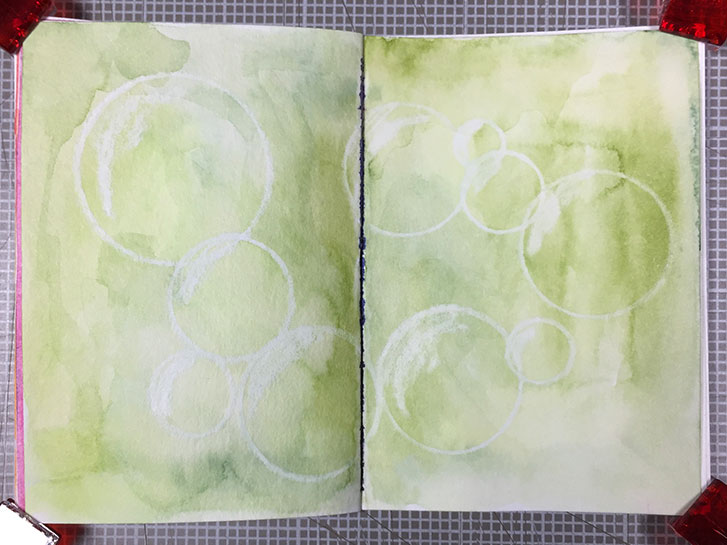
Congratulations! You’ve made your first two-step background!
This tutorial is for personal use only. ©2019 Tandika Star
If you would like to join a group of fellow art journalists, follow along with these and other tutorials, and show off your work, you can find this and more in the Micro Art Journal group on Facebook!
#microart #microartjournal #miniatureartjournal #miniartjournal #miniatureart #tinyjournalnation #allthingstiny #allthingsminiature #microartjournaling #tinyartjournal #travelersnotebook