Note: I realize that many of you are experienced book makers and art journalers. However, this tutorial will make no assumptions about where you are at in your path. It is written for anyone, even those with little or no experience. You are welcome to follow exactly, or adapt it to your own skill level and needs.
For this tutorial you are going to make use a waterproof pen to write text across a two-page spread in your art journal. You will then paint over it using the ink from water-based markers.
Two-Step Background 2
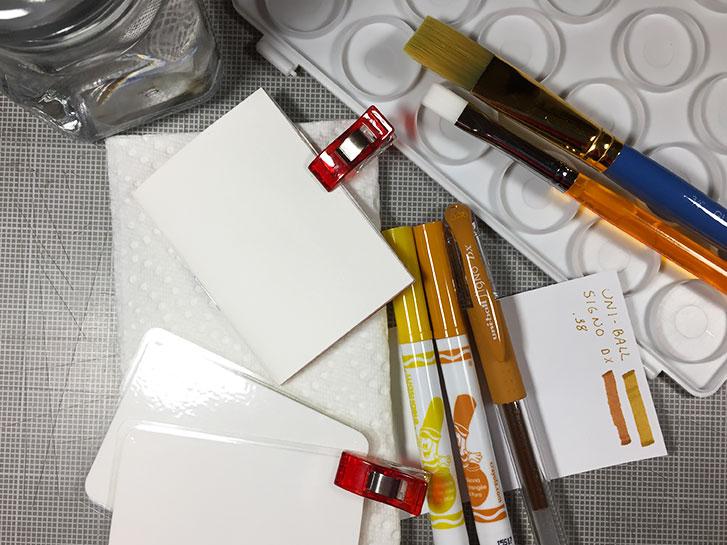
The materials you will need are:
- Your Art Journal, dashboards and clips or washi tape
- Inexpensive, water-based markers in browns, tans, golden yellows
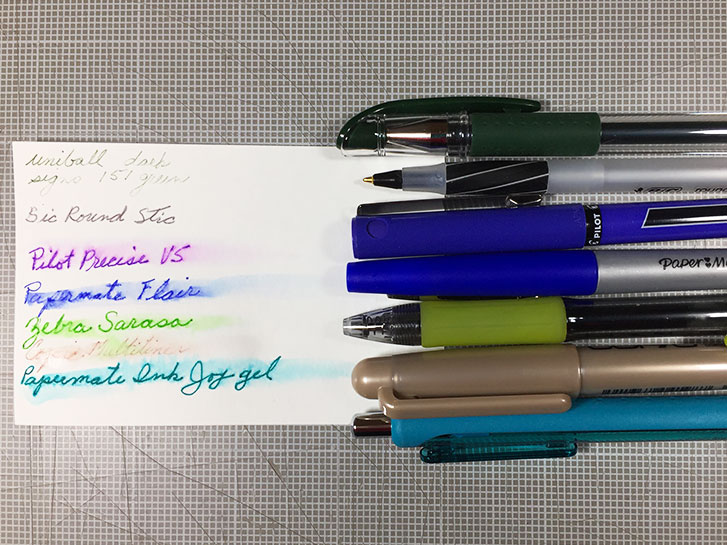
- A writing pen with waterproof ink, any color
- Water
- Paper towel
The tools you will need are:
- Medium, flat or round paint brush
- Plastic palette or piece of plastic
- Small container to hold water
Optional things you may want:
- C-Thru ruler
- Pencil
- Kneaded eraser
- A plastic mat, scrap paper or other item to protect your work area from ink
- Apron so you don’t get ink on your clothing
Here are the instructions for creating this two step background.
Note: My preference of pen for this project is the Uni-ball, Signo DX (151), .38. They come in many different colors. My favorite colors to use are brown or dark green. But for this tutorial I’m using the Khaki because my two favorites are out of ink. The color of ink in the pen you choose can be any, but it should still show a bit after you paint over it. Black might be too dark, but it will work if you don’t have anything else.
Before you begin, test your pen to make sure your ink is waterproof! Write some words on a scrap of paper. Wait 10 minutes. Brush over it with water. Wait a minute. Did it bleed, or move around? If it did, you should try a different pen.
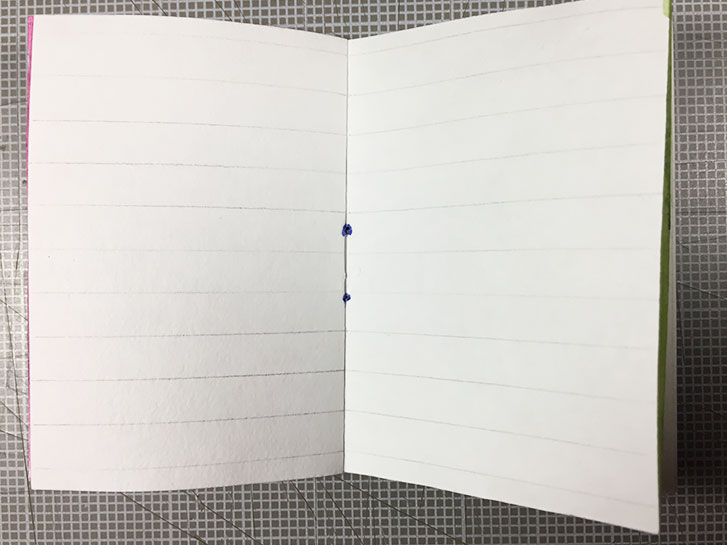
For this tutorial, go back to the blank pages between the striped pages and the first two-step background tutorial. We skipped this layout so that the writing pressure would not impact the white pencil marks on the following pages.
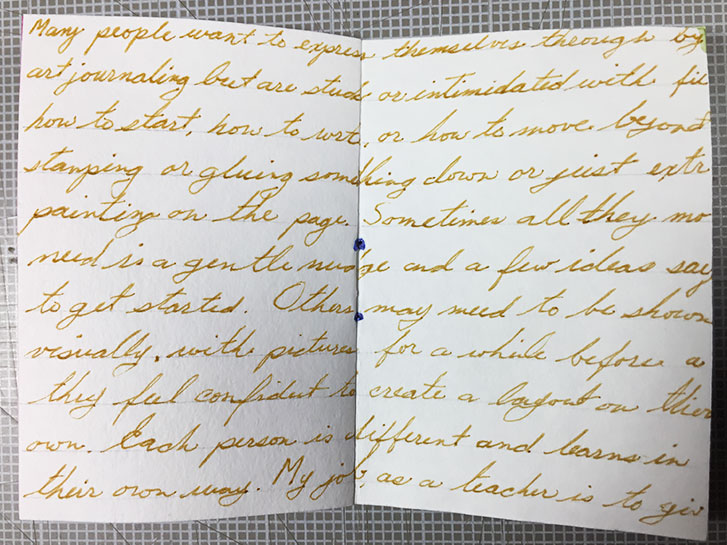
Note: The words you write on the page are totally up to you. You can write whatever pops into your mind at the moment, a passage from a book, Lorem Ipsum or lyrics to a song . By the time you are finished with the page, parts of the words will be covered. This is a good way to write something in your book to get it out of your mind, but obscure it so others can’t read it. It can become “secret journaling”!
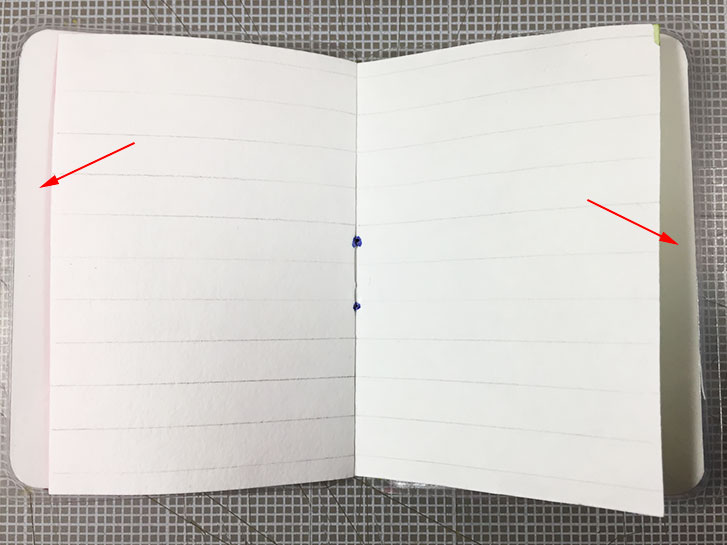
If you feel you are not able to write straight across the page, you may want to make some lines to use as a guide. You can use a pencil and ruler for this. In the example below, the lines are 1/4-inch apart.
Place your dashboards under the pages. In this case, their purpose is to keep your handwriting from making indentations in the paper underneath your current layout.
Write your chosen text across the page, starting at the upper left and proceeding as you would normally write a letter to someone. Don’t worry if you make a mistake, it won’t matter. The point of the text is to provide texture for the background, not to be legible!
When you finish writing, look at the right-hand side of your page. Does it look like you need more writing there? Is there a kind of empty area? You can make up words, write random letters, or fill in with partial words to even out the writing on the page. Let the ink dry completely. I sometimes do the writing in the morning and wait a few hours before I paint over it to make sure it is set.
Use a kneaded eraser to remove any pencil lines.
When you are ready to paint, scribble two or three colors on your palette with the markers. Using your brush and a fair amount of water, make a tan wash with the brown ink. Use this paint across the page. The object here is to make it look like part of an old, stained letter, or parchment.
After the first light coat you can go back and add some dabs of other colors in various areas.
Note: To make “splatters” load up your brush with watered down ink. Hold it over your layout and tap the brush with another brush, flick it with your finger, or snap your arm on the table. To make “smudges”, pick up some ink with your finger and rub it on the page.

At the end, you can use a bit more brown to stain, irregularly, around the edges of the layout.
This tutorial is for personal use only. ©2019 Tandika Star
If you would like to join a group of fellow art journalists, follow along with these and other tutorials, and show off your work, you can find this and more in the Micro Art Journal group on Facebook!
#microart #microartjournal #miniatureartjournal #miniartjournal #miniatureart #tinyjournalnation #allthingstiny #allthingsminiature #microartjournaling #tinyartjournal #travelersnotebook