Note: I realize that many of you are experienced book makers and art journalers. However, this tutorial will make no assumptions about where you are at in your path. It is written for anyone, even those with little or no experience. You are welcome to follow exactly, or adapt it to your own skill level and needs.
For this tutorial you are going to use water-based markers to paint the pages with color. Then you will use a variety of household objects to add texture to the spread.
Two-Step Background 3
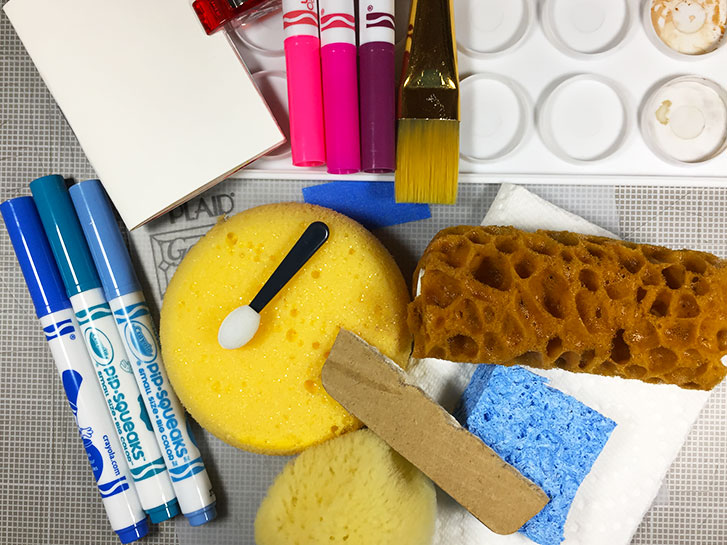
The materials you will need are:
- Your Art Journal, dashboards and clips or washi tape
- Inexpensive, water-based markers
- Water
- Paper towel
- A variety of household objects for making texture*
*Sponges, food wrap, corrugated cardboard, textured paper towels, tooth brush, makeup applicators, etc.
The tools you will need are:
- Medium, flat or round paint brush
- Plastic palette or piece of plastic
- Small container to hold water
Optional things you may want:
- A plastic mat, scrap paper or other item to protect your work area from ink
- Apron so you don’t get ink on your clothing
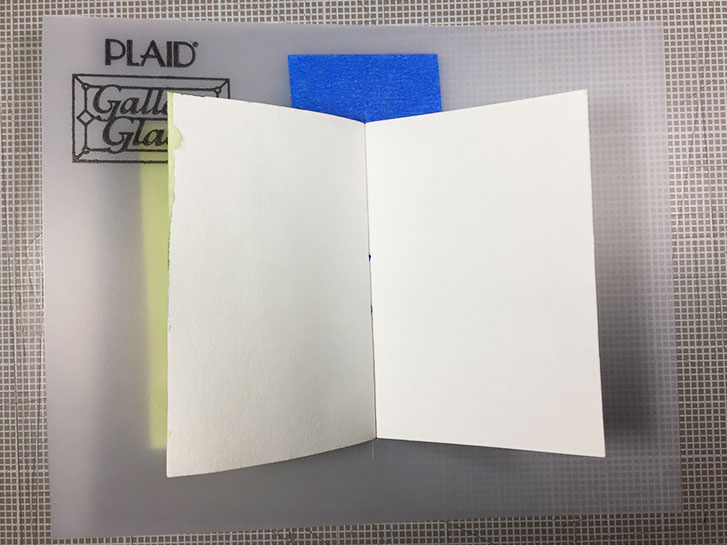
Here are the steps for creating this two step background.
Turn to the last spread in your art journal. Place your dashboards to protect the other pages as much as possible.
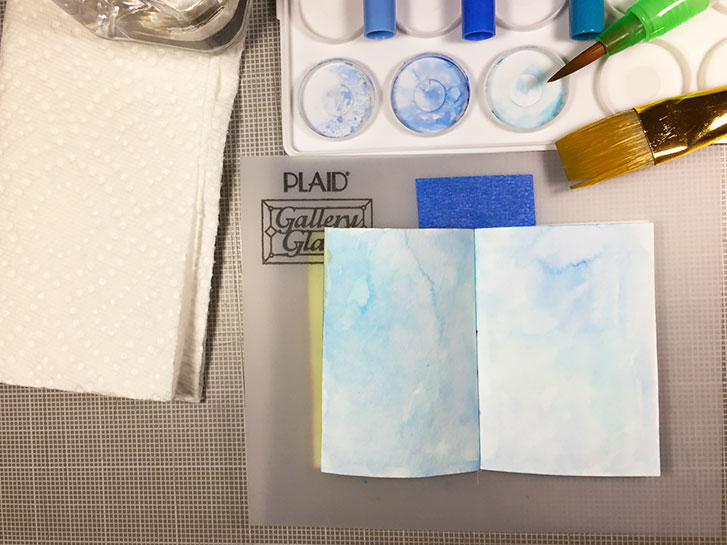
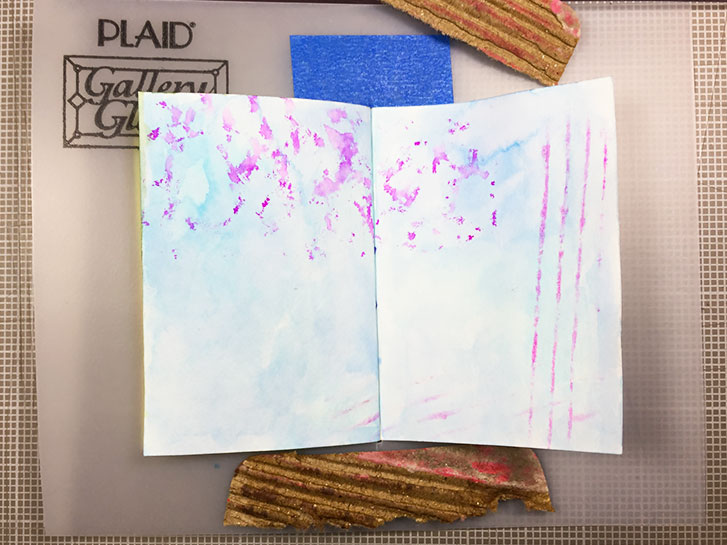
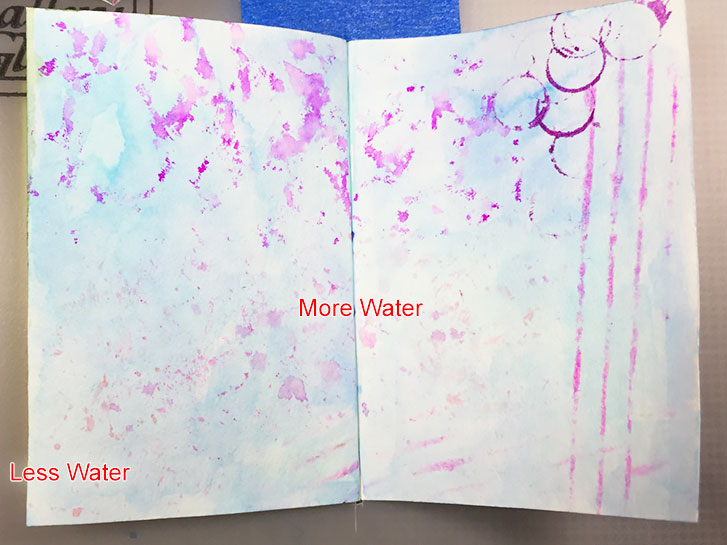
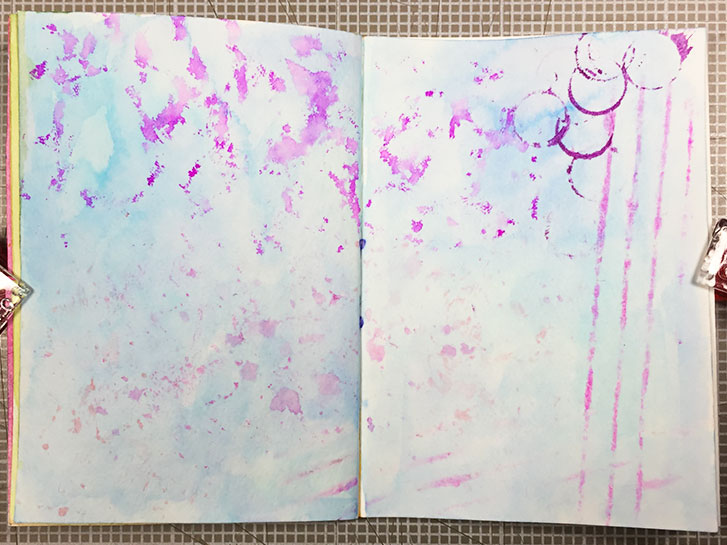
Choose two or three markers in the same color family. Scribble with them on your palette. Using a bit of water and your brush, pick up the ink from the palette and paint across your page. Allow to dry completely.
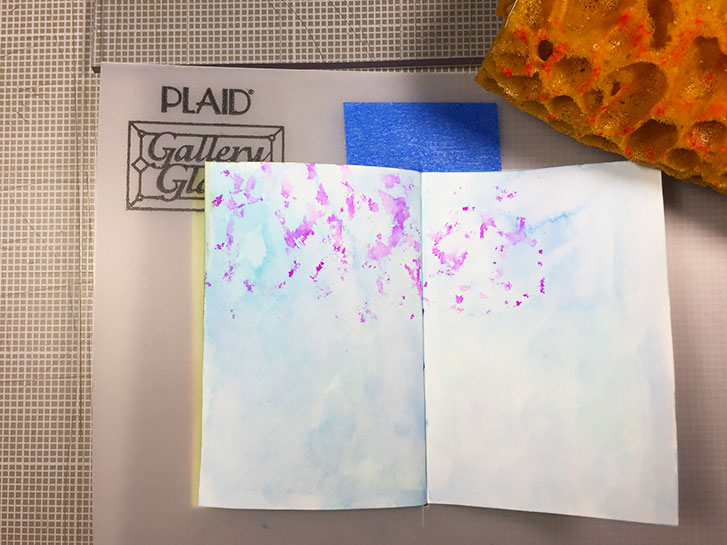
Note: For the next steps, you’re going to experiment and explore. I am going to show you some things that you can do, but you should try anything that you feel will make an interesting texture on the page. If you’re not sure, try it on scrap paper first!
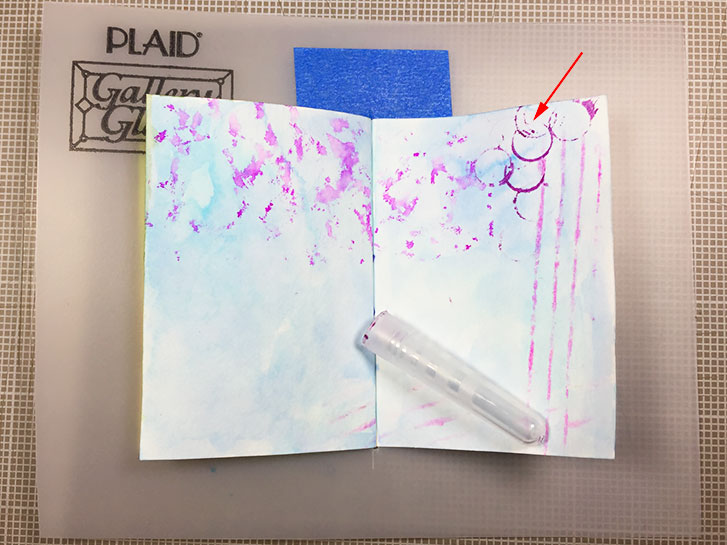
Select a few markers that are in a contrasting color group. You’re going to use these markers, along with found items to add more texture to your layout. I’m going to show you the things I did, but keep in mind that your results will be different.
Sponges
Try a variety of sponges. If the sponge is large, you may want to cut it down to a smaller size or shape with scissors. To use a sponge, dampen it with water, then wring out as much water as you can. Scribble on a piece of plastic with a marker. Press the sponge into the ink, then, using a stamping type motion, stamp the sponge onto the background. Different types of sponge will produce different marks.
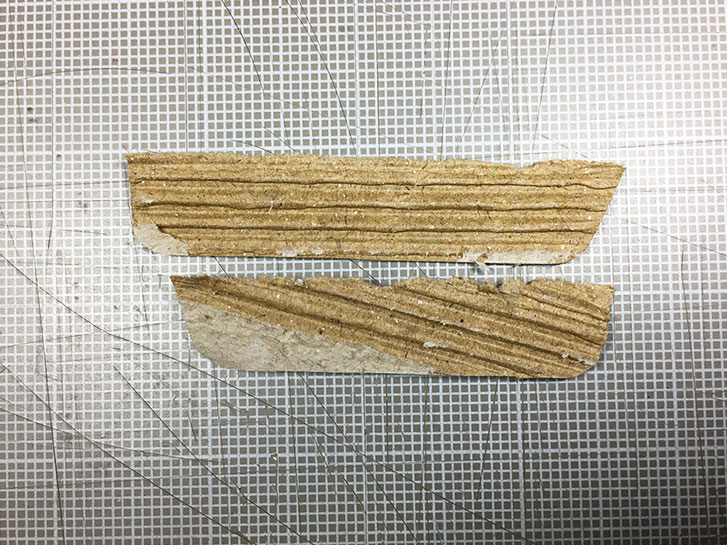
Corrugated Cardboard
You can peel pieces of cardboard apart to get to the texture inside.
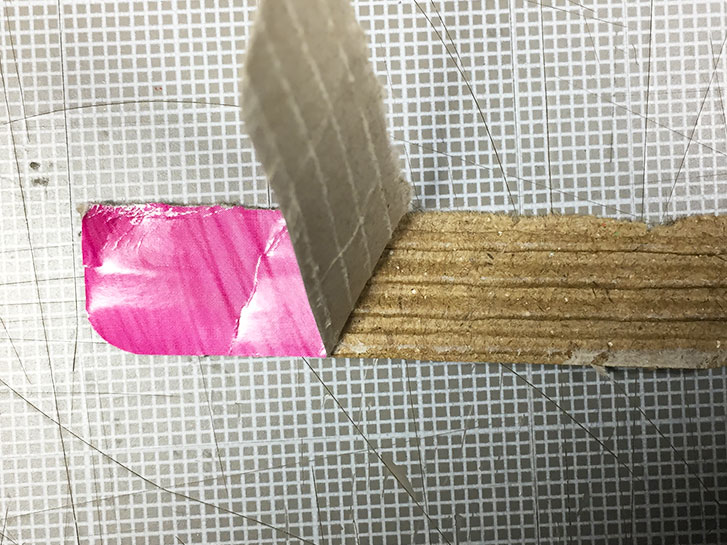
To use the cardboard, use a paint brush and a bit of water to dampen it. Scribble with marker on the plastic and use the cardboard to pick up the ink. Stamp the cardboard onto the layout.
Random Plastic Objects
You can find random plastic objects all over the house. The kitchen is a good place to look. To use most of them, you can just scribble right on them, and then stamp directly on the page. If that doesn’t work, you can also try scribbling the ink on your palette and then picking it up with the object and stamping.
Plastic Wrap, Plastic Bag
You can squish up plastic wrap, a lunch bag or a piece of shopping bag and wrap it with a rubber band to make a texture stamp.
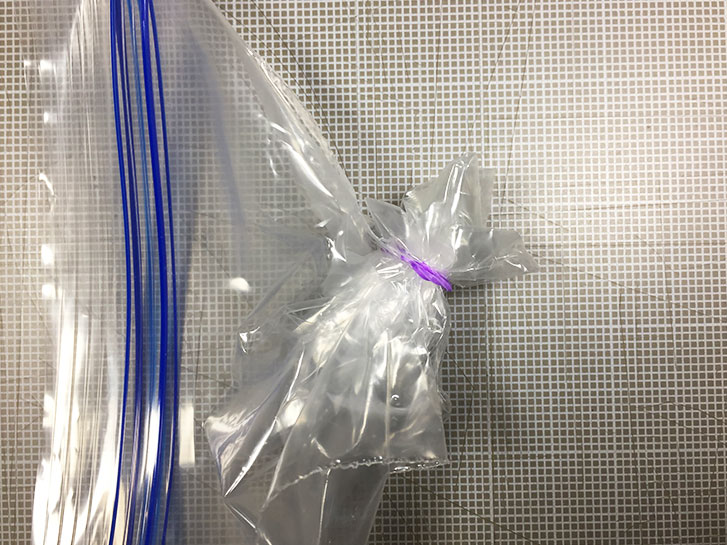
You can use this two ways. The first is as we have been doing, by scribbling on the palette, picking up the ink and stamping. You may have to add some water, but only use a tiny bit! You can also scribble right on the plastic with the marker and stamp.
Let everything dry completely before moving on.
This tutorial is for personal use only. ©2019 Tandika Star
If you would like to join a group of fellow art journalists, follow along with these and other tutorials, and show off your work, you can find this and more in the Micro Art Journal group on Facebook!
#microart #microartjournal #miniatureartjournal #miniartjournal #miniatureart #tinyjournalnation #allthingstiny #allthingsminiature #microartjournaling #tinyartjournal #travelersnotebook