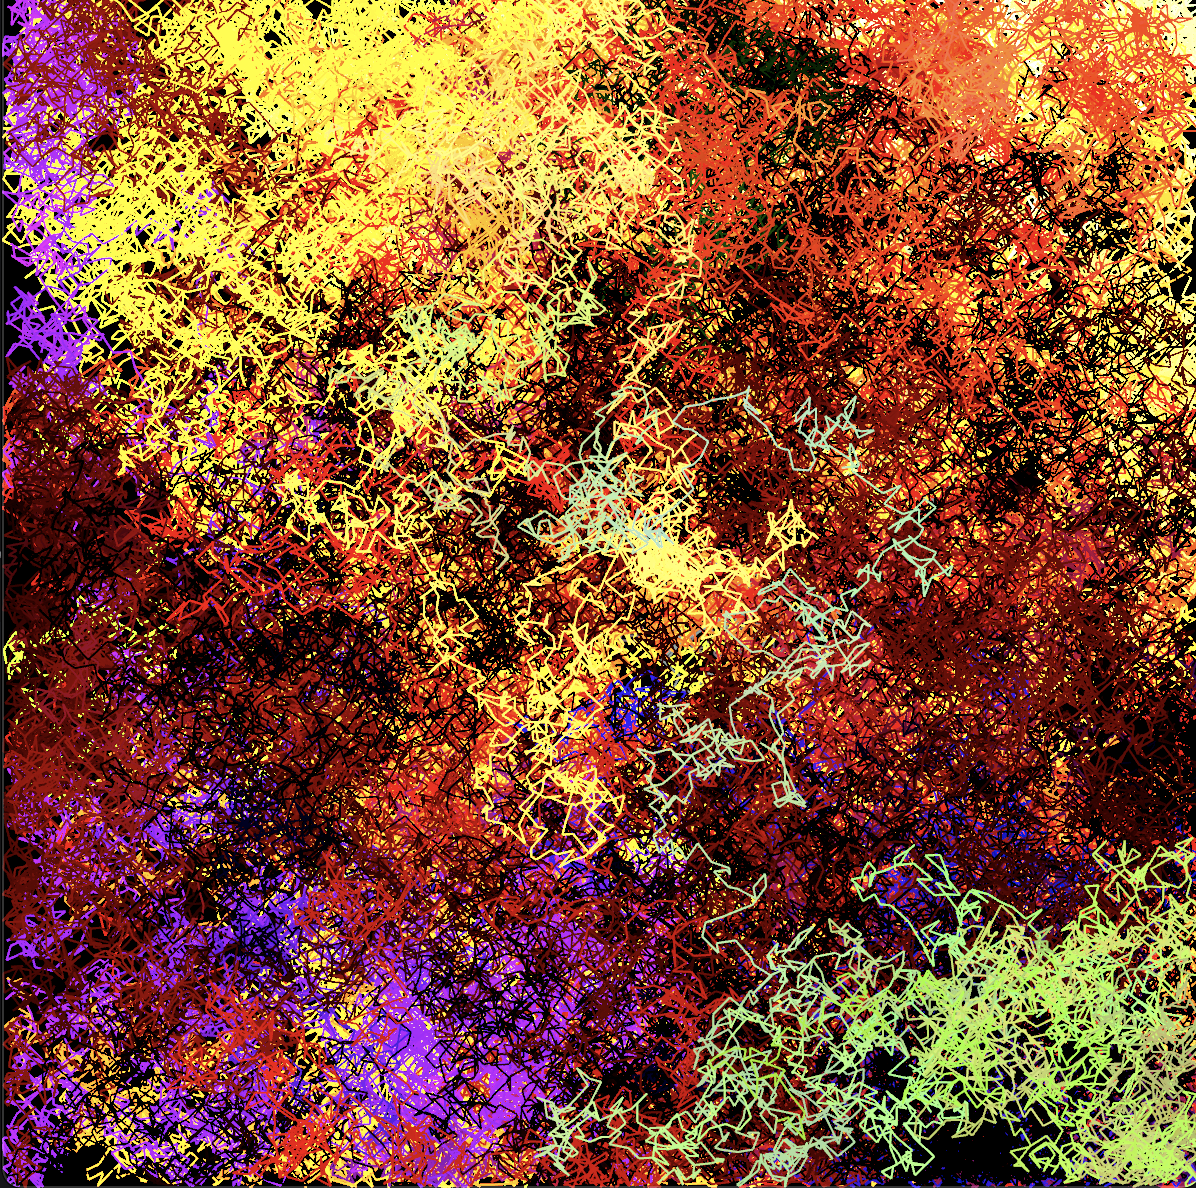
Way back when I did my very first The Artist's Husband post , I used Javascript and p5.js to create a drunken lines drawing, a drawing where the direction of a line (as well as its color) is chosen by random. Doing this over and over again eventually fills the windows with a colorful image such as the one at the top of this post.
Here is a Nannou app which does pretty much the same thing:
use nannou::prelude::*;
use nannou::rand::rand;

fn main() {
    nannou::app(model).update(update).run();
}

struct Model {
    position: Point2,
    next_position: Point2,
    color: Rgb<f32>,
}

fn model(app: &App) -> Model {
    let width = 600;
    let height = 600;
    app.new_window().size(width, height).view(view).build().unwrap();

    let position = pt2(0.0, 0.0);
    let next_position = pt2(0.0, 0.0);
    let color = rgb(0.5, 0.5, 0.5);

    Model { position, next_position, color }
}

fn update(app: &App, model: &mut Model, _update: Update) {
    let rect = app.main_window().rect();
    model.position = model.next_position;
    model.next_position = new_position(rect, model.position);
    model.color = new_color(model.color);
}

fn view(app: &App, model: &Model, frame: Frame) {
    let draw = app.draw();
    draw.line()
        .start(model.position)
        .end(model.next_position)
        .weight(1.0)
        .color(model.color);
    draw.to_frame(app, &frame).unwrap();
}

fn new_position(rect: Rect, old_position: Point2) -> Point2 {
    let x_change = rand::random::<f32>() * 20.0 - 10.0;
    let y_change = rand::random::<f32>() * 20.0 - 10.0;
    let mut x = old_position[0] + x_change;
    if x > rect.right() || x < rect.left() {
        x = old_position[0] - x_change;
    }
    let mut y = old_position[1] + y_change;
    if y > rect.top() || y < rect.bottom() {
        y = old_position[1] - y_change;
    }

    pt2(x, y)
}

fn new_color(old_color: Rgb<f32>) -> Rgb<f32> {
    let red_change = rand::random::<f32>() * 0.02 - 0.01;
    let green_change = rand::random::<f32>() * 0.02 - 0.01;
    let blue_change = rand::random::<f32>() * 0.02 - 0.01;
    let mut red = old_color.red + red_change;
    if red > 1.0 || red < 0.0 {
        red = old_color.red + red_change;
    }
    let mut green = old_color.green + green_change;
    if green > 1.0 || green < 0.0 {
        green = old_color.green + green_change;
    }
    let mut blue = old_color.blue + blue_change;
    if blue > 1.0 || blue < 0.0 {
        blue = old_color.blue + blue_change;
    }

    rgb(red, green, blue)
}
This follows the same model as in the
last post
. The Model struct has some fields we need to keep track of and modify as the program progresses. The model() function creates an instance of Model, populating it with some starting values. The update() function makes changes to the Model values, randomly choosing a new location to draw a line to, as well as a new color. The distance the new location can be from the old is limited, and there is a check to make sure it doesn’t wander out of the window. Likewise, the color can’t be too far off from the previous color, and there are checks to make sure is stays within the allowable colors. And, of course, the view() function actually adds the new line segment to the window.
Aside from the obvious differences in the output, there are a few differences between the last post and this one.
First, Nannou provides a type called Point2, which is a two-dimensional point. This works well for storing a position in a two-dimensional window, and is easier to manage than separate x and y variables like we used last week.
Nannou also provides some useful types for keeping track of colors. We are using Rgb<f32> here, which stores colors as a combination of red, green and blue levels. The <f32> here means that those values are stored as 32-bit floating-point values.
There are some additional functions, new_position() and new_color(), which can be passed the current values and will randomly choose new values within certain parameters. These are for convenience and readability. All that code could have been put into the update() function, but it would have made for a long and confusing function.
Lastly, this program never sets a background color, relying instead on the default black background, You could set the background, but be careful about doing it in the view() function, as doing it there will erase the screen before each line is drawn, and the lines won’t accumulate. You could avoid this problem by only setting the background the first time view() is called, which means you’d need to add something to the Model to signal whether or not view() has ever been run before.
Compare this to the original Drunken Lines post . You have exactly the same functionality, but the Rust/Nannou version has almost twice as many lines of code. Is it worth it? For something this simple, probably not! Where Rust and Nannou will shine is when the code gets far more complicated. I think it’s worth the effort, and will continue to use Rust as my creative coding language for the foreseeable future.
The full Rust project for this post can be found at https://gitlab.com/theartistshusband/drunken_lines_relapse.