I posted the first installment of this project on March 4th. Finally, after almost two weeks, I’m back on track. Unfortunately, my whole family came down with a nasty virus, and we’ve ALL been sick, including me! I sincerely hope that is in the past, and I can move on with this project!
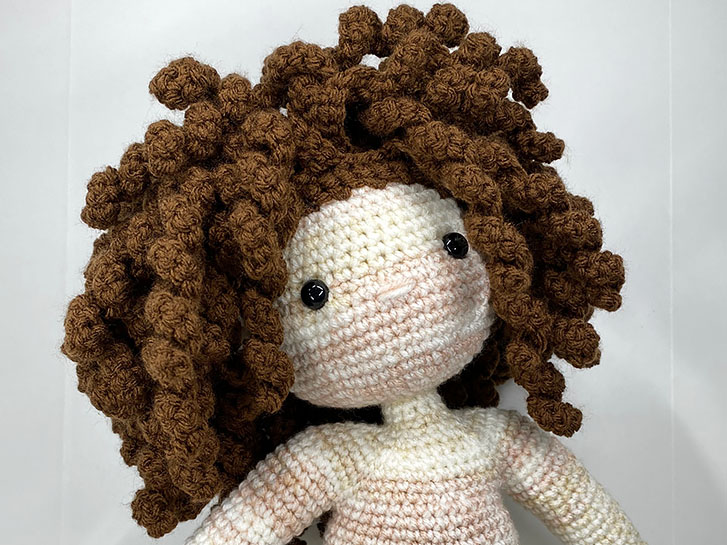
When the body is finished, the next step is to give the doll hair. A kind of wig cap is crochet, creating “rows” by only using the back or front loop of the rows. The wig cap is sewn onto the head, and then individual strands of hair are crocheted into the remaining loops.
I chose to make long curls. Originally, I planned on ironing them out, creating long, straight strands of hair. After showing the completed wig to a few people, they liked it curly, so it’s not going to get pressed.
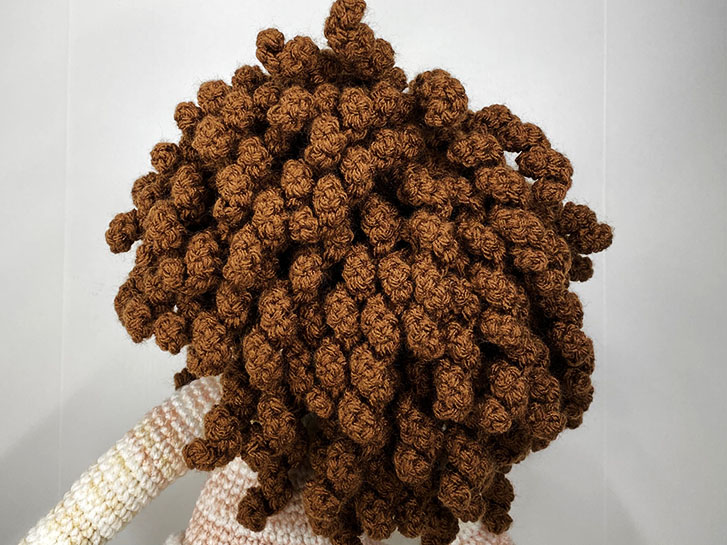
Here, you can see how full it is in the back.
Over all, I don’t recommend doing this. I misread the instructions, and there is a “curl” every five loops all over the head. The hair is very heavy, having used the majority of a full skein of #4 yarn! Although I reinforced the neck, it is really just too much and the neck now wobbles.
Even with the mistakes, though, my review team thinks she’s really cute. And if it was a doll meant to be played with, the neck might loosen up over time, even with short hair!
So, now that the whole body is finished, it’s time to start in on clothing!
Stay tuned!
#crochet #amigurumi #amigurumidoll #crochetyou #crochetdoll