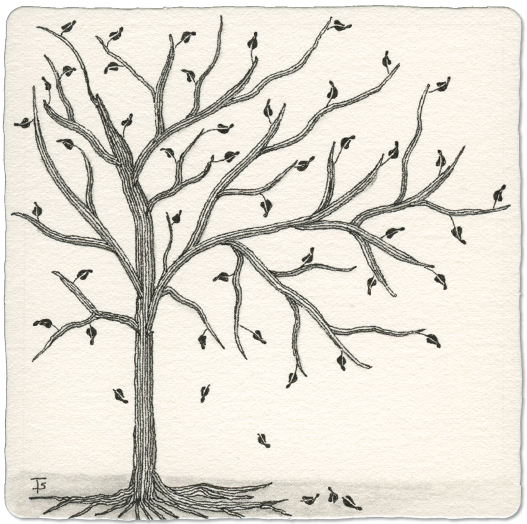
Inktober Tangles - Day 13 - Mythograph by Zentangle
Mythograph is a tangle that builds from the center out, line by line. It generally looks more like a pine tree, or a strange fern. You can see a more traditional version on the tile here .
My Inktober version is meant to celebrate fall, when the leaves change color and drop from the trees. It still follows the same path as the standard version, I just put the new fronds out as branches.
Inktober Tangles - Day 12 - Ole-Ole by Reyes Galindo CZT
Ole-Ole is a new tangle for me! I found it very fun to draw, making nice fat sections of the central motif, as you can see above. It offers areas in the main body to add all kinds of enhancements.
This tangle could be used as a border, a ribbon, or a medallion. I can even see how it might fill a section of a multi tangle tile.
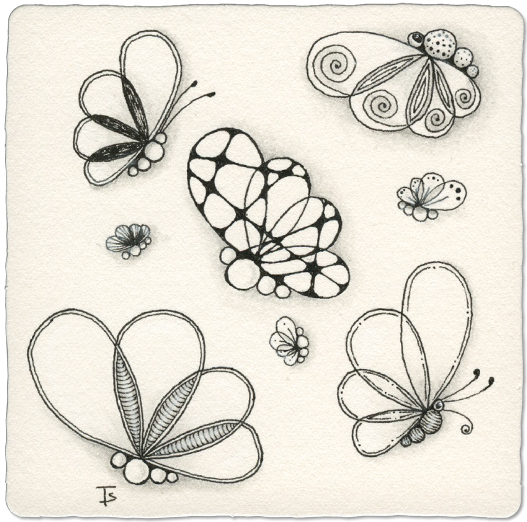
Inktober Tangles - Day 11 - B-Fly by Paz Munoz Camacho CZT
Nothing like a garden full of B-Flies! This is a fun, easy to draw tangle. While the shapes are simple, there’s plenty of room to add your own embellishments. I really enjoyed figuring out different things to do with each “bug”.
This is another one that I’m adding to my collection of random tangles for meditative tiles.
Inktober Tangles - Day 10 - Zenith by Zentangle
I’ve drawn Zenith many times, but never before as a monotangle. This time, I wanted to take the opportunity to draw it much larger than I normally do, and to make it “fancy”.
It was fun to figure out what I wanted to do with each area of exploration offered, but still stay with the basic idea of the original tangle.
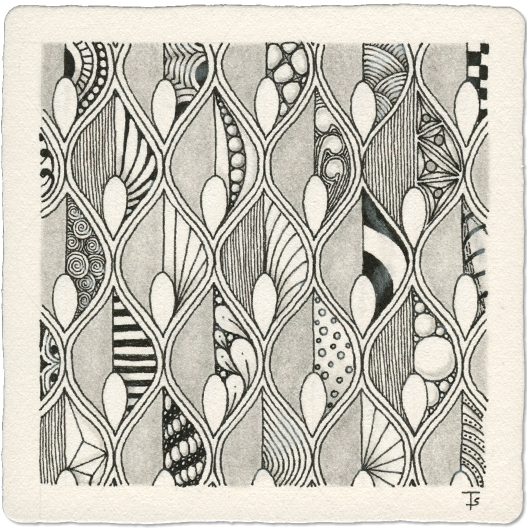
Inktober Tangles - Day 9 - Lilife by Barbara Styer CZT
This tangle is new to me. It can be drawn as individual leaves, or, as I did here, in an Ogee grid. I chose the grid so that I could create a monotangle of sorts, and to leave lots areas for embelishment.
Some of the designs used for decoration are other tangles, some are parts of fragments, and some are just ideas from my imagination.
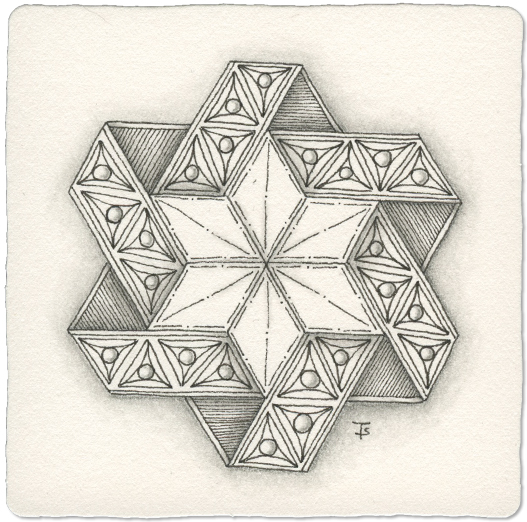
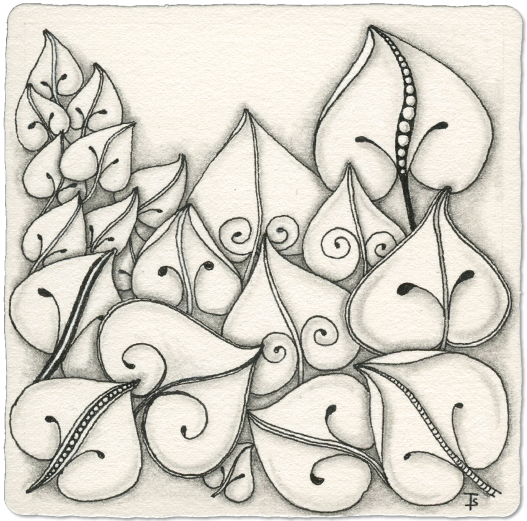
Inktober Tangles - Day 08 - Chomborós by Tania Ferriol Jover
Chomborós is a tangle that produces a beautiful, bordered, 6-pointed star. It is important to follow the Step-Out carefully for the best results.
For my version, above, I treated the outside border as if it was a folded ribbon, with a decorative side, using Tripoli for the design. On the plain side, I used vertical lines to show the wrong side of the ribbon.
Inktober Tangles - Day 07 - Rambles by Zentangle
Rambles is a lovely tangle. It can be used to frame a central motif, or it can be it’s own focal point.
That being said, for me, this simple tangle is a challenge. For some reason, my brain doesn’t want to turn my curved squiggle into a ribbon. I have to do all the steps after that initial line very, very carefully and slowly. Even then, I often make mistakes.
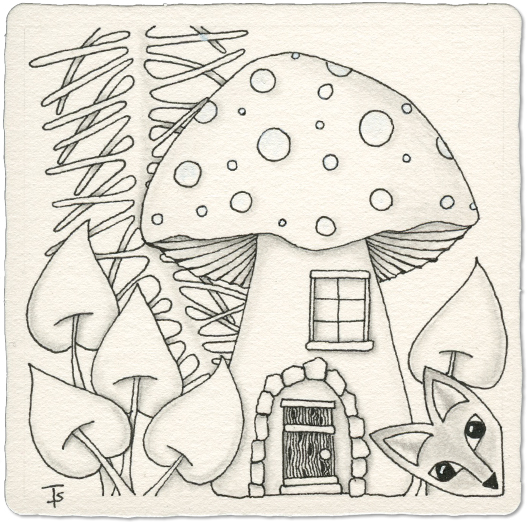
Inktober Tangles - Day 06 - Auravox by Stephanie Jennifer CZT
I am breaking from creating monotangles for Inktober with this tile. Instead of drawing a single tangle in vairous styles, this tile is what is called a “ZIA” or “Zentangle Inspired Art”.
There is a single AuraVox in the lower, right-hand corner. But that made me think of Forest Core, which lead me to the Mushroom house. Then I used two tangles, Poke leave and Locar to represent plants found on the shady forest floor.
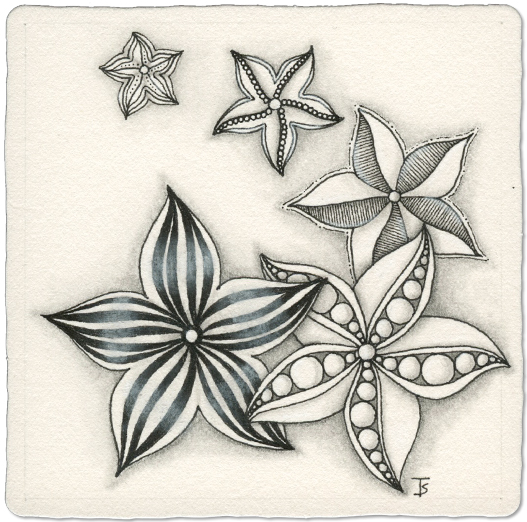
Inktober Tangles - Day 05 - StarRite by Nina Dreher-Goddertz
In terms of Zentomology, StarRite is a bottanical, medallion type of tangle. It’s not difficult to draw, but there’s lots of room for embellishment.
You could fill a space with smaller, overlapping stars, or create a focal point, large star. It could be a star in space, or a starfish in an ocean scene.
This tangle will be added to my repertoire of tangles.
Inktober Tangles - Day 4 - Toodles by Zentangle
Toodles is a wonderful, leaf-shaped organic tangle. While it has a basic shape, you can play around with it and create a lot of variation without altering it very much.
This tile was fun to create, varying the size, the treatment of the center rib, adding a spot where the leaf folds over, or changing the look of the little Fescu bits of each leaf! I also shaded some of them differently than I normally would.
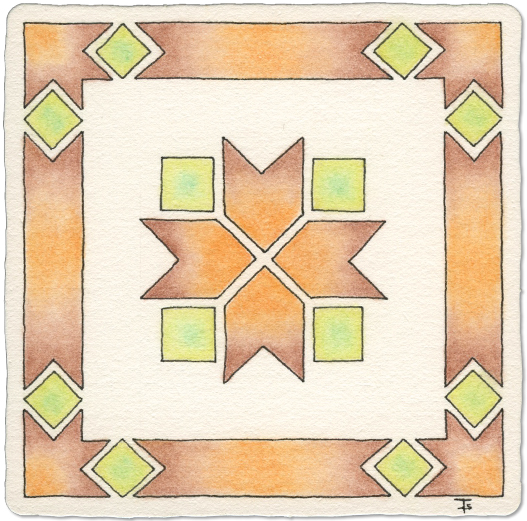
Inktober Tangles - Day 3 - Melvina by Nadine Roller CZT
This is a totally new tangle to me. I had never heard of it until I saw it on the Inktober Tangles list. It reminds me of Native American designs or quilt designs.
Here, I drew this tangle with no modifications. I added some simple, ombre color using pastel pencils.
I will play with this some more in the future to see what can be done combining it with other tangles, creating tangelations and adding texture to create more depth and complexity!
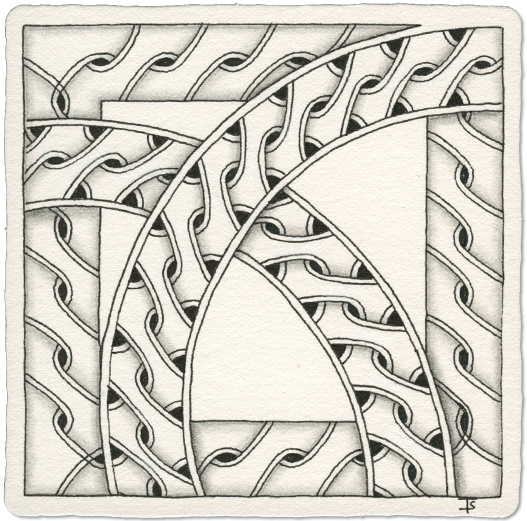
Inktober Tangles - Day 2 - Speedwayz by Carla Jooren CZT
Today’s tangle, Speedwayz, isn’t particularly difficult to draw, once you know where to start! Here, I’ve drawn two different versions. The square border is the basic version. In the arches is the Speedwayz Extra version. It is the shading that really makes this tangle stand out with dimension and depth.
Zentangle drawn on a standard, white Zentangle tile using a black, Micron pen. Shading done with graphite pencil. Highlights created with white chalk pencil.
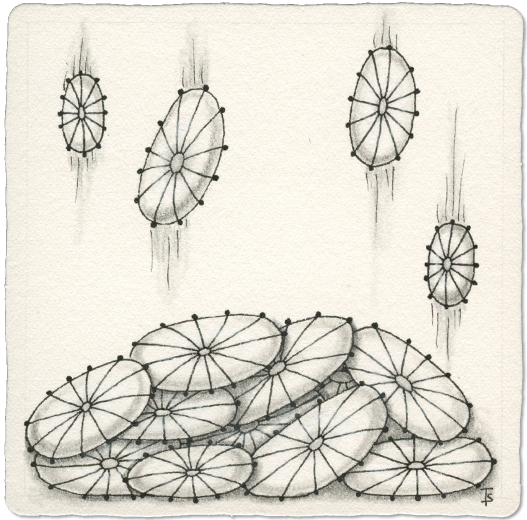
Inktober Tangles - Day 1 - Festune by Zentangle
For my Inktober 2025 Project, I am following the tangle list from Stephanie Jennifer, CZT . If you want to know more about it, you can click on her name to go to her website.
Today’s tangle is Festune. It looks a bit like a fancy cushion that you might use to decorate your living room. Depending on how you draw them, they might look a bit like a paper umbrella! I love to draw them piling up as if they were thrown or dropped into a haphazard pile.
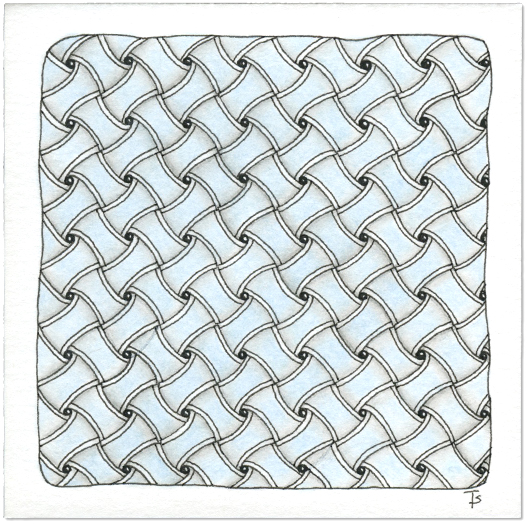
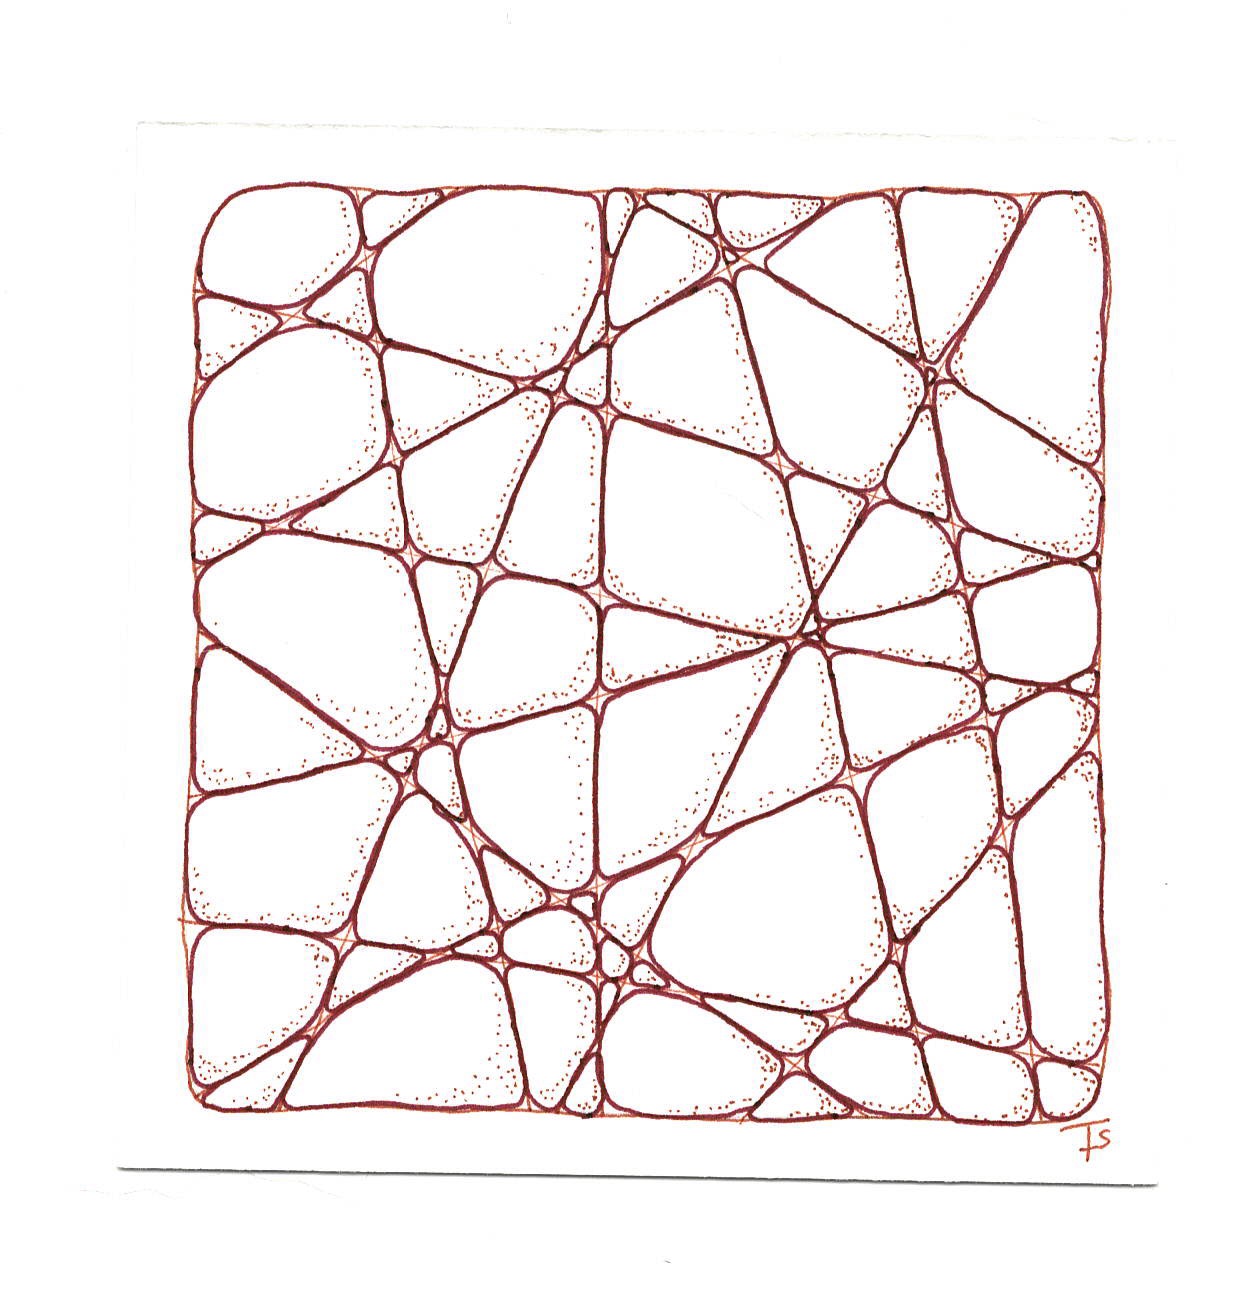
Fragment D4 applied to a grid. This almost looks like Huggins! But there is a small difference.
Some days I don’t have a lot of time to tangle because other things are going on. On those days, I often do a tile with grid tangles. For me, they are simpler to work with, in particular if done as a monotangle.
So for this tile, I just picked a random fragment and added it to a simple, square grid. Over all, it’s OK, but I think next time, I will make the grid with larger squares! This got a little tedious towards the end.
A gaggle of gourds!
Sometimes, a monotangle is just what you need. I drew this version of Gourdgous on a small bijou tile recently and ever since then, I really wanted to try this on a regular tile.
I drew a random string with lots of sections, then I squished a gourd into each one. It almost looked like the tangle Bunzo, but with seeds until it was shaded and the highlights were added.
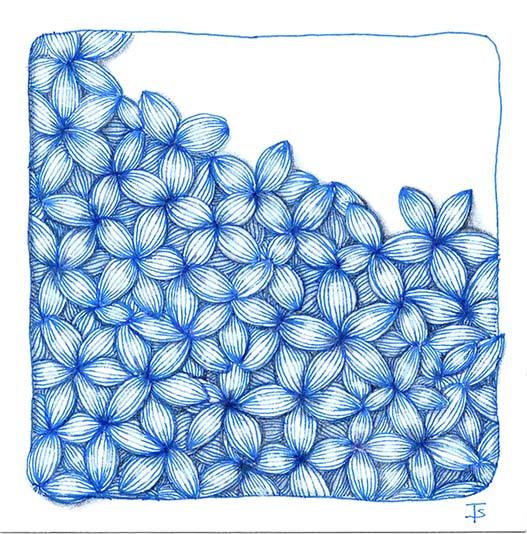
Another monotangle day.
This one is more complex than yesterday’s tile. I was sorting through my old Micron pens to see what worked, and what didn’t. I found a blue, 01 pen and decided I would use that for today’s tangling.
I didn’t want to shade the tile using a regular lead pencil, so I chose a darker blue colored pencil. I really like the effect it created!
I also added highlights to the top layer of petals, just to make them pop out even more.
Crazy Nzepple is another tangle that I love to draw. There is just something very soothing about smooshing orbs into a defined shape!
Zentangle drawn on Strathmore Vellum Bristol using brown and sepia Micron pens. Shading done with pen stippling.
I chose not to add any pencil shading to this tile because I love the simplicity and graphic quality of the basic drawing.
#zentangle #monotangle #tile #drawing #tangle
Tangles: Crazy Nzepple
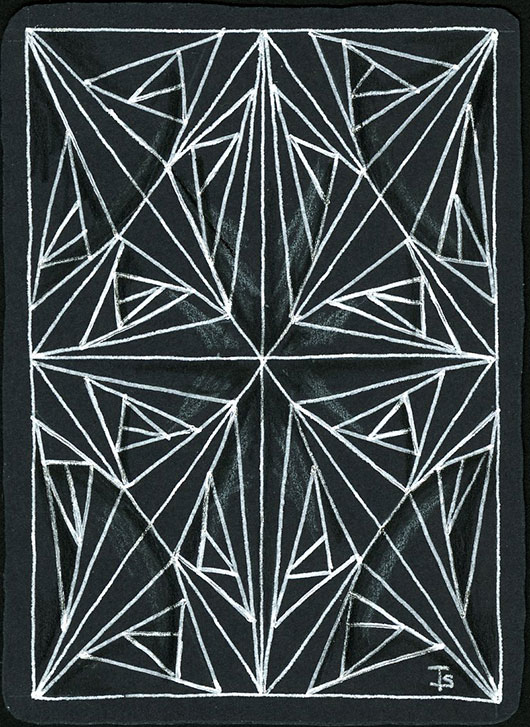
Did you notice that I skipped a number in this series of ATC cards? While this one was actually the sixth one I did, I saved it for the last because of the way it came out.
Ok. I had this idea about using Paradox to make a symmetrical design. I think it sort of worked… but not at all what I imagined it would look like!
ATC #6. Project done!
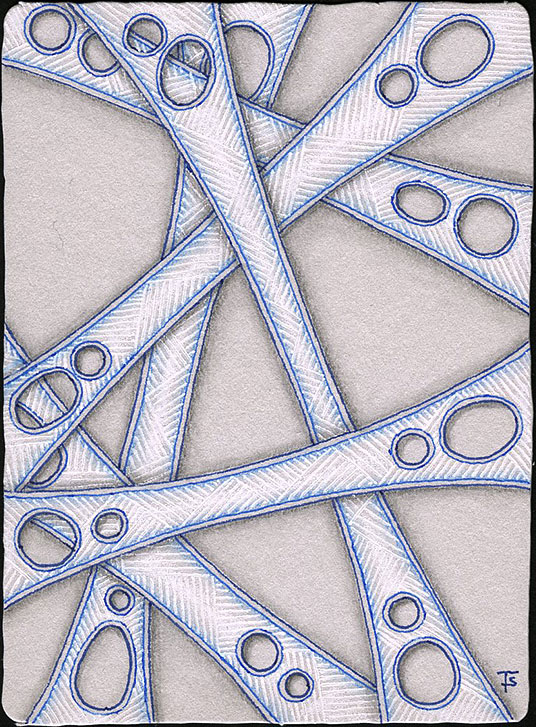
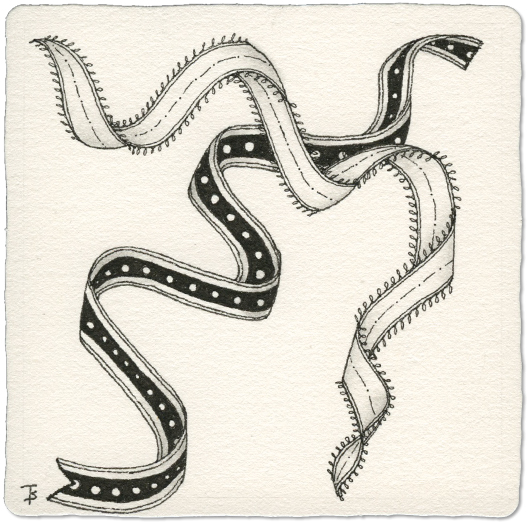
Sometimes the simplest tangles can have a powerful impact. It depends on how you treat them.
Here, I used Hollibaugh, but gave it a bit of a curve. Then I made it holey!
And a little touch of blue just makes it magical.
ATC #11
Zentangle drawn on a cut down, grey, Official Zentangle tile using a blue, Micron pen, cobolt, Copic Multiliner, and white Gelly Roll. Shading done with graphite, Copic marker and colored pencil.
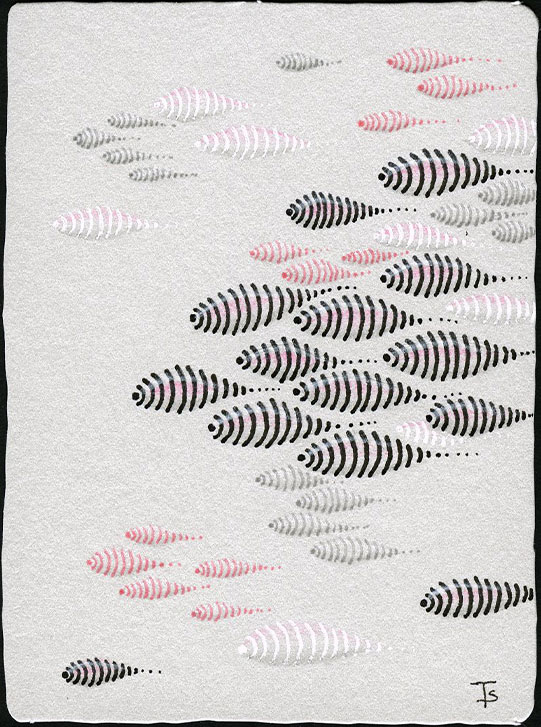
“Fishy, fishy in the brook, Daddy catch him on a hook, Mommy fry him in a pan, Johnny eat him like a man.”
– Unknown
Looking for a simple tangle that can be use in a variety of ways? Take Indy-Rella out for a spin!
Depending on how you draw it, you can suggest flames, or fish. You can add them to the ends of Fescu, turning them into some kind of plant, or follow various contours to create a nice, organic fill.