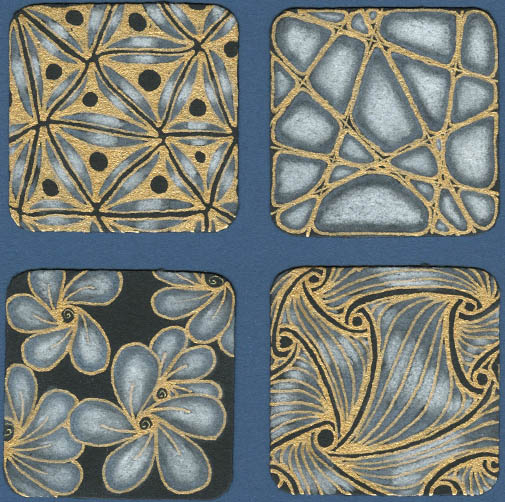
Project Pack 07 - Day 4
This video for this day’s project is located here .
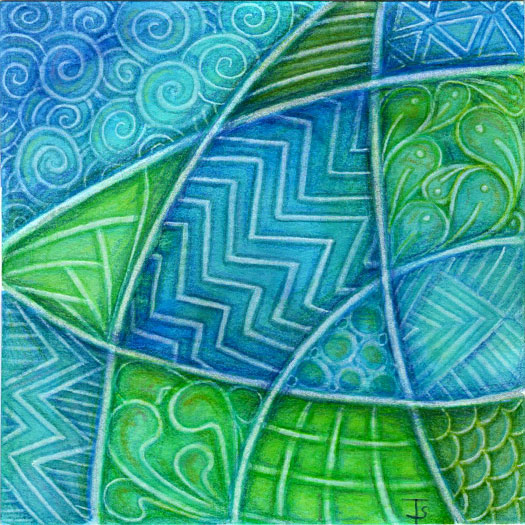
Today’s project was to use black Bijou tiles with the blue pastel pencil to show how a blue-grey color can be used to advantage on a black tile.
All the tangling was done with a gold, Gelly Roll pen. The flow from this pen is lush, and you have to get used to what speed to use to achieve the line quality you want. If you hesitate or pause, the ink keeps right on flowing!

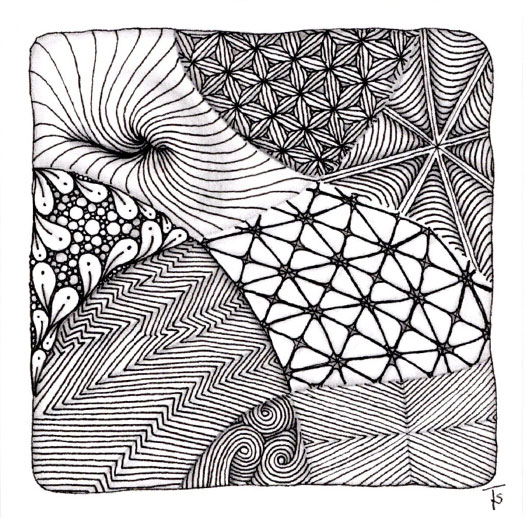
Project Pack 7 - Day 3
A beautiful star.
The video for this tile is here .
I am becoming more comfortable with Zendala tiles! I didn’t have many qualms about tackling this day’s drawing… other than it fell on a day of the week when I have the least amount of free time. But that’s ok. I just finished it the next morning.
I am also getting more comfortable working on grey tiles. Right now, here, it is well over 100 degrees every day. The grey and blue combination is very cool and refreshing in comparison!
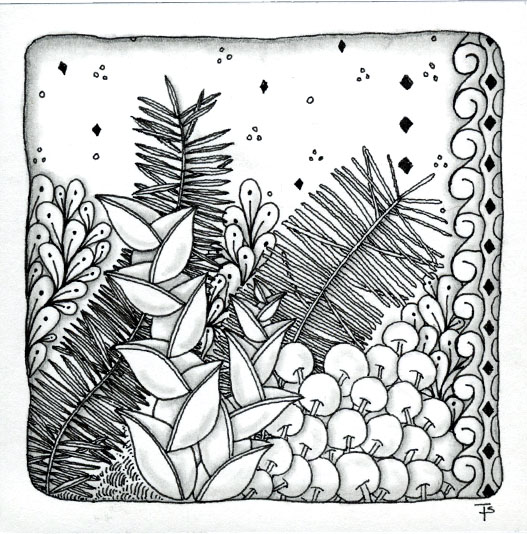
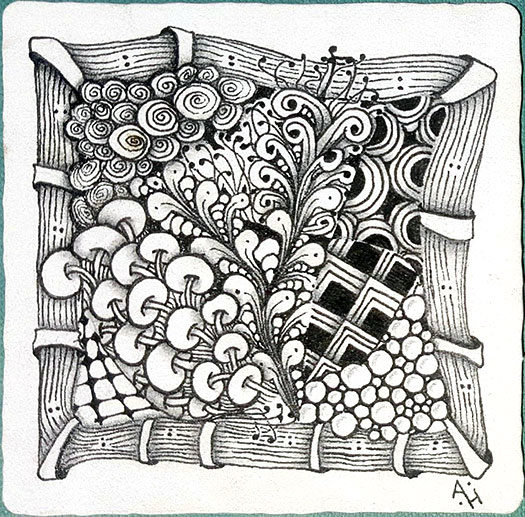
There are tangles that we love and draw over and over again. There are tangles that we don’t draw often because they are kind of like a pair of new shoes…kind of unfamiliar and uncomfortable. For me, this tile contains both.
My husband says that this tile reminds him of Christmas. I can see what he means: pine branches, berries and decorative leaves, oh my!
Zentangle drawn on Strathmore Vellum Bristol using a black, Micron pen. Shading done with graphite pencil.

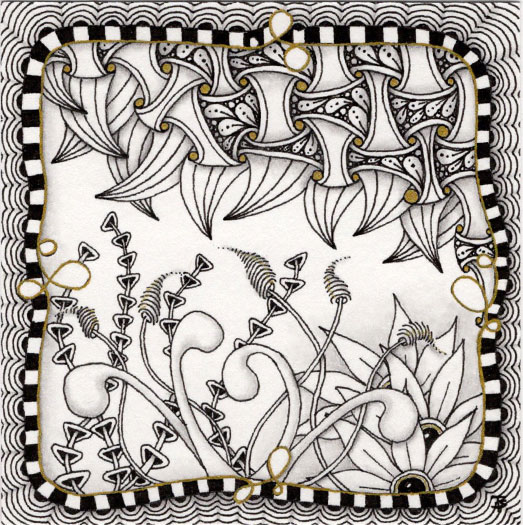
Today I was rearranging a row of drawers in my office studio when I came across an unfinished ATC (Artist Trading Card), probably from 2018. It had the border completed and the large Well leaf-like shapes had been drawn.
I decided to add some large MOOKA shapes all around and then just filled in between the upper ones with perfs.
I added the inner lines to the flower petals to make them look a bit like they were cupped.
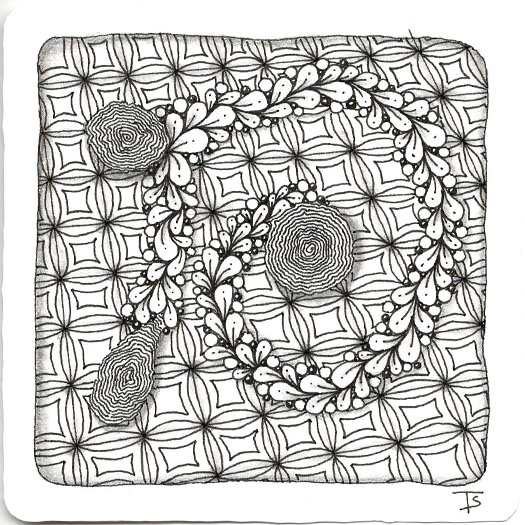
Day four of going back to basics with my Zentangle practice. For this tile, I chose a string at random from the instruction booklet, and random tangles from the Legend card and the back of the booklet.
While I enjoyed creating the tile, and it worked great for the reasons I tangle, I am not as excited with the end results. I loved the Cogwheels and the Flux ribbon, but when I added the background, it did nothing to enhance them. It isn’t enough contrast, and distracts from the other tangles.
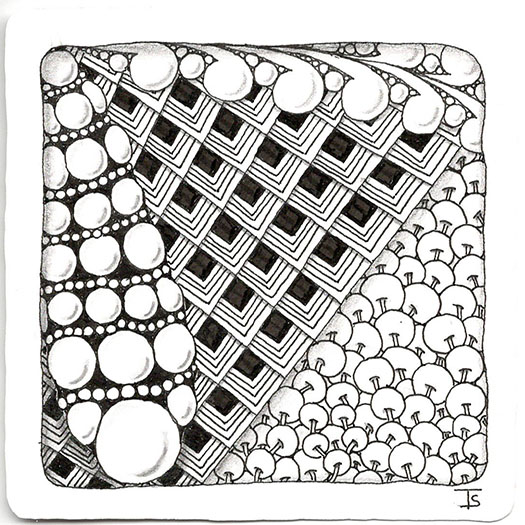
Day three of my back to basics journey along the Zentangle path! Today, I continued following the instructions in the little booklet in my kit. I randomly selected a string from those shown. It was a triangular shape in the middle of the tile, with three other triangles around it to make up the square.
I don’t have the die that belongs in the kit any more, so I just used a random number generator on my phone to select tangles from the Legend Card in the kit. Just by chance, I got three different tangles with rounded designs and a single, angular grid design! The combination worked out perfectly for this string!
Back to classic style! Random string with random tangles!
Zentangle drawn on Strathmore Vellum Bristol using a black, Micron pen. Shading done with graphite pencil.
Tangles: Claws Crazy Nzeppel Flux Nexton Pods Pokeleaf Poke Root Sez Shard
It’s been a while since I’ve done a meditative Zentangle. I took the time for this one because I was having one of “those days”. The Zentangle method is a great technique for setting aside all of the outside world noise and just relaxing and drawing for a bit.
Give it a try!
Zentangle drawn on Strathmore Vellum Bristol using a black, Micron pen. Shading done with graphite pencil.
Melting Mooka, introduced to us by Zentangle's Project Pack #6 , is a wonderful version of Mooka that can be used to as a string to divide a tile into smaller spaces.
These internal sections, when filled with other tangles, result in a tile that gives the impression of stained glass windows.
This was a fun, playful exercise!
Zentangle drawn on Strathmore Vellum Bristol using a black, Micron pen. Shading done with graphite pencil.
Generally, now days, I use fewer tangles on a tile that I did when I began 10 years ago. But not always.
Yesterday, I decided to create a complex string and use a lot of different tangles. I had been looking through tiles from years ago and I wanted to see if I could still tangle in that style.
It took longer to choose the tangles than it did to draw them! 17 tangles is a LOT!
This tile was created following the instructions from Eni Oken ’s Art Club ’s latest lesson, Glazed Whitework .
It all started with a watercolor tile. It was an interesting challenge to draw the string and all of the tangles using a white colored pencil. Then more color was added creating the depth and shading you see here.
One of the most challenging things was to select appropriate tangles. It’s much more difficult to create detail with colored pencils than if you were using an inking pen.
My random tanglizer spit out a lot of tangles for practicing line work yesterday. At first, I was a bit worried that these wouldn’t produce enough contrast. But after using my magic wand (actually, a pencil), I like the way they became distinct and unique!
Zentangle drawn on Strathmore Vellum Bristol using a black, Micron pen. Shading done with graphite pencil.
Tangles: Fassett Flux Fracas Nzepple Sand Swirl Static Tipple Xircus
This tile is the result of an ongoing challenge (#TangleTagCZT30) on the Zentangle Mosaic app . Each person is to create a tile using all of the tangles that came from previous CZTs in the chain, and add one more of their own choosing.
There were seven people in the chain when I was tagged. I’ve added the eighth tangle, Zailz.
I found this interesting, and very challenging. This was a lot of different tangles to try and fit on a single Zentangle and still have anything that wasn’t total chaos!
Amanda created this tile with the help of her family! She has four children that range in age from 7 to 17 years old.
She started by creating the string and then, each child would roll a dice and select a random tangle. The child would also choose where the tangle would go in the string.
The kids got a big kick out of challenging Mom, and they had a ton of fun. In addition, the final Zentangle came out great!
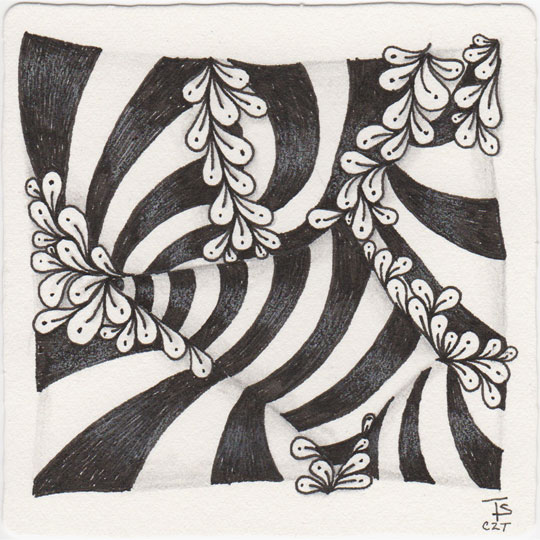
I think we’ve found a special dimension that warps time and space. As we go along for the ride, the plants along the side of the path start poking through here and there to remind us of where we’re going.
Zentangle drawn on an Official Zentangle tile using a black, Micron pen. Shading done with graphite pencil. Highlights done with white colored pencil.
Tangles: Flux Striping
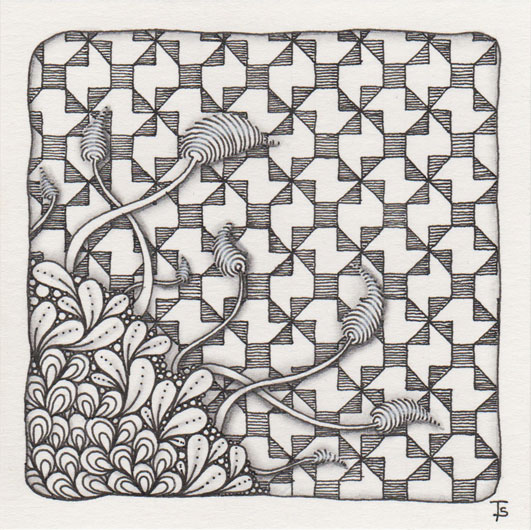
Caution.
The stinging pods were almost hidden against the background design. Only their vibrating movement gave them away when she looked carefully. She was so glad that she noticed them before they paralyzed her!
Zentangle drawn on Strathmore Vellum Bristol using a black, Micron pen. Shading done with graphite pencil. Pastel pencil highlights.
Tangles: Antidots Canard Flux Zinger
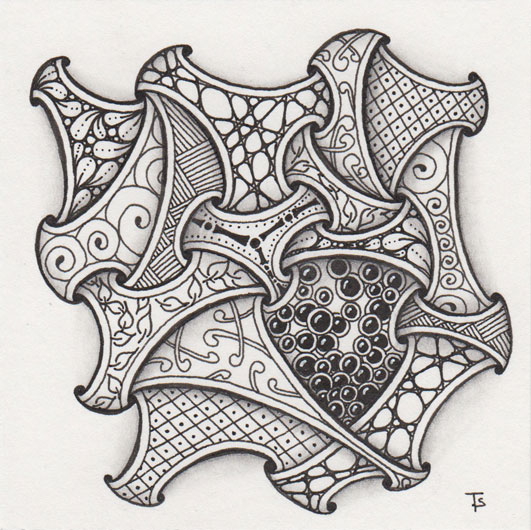
Interwoven.
Everything in their lives was interwoven. No single thing could exist without the other. Each element fed the whole.
Crazy Huggins is a wonderful example of single elements combining to make a complete design. In this version, I used a fair amount of shading to add additional dimension to each decorated section. I also used a heavier line weight around the outside to define each section and a finer width pen for the decorative elements. All of these things together create a more graphic finished tile.
This tile uses a basic technique referred to as a Zenbutton. CZT Marguerite Samama is credited as the inventor of this technique. She was experimenting with methods for using Fragments in different ways when she discovered it.
You can watch an instructional video, created by Melinda Barlow, CZT, here , to see the basic technique.
I’ve been thinking about trying it for a few days. Yesterday, I sat down and went for it. For my first attempt, I’m very happy with the results. I will definitely add this to my tangle enhancing techniques!
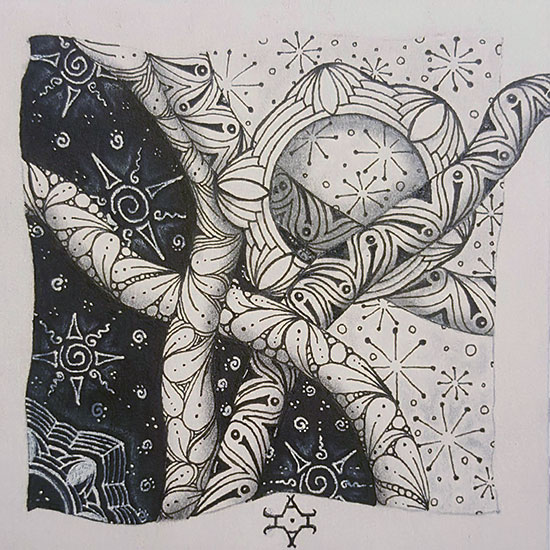
This tile was done by Amanda. I absolutely love it. She decided to experiment with having both a light and a dark background on the same tile, and I think it worked really well. I love the way it shows off the white “ribbons” of tangles on top of the dark areas. I am also super impressed by the intertwining of all the elements!
Zentangle drawn on Strathmore Vellum Bristol using a black, Micron pen and white, Sakura Gelly Roll pen. Black area colored with a Sakura Identi-Pen. Shading done with graphite pencil and white chalk pencil.
This wonderful tile was created by my daughter. She is my student and protégé! She is such an amazing artist and she loves to be my class tester. It never ceases to amaze me what she will do and whether she will change something because she likes her way better. I’m so proud of her and so happy we will both become CZTs at the same seminar!
She saw my similar tile and asked me to teach her how to do it. It’s always a great opportunity for me to have a “practice student!” And it’s so much fun to work together.