On Wednesday, I decided to tangle a tile with whatever I felt like. Crazy Huggins is one of my favorite tangles. If you look through the Zentangle Gallery here, or click on Crazy Huggins in the tangle list at the bottom of the right side, you can see how many times I’ve done this tangle as a kind of “string”, and then filled in the centers with other tangles!
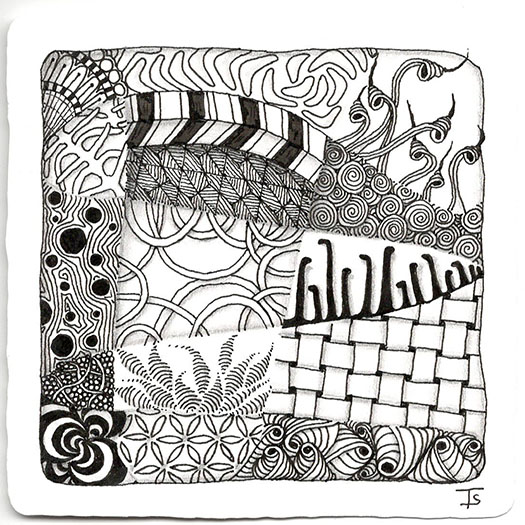
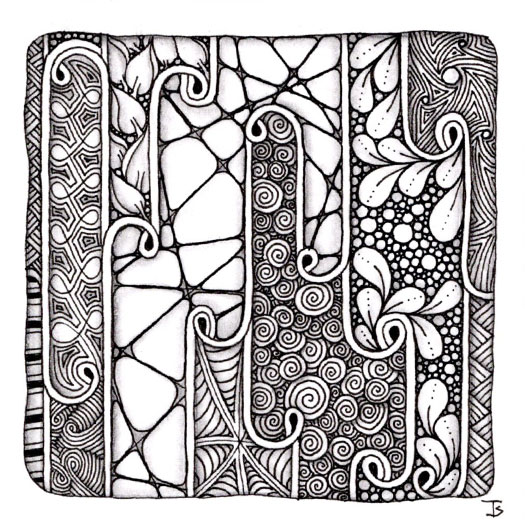
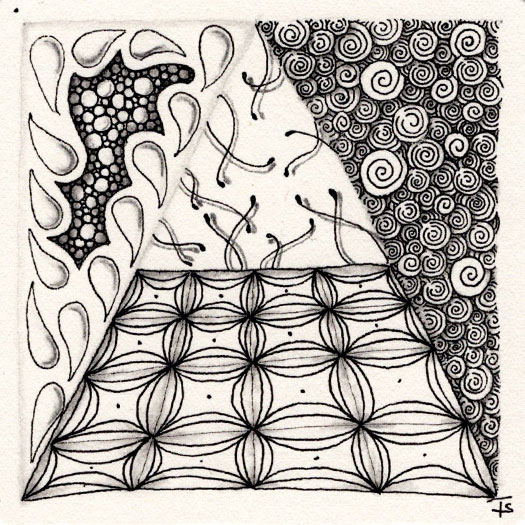
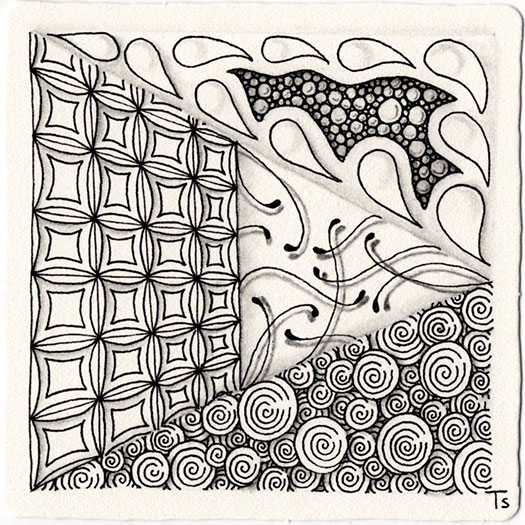
The random string that came up for day five of my “back to basics” journey is, well, complicated! I decided to treat this like a patchwork quilt. I figured it would give me the opportunity to practice many differeent tangles, all chosen at random. Perhaps too many!
This tile has 16 different tangles, two of which are new to me: Moon Pie and Floo-ish. I really love that last one! Choosing all the tangles before I started drawing allowed me to arrange the locations for each so that the composition had a balance that I liked.
Today, I took Eni Oken's Art Raffle app for a spin. This tile is the result! For my first tile in eons, it’s not bad! If you tangle, you should get this FREE app, it’s lots of fun!
Zentangle drawn on an white, official, Zentangle tile, using a black, Micron pen. Shading done with graphite pencil.
Tangles: Antidot Bales Beedz Crescent Moon Emingle Hollibaugh Knase Knightsbridge Perfs Printemps Shard Shattuck Stiritup Tagh
Sometimes, I sit down to practice something in my small sketch book, and my pen has different ideas than I do!
Here, I was going to practice various tangles… and a “shapie” family just flowed out! There are still some tangles… can you spot them?
Small sketchbook page, drawing done with Sakura Pigma Micron pen.
Tangles: Bumper Fescu Mooka Printemps Springle
For the first project in the new Zentangle Project pack for grey tiles, we are creating a small, rearrangeable puzzle of four Bijou tiles, all with the same tangles.
These can be assembled into your own mosaic and arranged in different designs depending on how you place each little tile.
This is my first tile. I got carried away with the Diva Dance, on the second side, so I will be redoing this.
Printemps is one of my favorite tangles.
It can be made large, with a heavier hand and used as central motifs. It can be drawn small and numerous to fill in a background.
You can completely cover an area with it, overlapping where needed, or you can leave negative space around and between each fragment.
No matter the over-all concept, it’s a wonderful tangle to draw for the Zen flow!
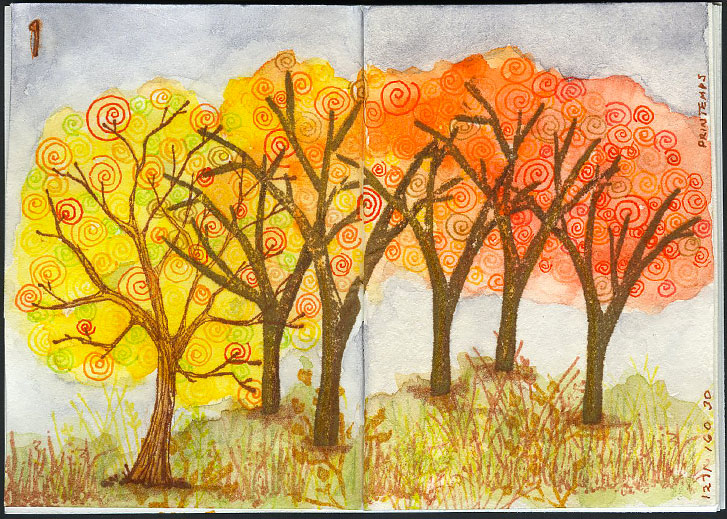
On the first day of Spooktacular2019, I incorporated the Inktober Zentangle prompt, which was Printemps in my tiny art journal layout. Here, I used them to make the brightly colored foliage in the trees.
The tree trunks were stamped on the page, then the tangles were added. Watercolors were applied and the foreground was stamped. Additional watercolor was added to the background and foreground. Finally some colored pencil was used for shading, color and texture.
It’s been a while since I’ve done a meditative Zentangle. I took the time for this one because I was having one of “those days”. The Zentangle method is a great technique for setting aside all of the outside world noise and just relaxing and drawing for a bit.
Give it a try!
Zentangle drawn on Strathmore Vellum Bristol using a black, Micron pen. Shading done with graphite pencil.
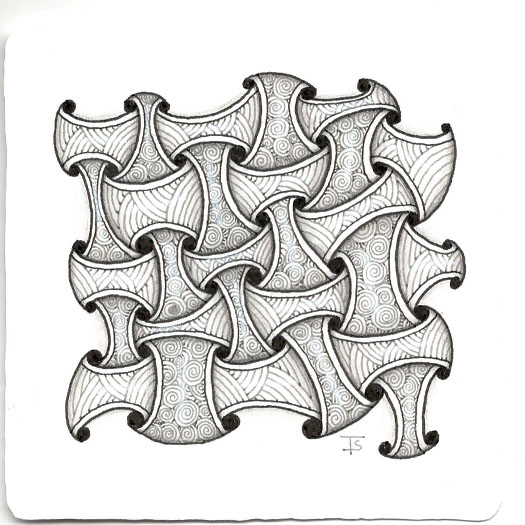
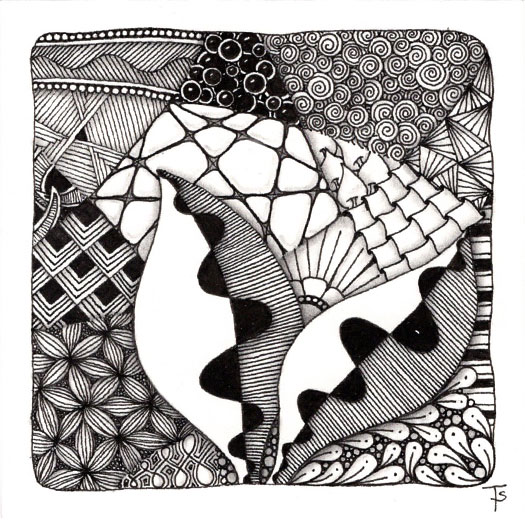
Melting Mooka, introduced to us by Zentangle's Project Pack #6 , is a wonderful version of Mooka that can be used to as a string to divide a tile into smaller spaces.
These internal sections, when filled with other tangles, result in a tile that gives the impression of stained glass windows.
This was a fun, playful exercise!
Zentangle drawn on Strathmore Vellum Bristol using a black, Micron pen. Shading done with graphite pencil.
I like to have a tile that has a complex string with a lot of different spaces. I can sit down and fill an area with a random tangle when I have a few moments. But I don’t have to work on it until it’s done. I just return to it when I have a short bit of time.
That means it may be sitting on my desk for a while before it’s finished!
Generally, now days, I use fewer tangles on a tile that I did when I began 10 years ago. But not always.
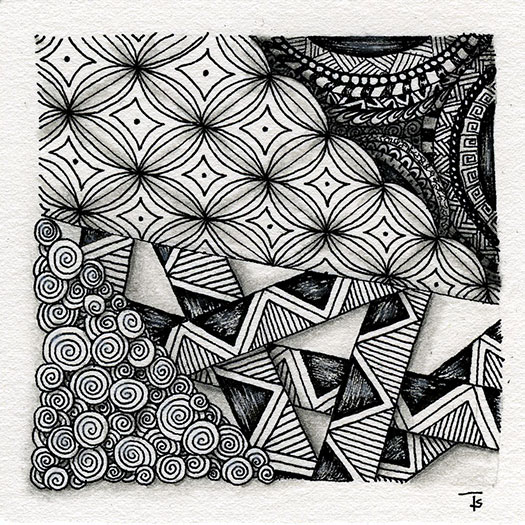
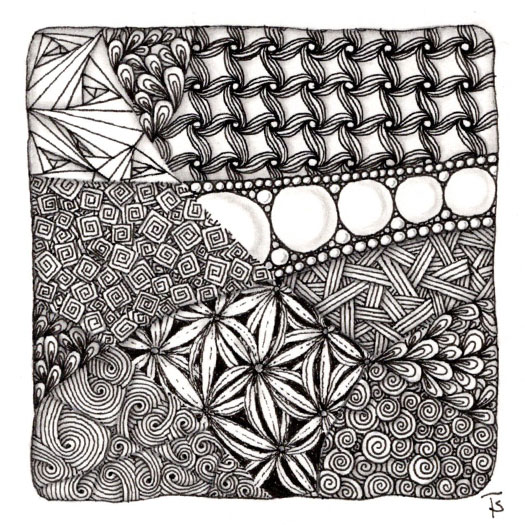
Yesterday, I decided to create a complex string and use a lot of different tangles. I had been looking through tiles from years ago and I wanted to see if I could still tangle in that style.
It took longer to choose the tangles than it did to draw them! 17 tangles is a LOT!
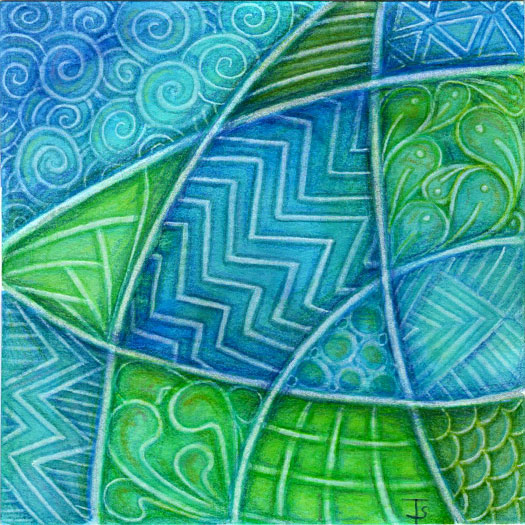
This tile was created following the instructions from Eni Oken ’s Art Club ’s latest lesson, Glazed Whitework .
It all started with a watercolor tile. It was an interesting challenge to draw the string and all of the tangles using a white colored pencil. Then more color was added creating the depth and shading you see here.
One of the most challenging things was to select appropriate tangles. It’s much more difficult to create detail with colored pencils than if you were using an inking pen.
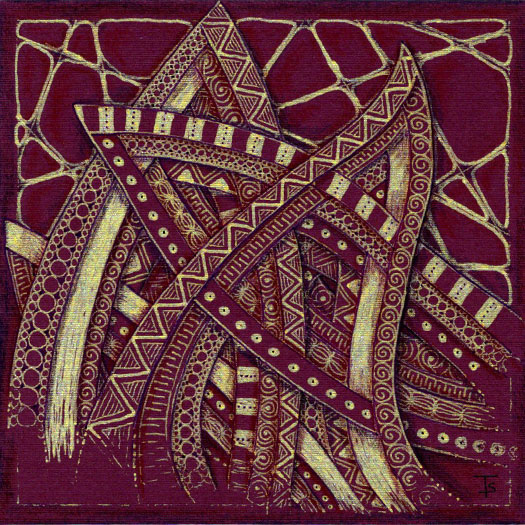
Finally, a gold and maroon tile from Eni Oken's Crazy Gold Auraknot lesson.
While I liked the idea of this, it turned out harder to do than it looked. I found that the widest marking gold pen that I had was kind of sketchy when used to fill in the solid ribbons. On the other hand, I found one with a very fine line that I liked along for creating the patterned details.

Another tile from Eni Oken's Crazy Gold Auraknot lesson!
I am making progress with the lesson. Here, I’ve added the designs to the stripes of the tangle. I stuck with the black and white because I just wanted to get a feel for how to do it.
I’ll finally be using metallic ink on the next one!
Zentangle drawn on Strathmore Vellum Bristol using a black, Micron pen. Shading done with graphite pencil, colored pencil and copic markers.
Another Beginner’s class tile #2! A fascinating thing about the Zentangle method is that no matter how many times you draw a particular tile, it will always be slightly different!
Zentangle drawn on an Official Zentangle tile using a black, Micron pen. Shading done with graphite pencil.
Tangles: Bales Ennies Fescu Printemps
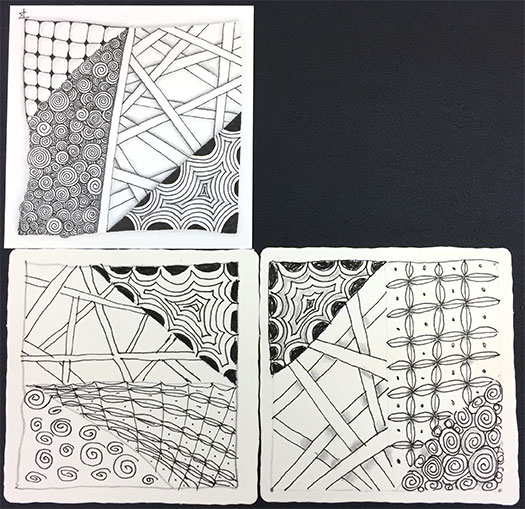
This is my Tuesday morning Zentangle meditation class. These people are so wonderful to be with! They love learning, tangling and each other which makes being with them a total joy.
This week, they used an “A” shaped string and learned Bales, Ennies, Fescu and Printemps. The two tiles (one unfinished) in the lower right are mine.
I love how each of them is not afraid to try whatever variation they think of. They are adventurous spirits who are fearless students!
She had traveled down the hall of the long good bye for such a long time. She slept and awoke and walked towards the door in the House of Waiting. The vastness pulled at her spirit and she longed to be free. She would not miss anything here. She had completed her mission. She would leave it all behind.
It had been her life. But now, she was free to fly.
Perhaps, the Universe is pointing the way?
The next step of Beginner’s tangles evolving.
Zentangle drawn on an Official Zentangle tile using a black, Micron pen. Shading done with graphite pencil.
Tangles: Bales Ennies Fescu Printemps
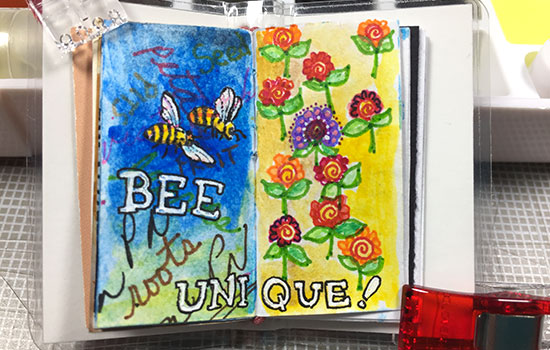
Again, working on pages with markings. And then I added more to the page on the left. I added a tiny stamp with two bees and then used my watercolors to paint them and the page, over the markings.
I had already drawn the flowers on the page on the right, but I added watercolor, micron and gel pen.
Finally, I added the words.
It is fun trying to scale down my normal art journal techniques to fit in this tiny book! A double-page spread is 1-5/8 inches square! Not a lot of room to work in!
We had a small, fun class yesterday!
Zentangle drawn on Strathmore Vellum Bristol using a black, Micron pen. Shading done with graphite pencil.
Tangles: Bales Crescent Moon Florz Hollibaugh Printemps