Can’t think of what to tangle today? What do you do, when you get stuck?
You can always pull tangles, at random from your repertoire. But even that doesn’t always work out well or offer enough variation.
What if you want to stretch your skills further, or go beyond a standard tile?
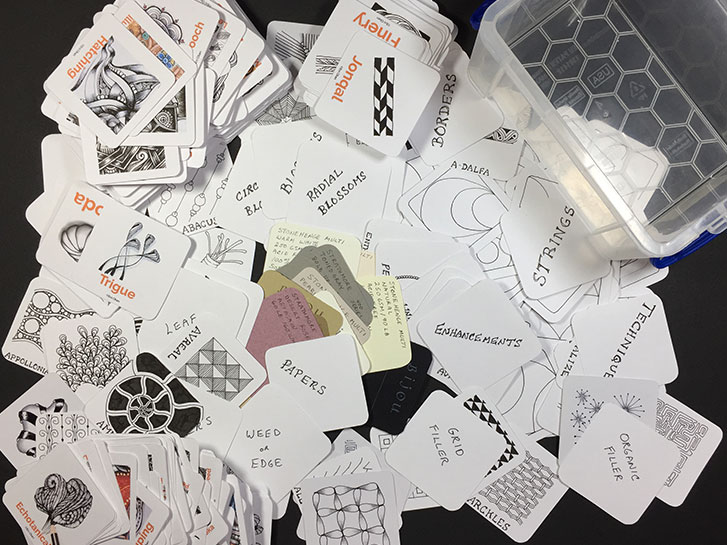
Check out the latest offering from Eni Oken! The Bijou Raffle game is perfect!
As you can see, I’m combining the lesson Bijou tiles with my own. My pile contains strings, types of tiles, techniques, and lots of other goodies from all of Eni’s Art Club lessons and other things I’ve learned in my Zentangle practice over the years. I’ve even included things that I want to try, but never have.
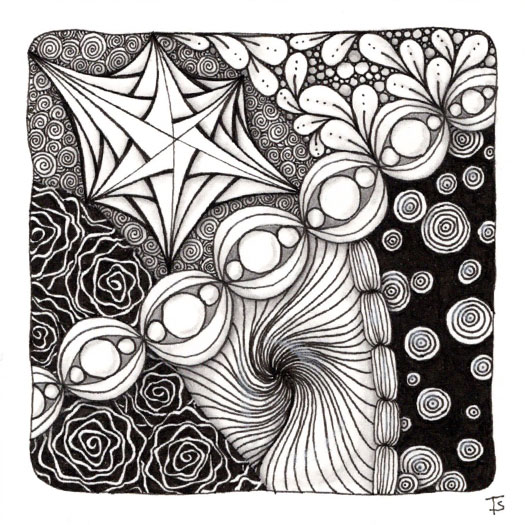
It’s been a while since I’ve done a meditative Zentangle. I took the time for this one because I was having one of “those days”. The Zentangle method is a great technique for setting aside all of the outside world noise and just relaxing and drawing for a bit.
Give it a try!
Zentangle drawn on Strathmore Vellum Bristol using a black, Micron pen. Shading done with graphite pencil.
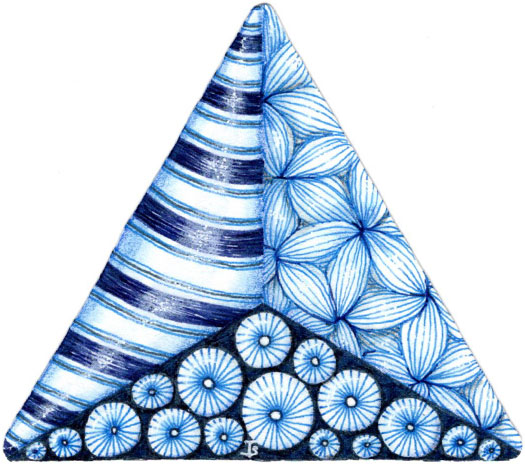
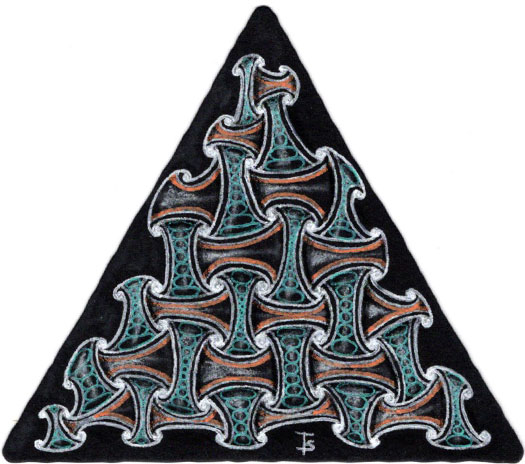
A little over a year ago, I posted a tan, 3Z tile with this design . I was looking at it yesterday, and wondered what would happened if I used the same tangles and string, but in a different color?
Here, I’ve tried it in the colors of the Delft Delights tiles. It’s interesting how there are differences and similarities to the previous version!
Zentangle drawn on Strathmore Vellum Bristol 3Z-size tile, using several different blue, Micron pens. Shading and highlights done with colored pencil and gel pen.
I am not sure what I think about this. It didn’t come out like the picture I had in my mind when I started. On the other hand, I kind of like it. I may try this again, but slightly differently, or with a different tangle.
Zentangle drawn on an Official Zentangle Renaisannce tile using black, sepia and brown Micron pens and a white Gelly Roll pen. Shading done with graphite and colored pencils.
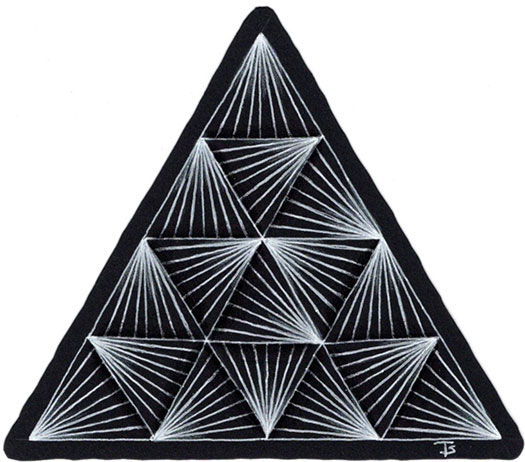
Sometimes, we look at a tangle and think “that’s too simple” or “what a boring tangle”. But you shouldn’t take a tangle for granted, just because of it’s simplicity!
Munchin is one of those tangles. I specifically chose it for this monotangle to highlight it’s amazing depth and beauty when done large. Just a little subtle shading and highlighting make it pop right off the tile.
Your challenge, today, is to use Munchin with other tangles on your tile in a way that highlights this simple tangle!
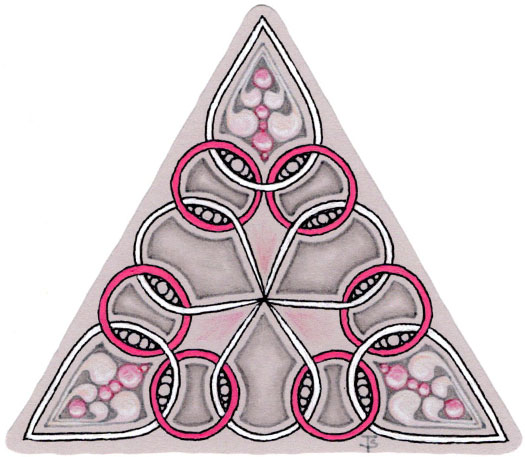
The tangle Waybop lends itself well to the the triangular shape of this tile. It can be tucked into the points quite nicely while still maintaining it’s nature.
Here, pink, grey and white are combined in gel pen to accent the main tangle and then in colored pencil and pale grey Stablo fineliner to create the decorative elements.
Even the pencil shading, added inside the circles and inward pointing elements adds yet another shade of grey. Meanwhile, the subtle pink in the center echoes the colors of the pearls.
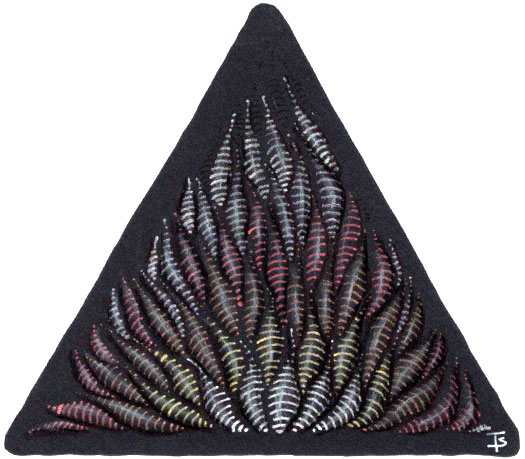
I did a grey and pink tile using Indy-Rella a while back, where I used them as fish-like shapes.
Here, I wanted to create the feeling of flames, using metallic markers and going from bright silver to red.
It reminds me of a camp fire, so I think it is a success!
Zentangle drawn on Strathmore, black, ArtRage paper various, metallic, gel pens. Shading done with colored pencil and Copic marker. Highlights created with General’s White Charcoal pencil.
I don’t draw this tangle often enough! I picked it for this 3Z because I woke up thinking about it in the morning. So, I took that as a sign to create this tile.
So, have you been wondering why I’ve created so many 3Z tiles? Stay tuned!
Zentangle drawn on Strathmore Vellum Bristol using a black, Micron pen. Shading done with graphite pencil. Highlights created with white colored pencil.
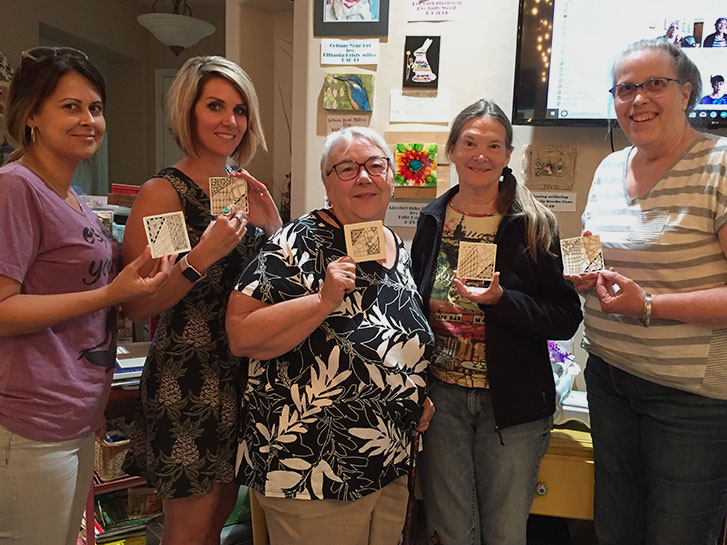
I had such a fun class on Saturday at the cARTel Studio, introducing these ladies to the wonderful world of Zentangle!
They all did such a great job on their first tiles, which you can see below.
This is the first of a series of three Zentangle classes on consecutive Saturdays.
Next week: working on black tiles!
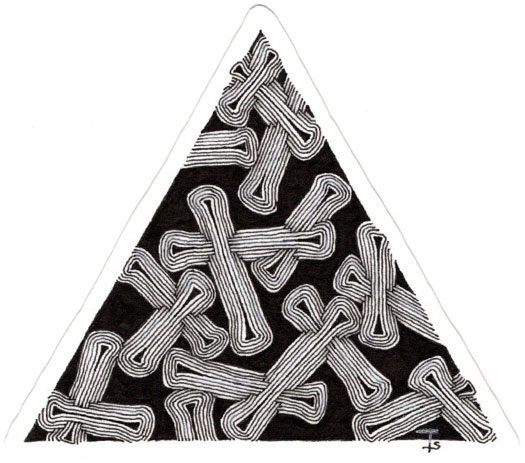
Crazy Huggins is a tangle that I often turn to when I’m not sure what to do. It’s fun to draw, has a wonderful, meditative rhythm and allows for all different kinds of variation.
I recently did a version of regular Huggins on a black tile, with no extra embellishment that you can compare to this one by clicking on the link.
If you want to see even more examples, going all the way back to 2017, click here .
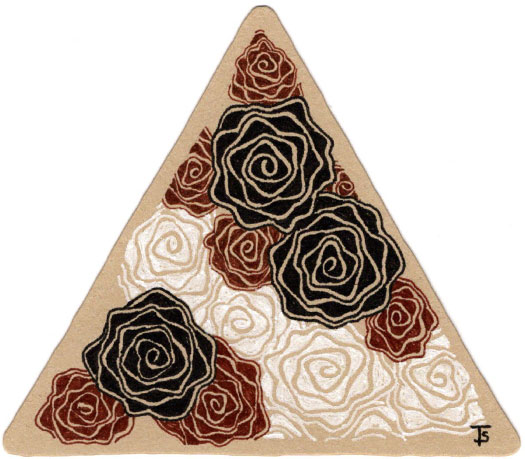
I call this my “Ode to Frida” monotangle. That’s becauseit reminds me of those large flowers that she often wore in her hair, like a crown.
This version of Diva Dance produces strong, graphic, circular elements. So I chose to draw them in three different colors. I like the contrast between the brown, black and white inks.
I also chose not to add any graphite or other shading. I feel that this is one of the few cases where it could detract from the over-all design.
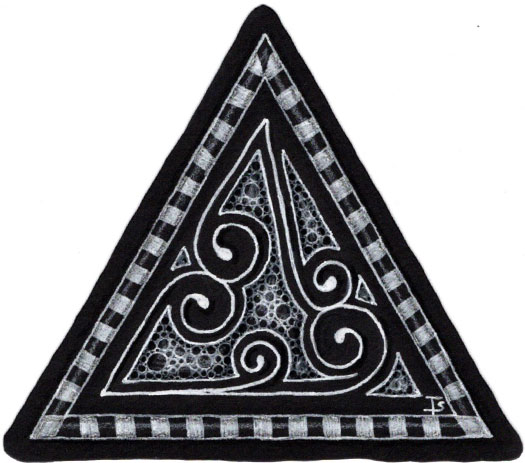
“In typography, a dingbat is an ornament, character, or spacer used in typesetting, often employed for the creation of box frames.” - Wikipedia
We’ve all seen them decorating title pages, the ends of paragraphs or other areas of printed books.
Zentangle, and CZT Brian Crimmins in particular, has created a tangled version of this classic concept. It is called Dingbatz, in honor of it’s typographical cousin. Here, we use the stylistic shapes and concepts of the original, but employ tangles as graphical elements.
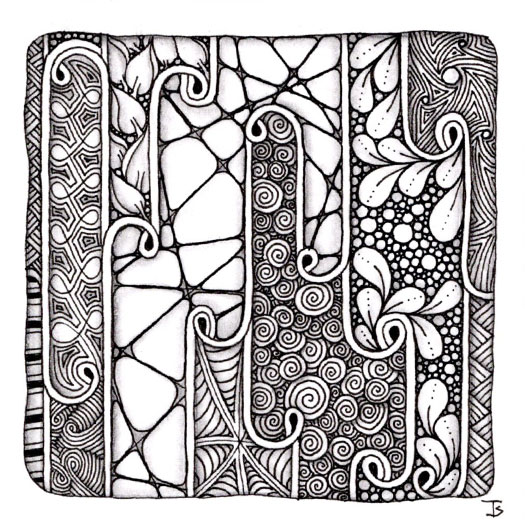
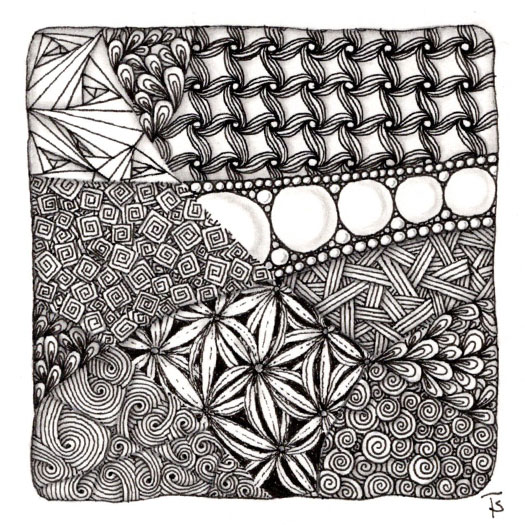
Melting Mooka, introduced to us by Zentangle's Project Pack #6 , is a wonderful version of Mooka that can be used to as a string to divide a tile into smaller spaces.
These internal sections, when filled with other tangles, result in a tile that gives the impression of stained glass windows.
This was a fun, playful exercise!
Zentangle drawn on Strathmore Vellum Bristol using a black, Micron pen. Shading done with graphite pencil.
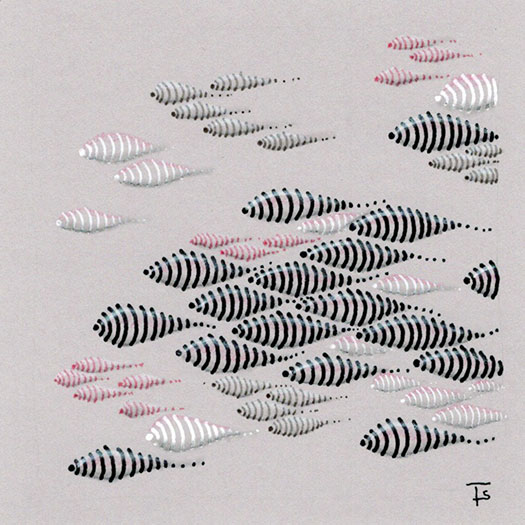
There is something very soothing about drawing this particular tangle. I’ve been playing with it all weekend.
For this tile, I thought it would be fun to create schools of tangled, fish-like shapes in different sizes to simulate depth and visual variety. I wanted to do a tile in pinks, greys, white and black for a while, and this seemed like the perfect opportunity!
Zentangle drawn on stone, Neena Naturals, using black, Pigma Micron, cool grey Copic Multiliner and pink Stablo finliner pens. Shading done with graphite and colored pencil. Highlights created with white Charcoal and colored pencils.
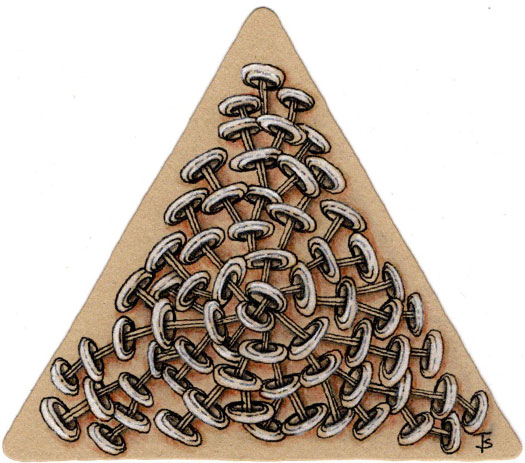
This the tangle on this 3Z monotangle is "Wheelz", by Joyce Block . If you click on the link, you can see her step-out for it. Just as any tangler, the way I draw it reflects my style, but you will see that mine is close to the original. It is similar to the tangle “Rixty”, by Zentangle.
I love the way this tangle kind of grows, as you draw it. Depending on where you choose to place each element, and how far apart the elements are, it can remind the viewer of a flower or a spiral or berries or seed pods! It’s a wonderful, organic fill, or can be used as a border or divider between other tangles.
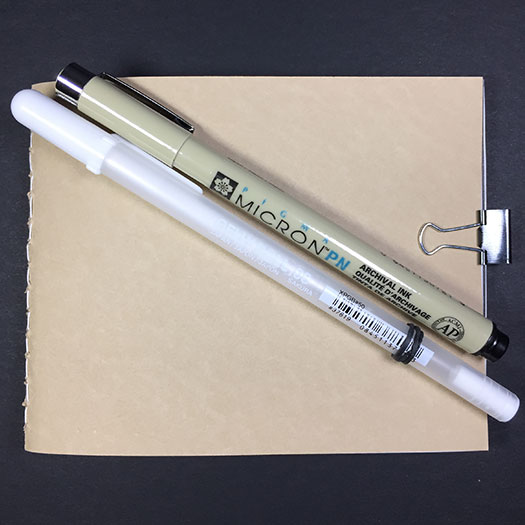
I wanted to participate in Project Pack #6 from Zentangle, but I couldn’t purchase anything extra right now. However, after seeing what was in the kit, I decided to make my own small book!
The pages are made from Canson Multimedia paper. And the cover is made from Stonehenge Kraft paper. I thought it would be fun to tangle on the cover and the brown color should work nicely.
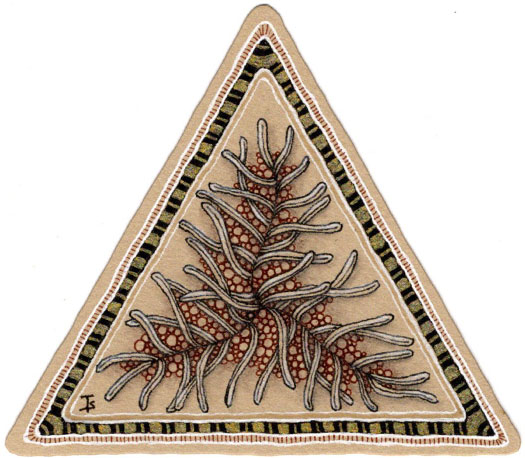
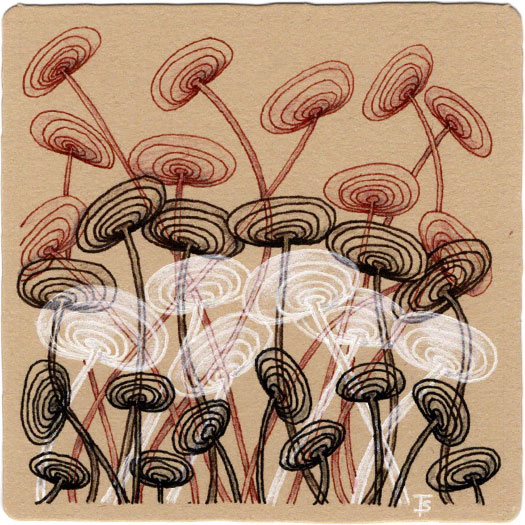
I love tangling on tan! It opens the door to so many different and interesting possiblities. And I never know how it will actually turn out.
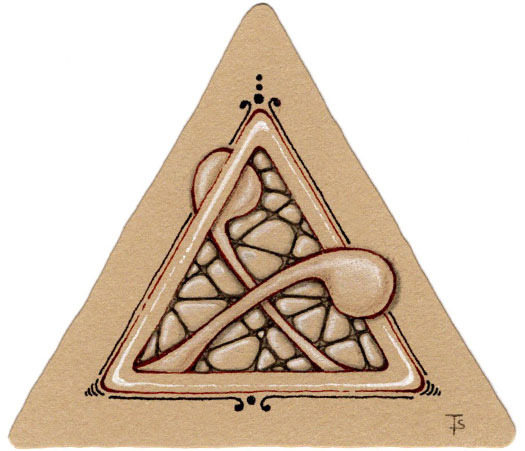
This was inspired by another Zentangle that I did last year. But I wanted to change it up some, and recreate it on a triangular tile.
Although it didn’t show up well on the scan, I used gold ink on top of the black band on the border to create a Marasu pattern. And I used a brown pen to draw the Tipple bubbles around the central Verdigogh fronds.
I like to have a tile that has a complex string with a lot of different spaces. I can sit down and fill an area with a random tangle when I have a few moments. But I don’t have to work on it until it’s done. I just return to it when I have a short bit of time.
That means it may be sitting on my desk for a while before it’s finished!
I’ve posted Zentangles with a design similar to this tile before, here and here .
In addition, the other two examples have no shading or highlights. So I needed and example that included these additions.
I’m doing it again because I’m using it on a class project and I wanted it on a 3Z for my students to observe and discuss.
Zentangle drawn on black, Strathmore, Artagain paper using a white, Sakura, gel pen. Shading done with Copic Markers and black colored pencil. Highlighting done with General’s Charcoal White.
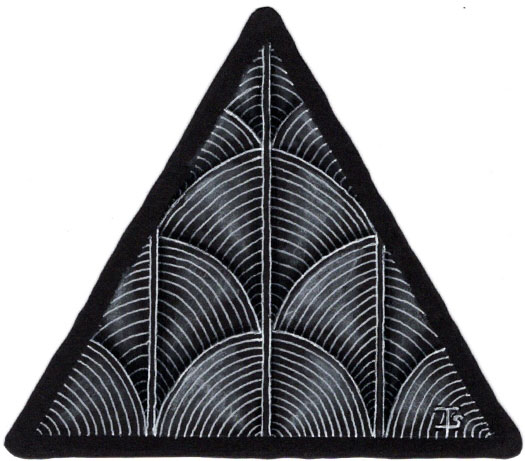
For me, this is the traditional way of drawing Shattuck. As an alternative, it could be done with straight lines, instead of curved. I do it both ways, depending on what I am working on.
Zentangle drawn on black, Strathmore, Artagain paper using a white, Sakura, gel pen. Shading done with Copic Markers and black colored pencil. Highlighting done with General’s Charcoal White.
Tangles: Shattuck