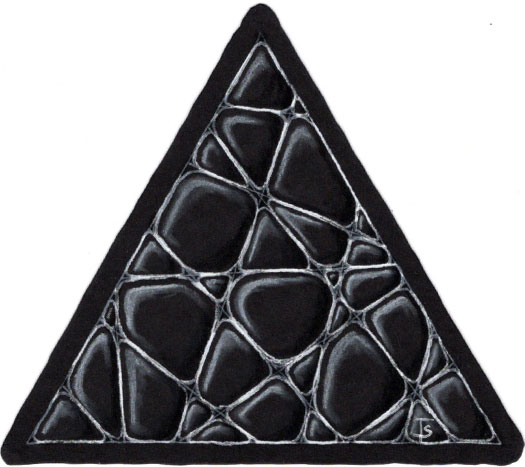
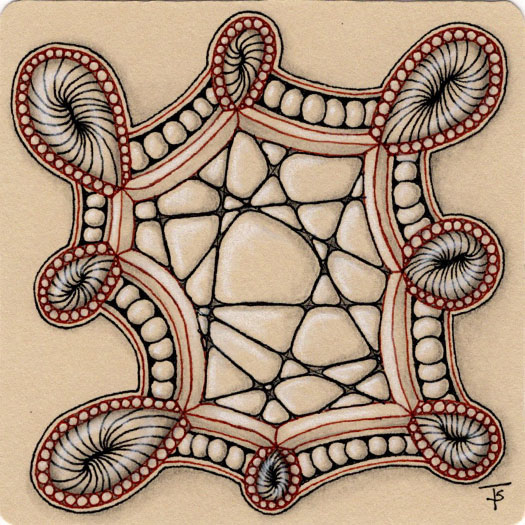
One of the things that I love about the “Crazy” versions of various tangles is how forgiving they are for those who struggle with perfection. Crazy ‘Nzeppel is a perfect example. Because each section ends up being a different, and some times surprising shape, each squished bubble doesn’t have to match any other!
Zentangle drawn on black, Strathmore, Artagain paper using a white, Sakura, gel pen. Shading done with Copic Markers and black colored pencil. Highlighting done with General’s Charcoal White.
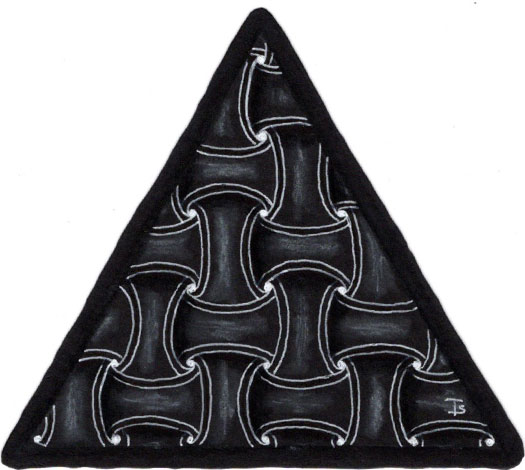
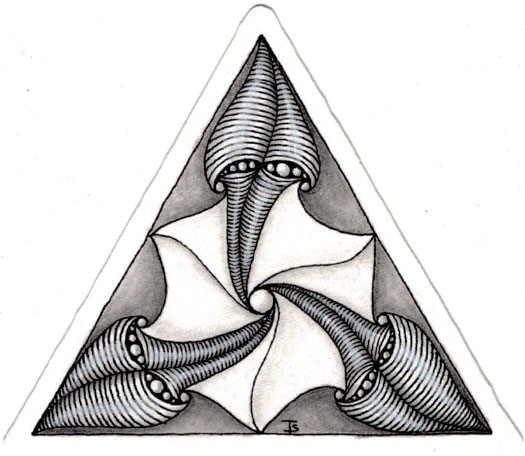
Huggins is a favorite tangle for many, many people. Here, I’ve chosen to create it in a traditional manner, with added auras inside each shape.
When this was first drawn, it really didn’t look like much. But the addition of shading and highlighting brings it to life!
Zentangle drawn on black, Strathmore, Artagain paper using a white, Sakura, gel pen. Shading done with Copic Markers and black colored pencil. Highlighting done with General’s Charcoal White.
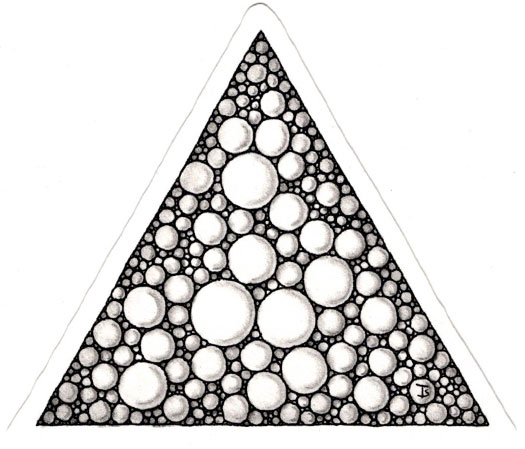
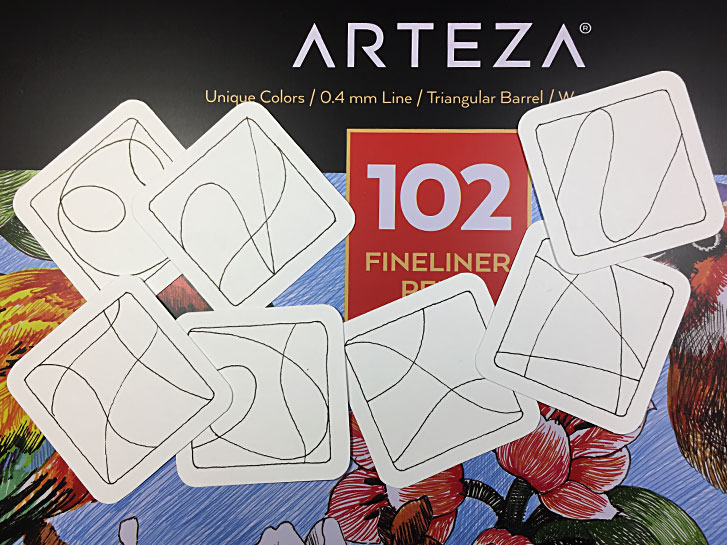
How do you practice drawing orbs? By drawing orbs!
I actually found it very relaxing to draw lots and lots of circles. I tried various methods, both drawing all the way around in one fluid motion and drawing a “C” shape for one side and then the other.
I learned that some sizes I can do very nicely, and some are harder to do. It’s important to turn the tile so that you can see what your doing. It made a big difference!
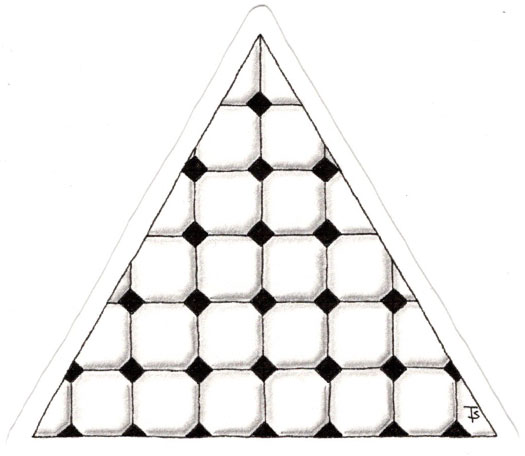
This deceptively simple tile was so meditative because I took my time with the linework.
A great trick to use, to get the spacing even is to “divide and conquer.” What I mean by that is to begin by dividing the space in half, vertically. Then divide each half in half again. Repeat until you are happy with the divisions.
Then divide the horizontal spaces. In the case of this tangle, they are equal to the width of the vertical divisions, making a square. Or there about.
Although this is a really simple tangle, you can enjoy the zen flow of shading. There can be so much depth, depending on what you choose to do!
Zentangle drawn on Stonehenge white using a black, Micron pen. Shading done with graphite and colored pencil.
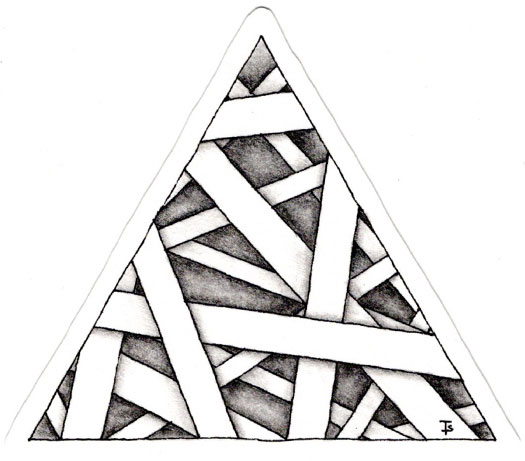
Tangles: Hollibaugh
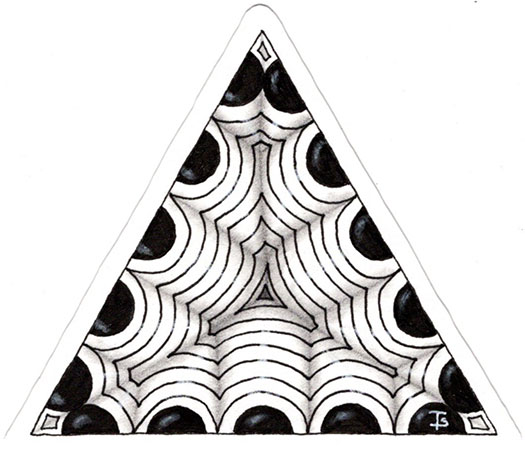
Back to basics! I have never done a monotangle of Crescent Moon. I decided to tackle it yesterday on a 3Z-type tile, just to see what would happen.
Here’s the result!
Zentangle drawn on Stonehenge white using a black, Micron pen. Shading done with graphite and colored pencil. Highlights created with a white, charcoal pencil.
Tangles: Crescent Moon
I wanted to try this medallion-style tangle on a 3Z tile for a while now. I like the way it turned out, even though shading was a bit of a challenge. I ended up using some black colored pencil in the background areas to increase the contrast. I think that created a a very interesting look.
For even more contrast, I added a bit of white, charcoal pencil to create some highlights.
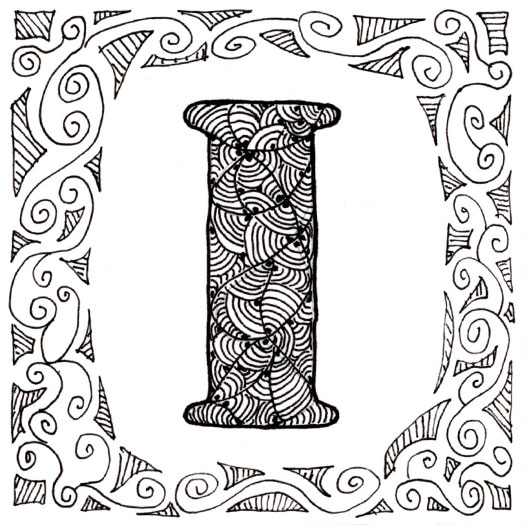
I wrote a bit about my Mother-in-law a while back. Today, as I was going through her stuff, I found a plastic box full of tiles. Inside were pre-cut blank tiles, completed Zentangles and a full set of tiles representing each letter of the alphabet.
Apparently, she use letter stencils to create the letter in the center and then used tangles who’s name begins with the same letter to decorate the tile.
Generally, now days, I use fewer tangles on a tile that I did when I began 10 years ago. But not always.
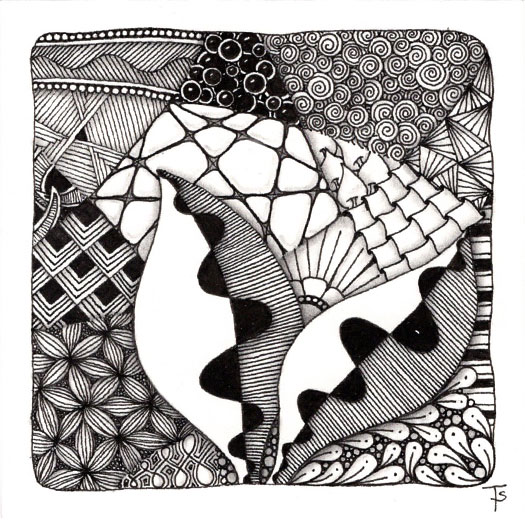
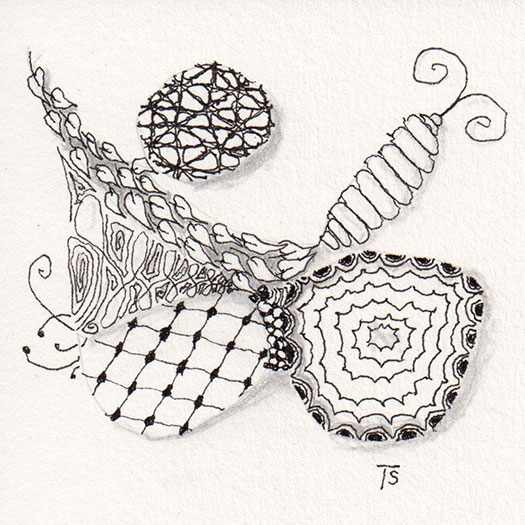
Yesterday, I decided to create a complex string and use a lot of different tangles. I had been looking through tiles from years ago and I wanted to see if I could still tangle in that style.
It took longer to choose the tangles than it did to draw them! 17 tangles is a LOT!
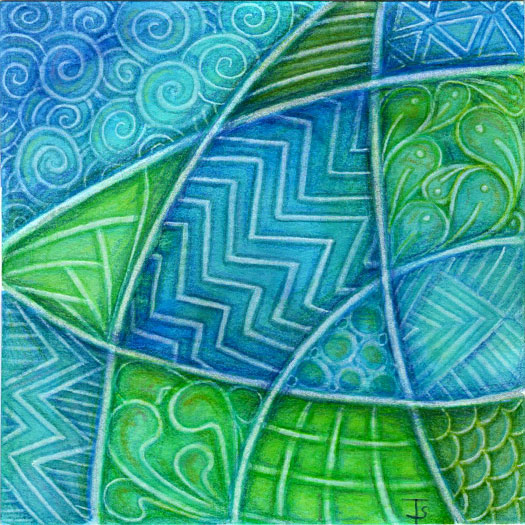
This tile was created following the instructions from Eni Oken ’s Art Club ’s latest lesson, Glazed Whitework .
It all started with a watercolor tile. It was an interesting challenge to draw the string and all of the tangles using a white colored pencil. Then more color was added creating the depth and shading you see here.
One of the most challenging things was to select appropriate tangles. It’s much more difficult to create detail with colored pencils than if you were using an inking pen.
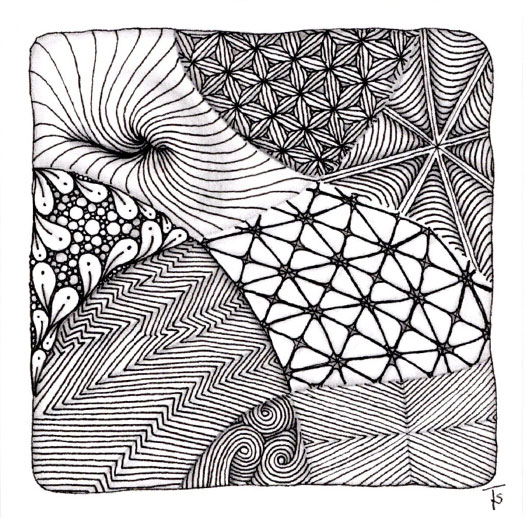
My random tanglizer spit out a lot of tangles for practicing line work yesterday. At first, I was a bit worried that these wouldn’t produce enough contrast. But after using my magic wand (actually, a pencil), I like the way they became distinct and unique!
Zentangle drawn on Strathmore Vellum Bristol using a black, Micron pen. Shading done with graphite pencil.
Tangles: Fassett Flux Fracas Nzepple Sand Swirl Static Tipple Xircus
I had a private class with a very artistic, imaginative young lady on Saturday. She wanted to know what the Zentangle method was, so we sat together and I taught the Basic Beginner’s Class.
She was so much fun to work with because she is already a gifted artist and has an inherent understanding of things like drawing behind, line weight, shading, and auras!
As I was showing her the way we do things in Zentangle, she was showing me how she does similar things. I learned a lot from her, and about her, and I’m looking forward to working with her again in the future!
Yesterday, I spent the morning with a group of friends who are also artists. While we chatted, each of us worked on our own projects.
My project was to transfer some pictures of strings that I drew several years ago to bijou-sized tiles. I keep these in the front section of my bijou tangle index.
Generally, when I tangle, I don’t have any problem creating a string. However, once in a while, I just want to push the easy button, and I will pick one of these little string examples and go with that.
How do you challenge yourself? As an artist I’m always looking for different things to try as ways to grow and expand my skills.
Here, this tile was drawn entirely with my left hand. I even signed and dated the back with my left hand.
Why?
Well, first of all, I wanted to see if I could. In addition, drawing with your non-dominant hand builds new neural pathways in your brain. It also challenges you to look at things in a different way, and helps you to understand how your students, those that use a differnt hand to draw, are challenged to follow your instructions!
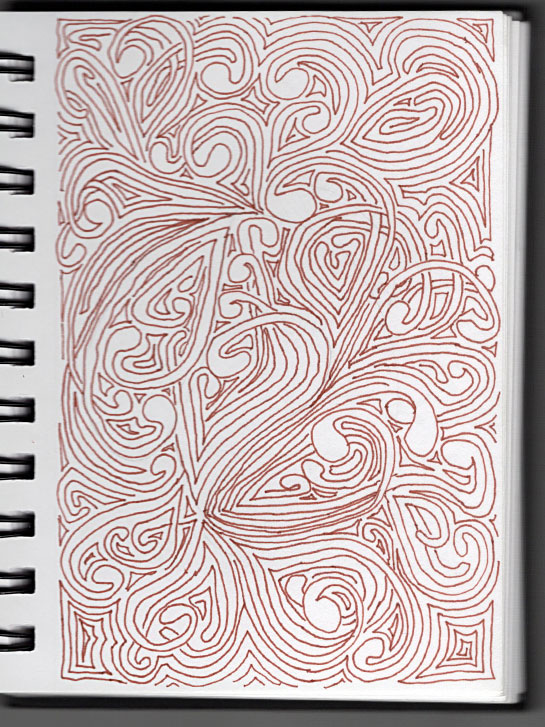
This fabulous monotangle of Mooka was created by my Mother-in-Law, Twyla Baker.
As many of you already know, she passed away on June 27th. I am in the process of going through her artwork. I found a small, spiral-bound sketch book which contained many Zentangles.
Towards the end of the book, I found this monotangle of Mooka. It fills the entire 4-inch by 6-inch page! I’ve never seen this before and there is no date on it. Because the dates on other pages jump around and are not in consecutive order, I’m not sure when this was done. It was probably some time around 2013-2015.
Another DingsplatZ today! I’ve discovered that about 3 tangles, along with some perfs and dots works well for creating these! My favorite part, though, is the shading. It amazes me how much life it adds to the pen lines!
Zentangle drawn on kraft colored Stonehenge multi using black, sepia and brown, Micron pens and white gel pen. Shading done with graphite pencil and white charcoal pencil.
Tangles: Antidot Knase Ravel
I decided to give dingsplatZ a try this weekend. It was fun to do this on the fawn colored paper. It allowed me to add both highlights and shadows!
Zentangle drawn on fawn colored, Stonehenge Multi using a black and brown, Micron pens. Shading done with graphite pencil and white charcoal pencil.
Tangles: Crazy 'Nzepple Perfs Scena
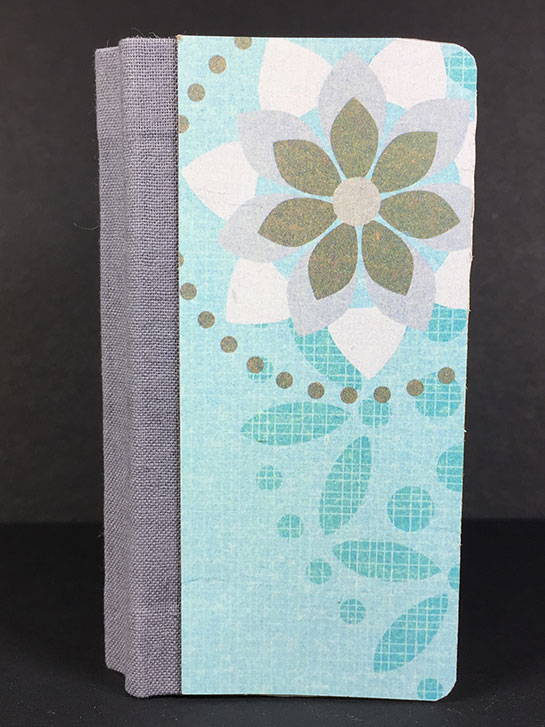
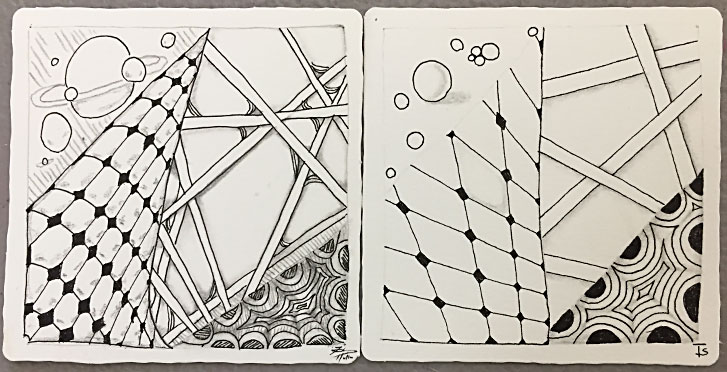
A couple of weeks ago, I posted about using the tutorial from Chris Titus to create a book of Zentangle tiles.
These little books are made from folded Zentangle tiles. The instructions are very easy to follow, mostly pictures, and produce a very nice book. The tiles are arranged in such a way that they will open out flat, making it easy to tangle on them.
Above you can see the front cover of my book. Honestly, I “cheated”. Instead of covering the board with fabric, I cut the piece from a tag board kleenex box. I liked the design on it, so I just glued it on as it was.
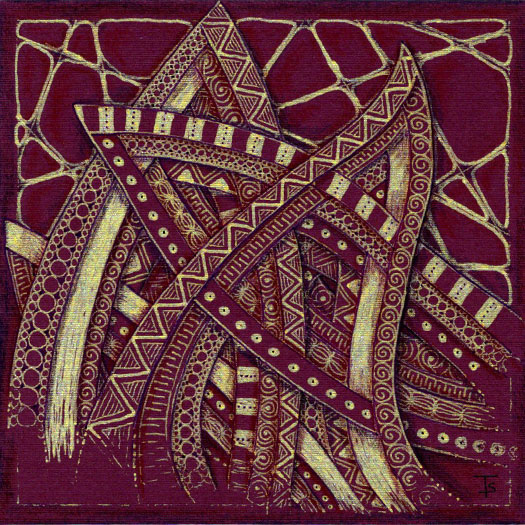
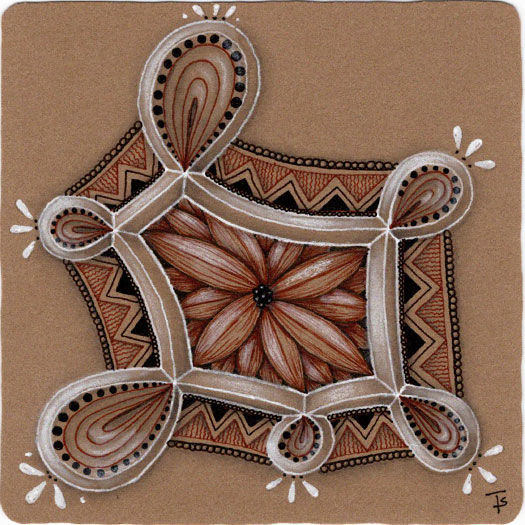
Finally, a gold and maroon tile from Eni Oken's Crazy Gold Auraknot lesson.
While I liked the idea of this, it turned out harder to do than it looked. I found that the widest marking gold pen that I had was kind of sketchy when used to fill in the solid ribbons. On the other hand, I found one with a very fine line that I liked along for creating the patterned details.

Another tile from Eni Oken's Crazy Gold Auraknot lesson!
I am making progress with the lesson. Here, I’ve added the designs to the stripes of the tangle. I stuck with the black and white because I just wanted to get a feel for how to do it.
I’ll finally be using metallic ink on the next one!
Zentangle drawn on Strathmore Vellum Bristol using a black, Micron pen. Shading done with graphite pencil, colored pencil and copic markers.