I’ve been looking for a long time for something to make Traveler’s Notebook covers out of that would be strong, durable, nice looking, unique and not an animal byproduct.
There are a few things that are usable on the market. There’s always faux leather, which is used for upholstery, purses and jackets.
There is also a Kraft Tex Paper Fabric, which I have played a bit with.
But neither of these gave me what I was looking for. So I’ve been experimenting on my own, and also trying things that other people have come up with. Some things worked, some sort of worked and some were dismal failures.
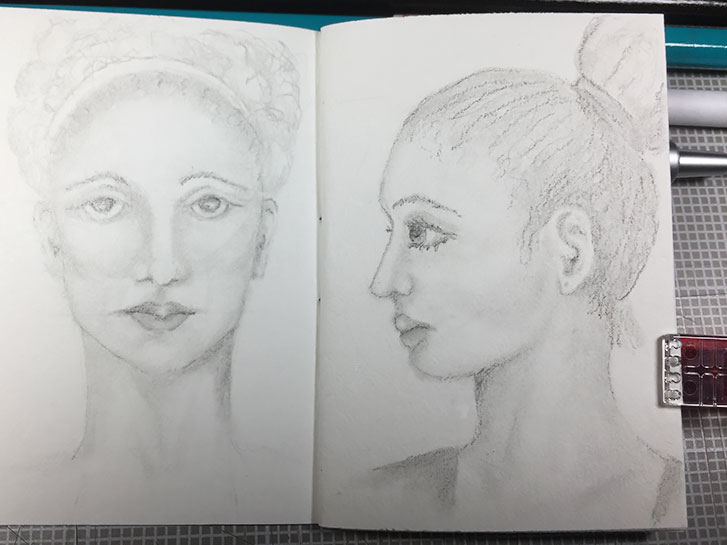
The second tiny pencil portrait in my tiny Traveler’s Notebook insert! This time, it’s a profile. It was a bit easier, because I didn’t keep stopping to take pictures this time, LOL!
If you would like to join a group of fellow art journalists, follow along with tutorials, and show off your work, you can find this and more in the Micro Art Journal group on Facebook!
#microart #microartjournal #miniatureartjournal #miniartjournal #miniatureart #tinyjournalnation #allthingstiny #allthingsminiature #microartjournaling #tinyartjournal #travelersnotebook
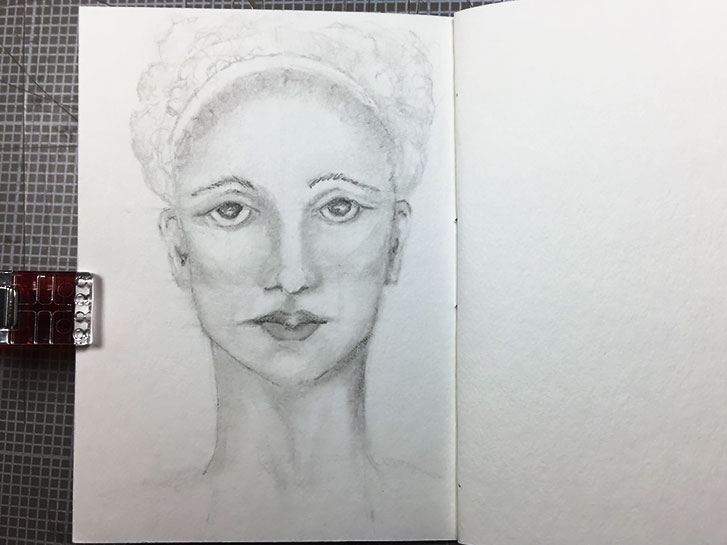
Yesterday, I showed you my tiny Traveler's Notebook Art Journal for this month. Now that it’s finished, I can start drawing! This month, my main theme is people. I’m starting with heads, or fantasy portraits.
Note: If you want to learn how to draw portraits, I recommend Mixed Media Portraits with Pam Carriker . She introduces the beginner to a classic method of portrait drawing that is easy to follow while allowing room for individual creativity and style. It is the book I am currently using for practice.
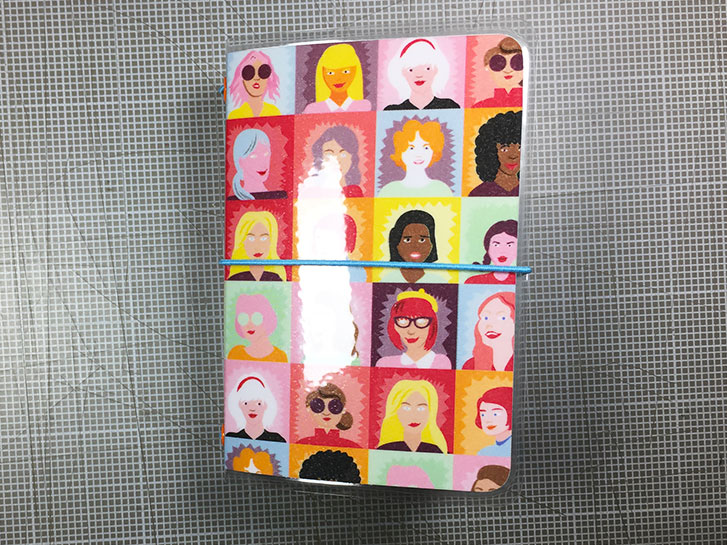
A while back, I showed you the materials I was using to make my March Traveler’s Notebook. I thought I would have finished making it the next day.
Well, you know what it’s like when you make plans… the Angels laugh at you! But all’s well that ends well. I finished it yesterday!
I actually made the cover a while back. So all I had to do was make the folder inserts and the book inserts.
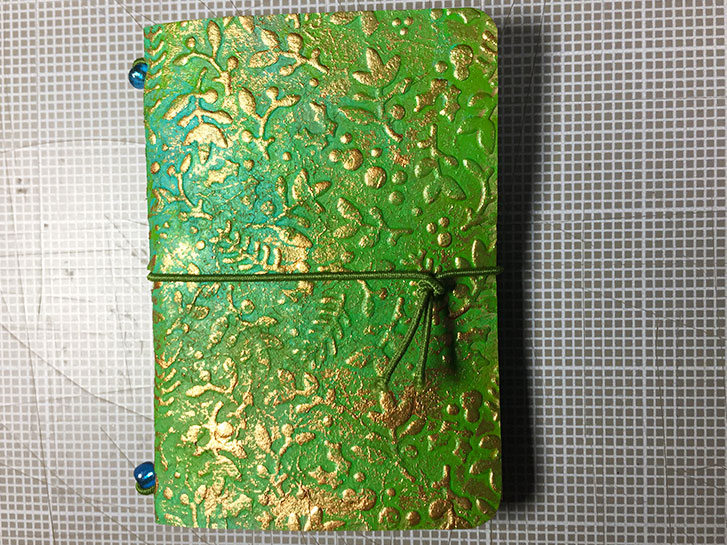
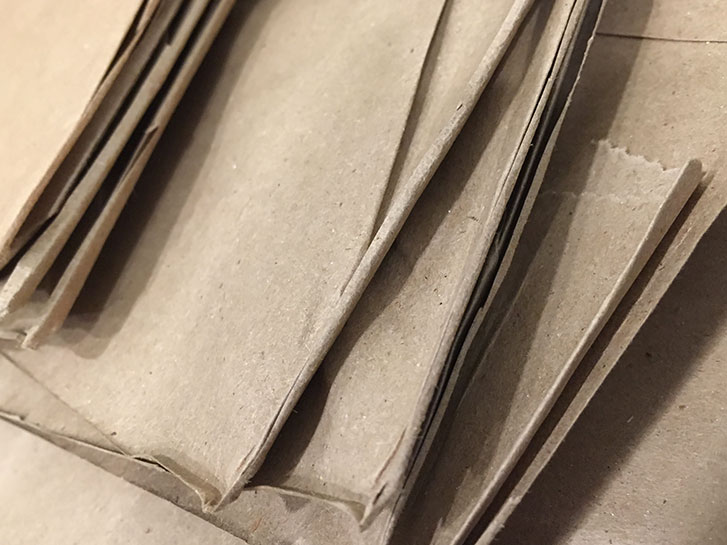
I’ve been thinking for a while about trying to make a faux leather Traveler’s Notebook cover for my tiny art journals. I’ve been saving up brown paper grocery bags, thinking they might work if I glued a few layers together.
Then I saw a series of tutorials by Jolene Payne, from the Art Journaling for Beginners Facebook group. Her tutorial series is for using this technique and making many pieces, stitching them together and making a cover for a large book.
Adding the cover means I had space inside the back for one more layout.
I chose to add the date the book was finished, with this layout, as design elements. And then I added lots of found items and a bit of paint.
If you would like to join a group of fellow art journalists, follow along with the instructions for this layout and other tutorials, and show off your work, you can find this and more in the Micro Art Journal group on Facebook!
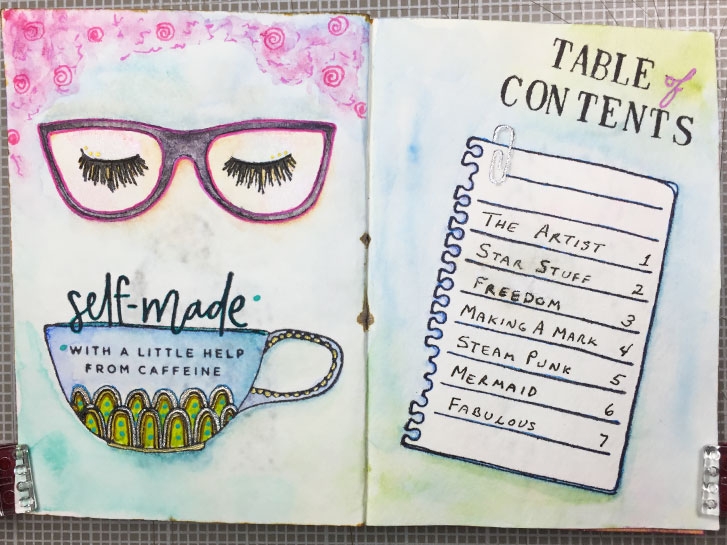
Since I added the extra sheet to make the cover, there is an extra layout space right inside of it.
I chose to make this area a place for the Table of Contents for the book (on the right) and a kind of “about the author/artist” (on the left side.) It turned out to be more fun than I initially thought it would be!
I will have to consider this for future books!
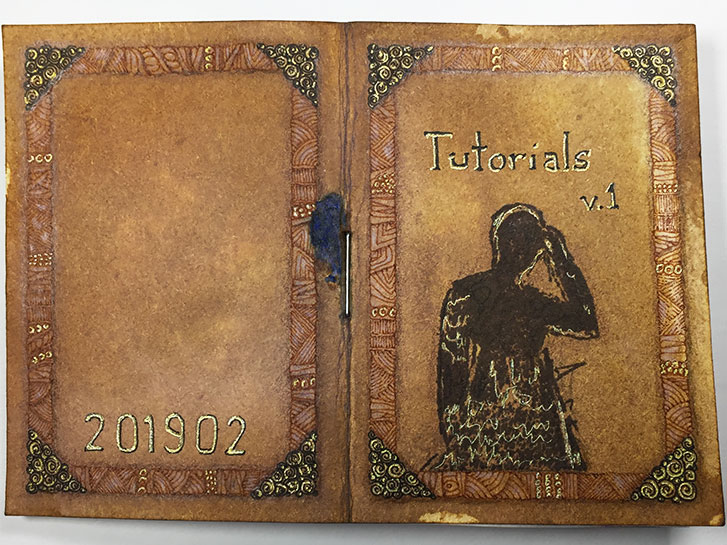
Now that all the internal layouts are done in our tiny art journals, it’s time to tackle the cover!
Here we’ve used a variety of techniques to create an antique look, added a title and the date, and created a focal point on the front.
If you would like to join a group of fellow art journalists, follow along with the instructions for this cover and other tutorials, and show off your work, you can find this and more in the Micro Art Journal group on Facebook!
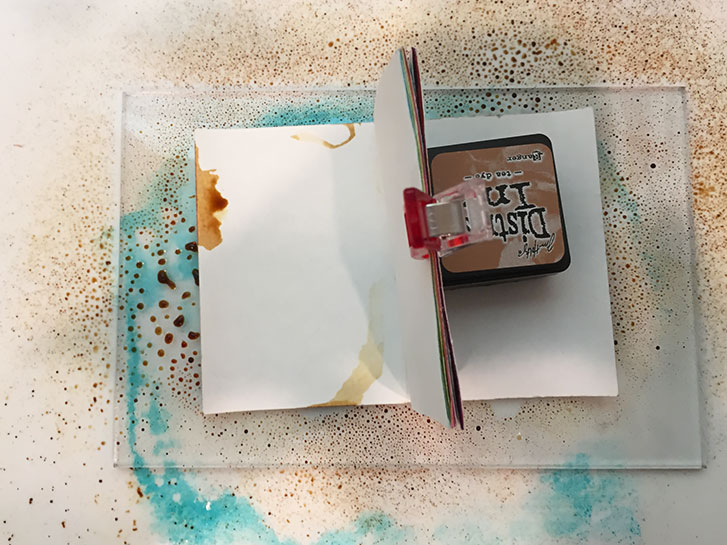
Working on a tutorial for my tiny art journal’s cover… And making a puddle of color!
#microart #microartjournal #miniatureartjournal #miniartjournal #miniatureart #tinyjournalnation #allthingstiny #allthingsminiature #microartjournaling #tinyartjournal #travelersnotebook
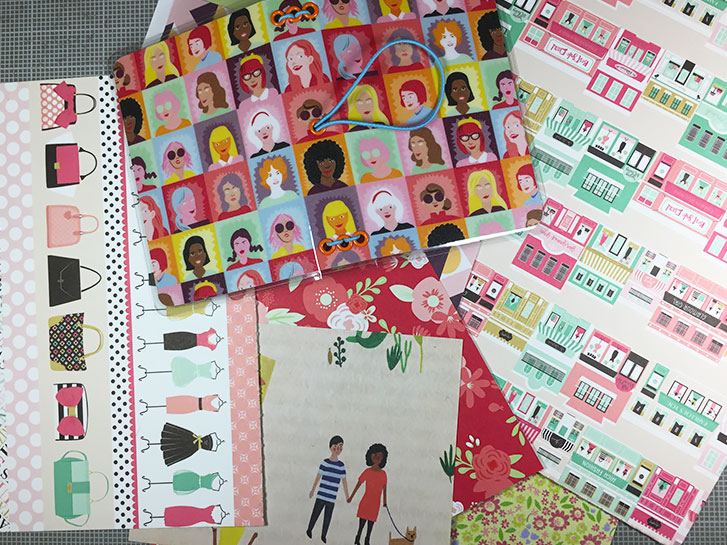
It’s time to make a new book for the month of March. I’m going with the theme “I am becoming.” I want to work on paper dolls, women, portraits and related subjects.
What are your plans for the next month?
#microart #microartjournal #miniatureartjournal #miniartjournal #miniatureart #tinyjournalnation #allthingstiny #allthingsminiature #microartjournaling #tinyartjournal #travelersnotebook
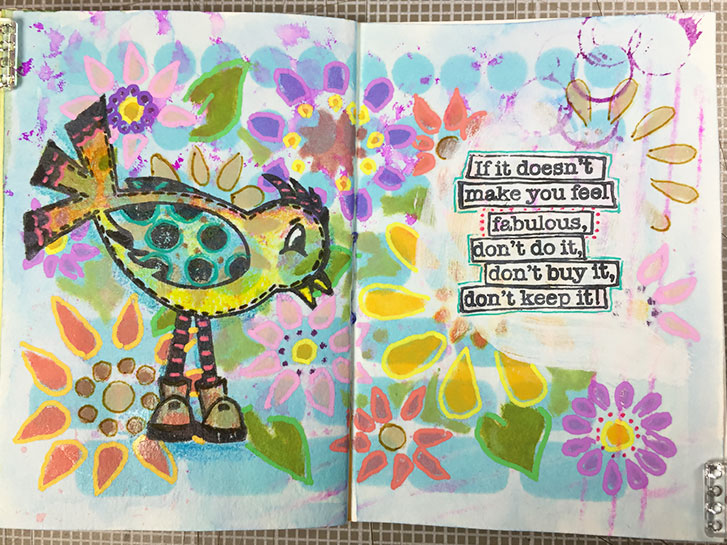
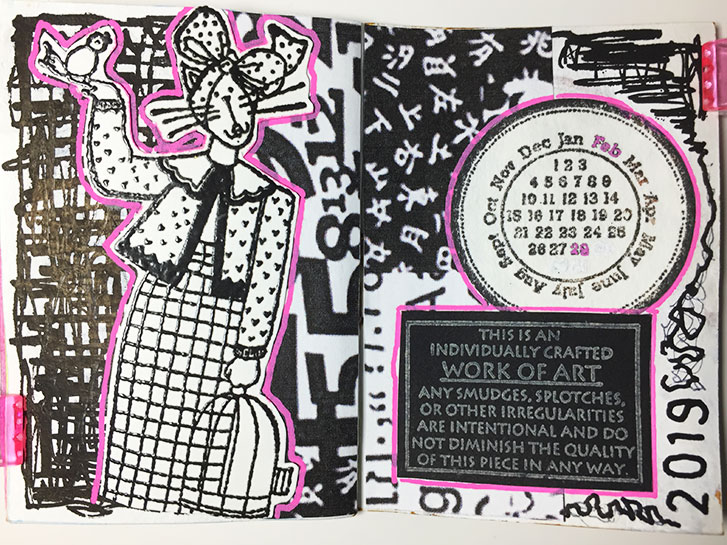
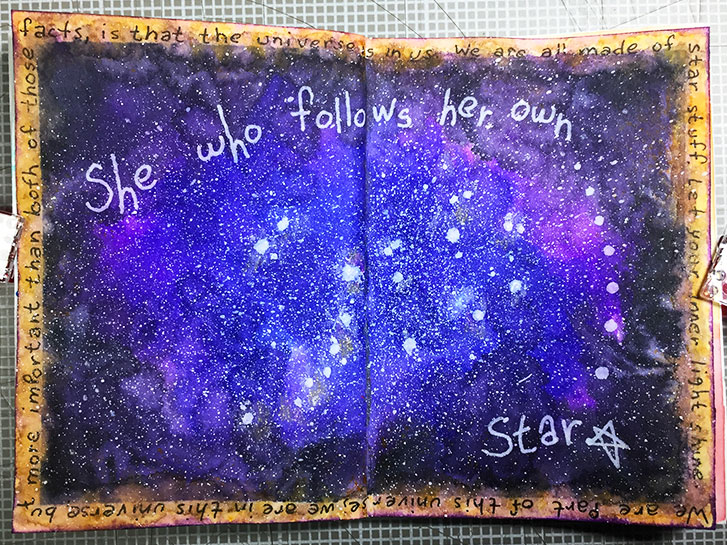
This is the last finished layout, incorportating the background which was created using water-based markers to color a background and then used various found objects to “stamp” texture on it.
In this tutorial, more texture was added to the background using stencils and Versa Magic ink. Posca pens and gel pens were used for mark making and word art. The bird were stamped with Archival ink. Then colored pencils and more ink pens were used to finish the layout.

I was out, getting weekly exercise by hiking through the local art and craft stores, when I came across the new Archival Distress Inks from the Tim Holtz collection!
I knew they were coming out from watching the Ranger Ink website. I didn’t know if they would be in the stores any time soon, but I have been watching for them. The are the same formula used in all Ranger Archival inks.
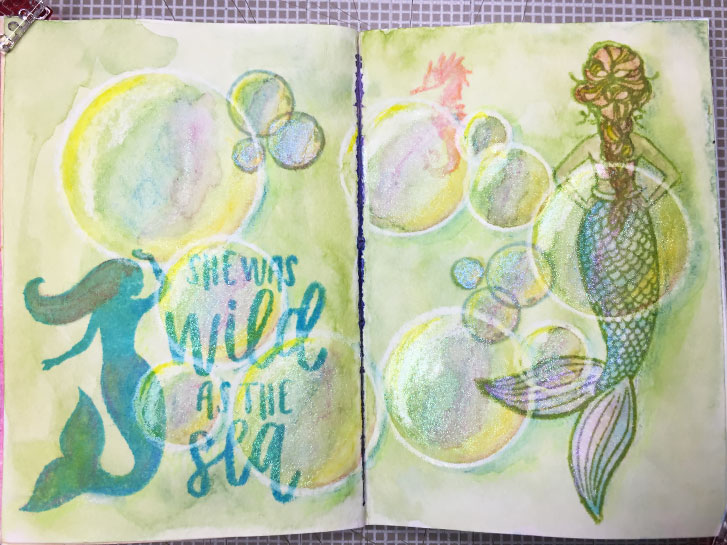
This is the sixth finished layout, incorportating the background which was created using a colored pencil resist and water-based markers.
In this tutorial, features were added with stamps and more color was created using Inktense and watercolor pencils and regular colored pencils.
If you would like to join a group of fellow art journalists, follow along with the instructions for this layout and other tutorials, and show off your work, you can find this and more in the Micro Art Journal group on Facebook!
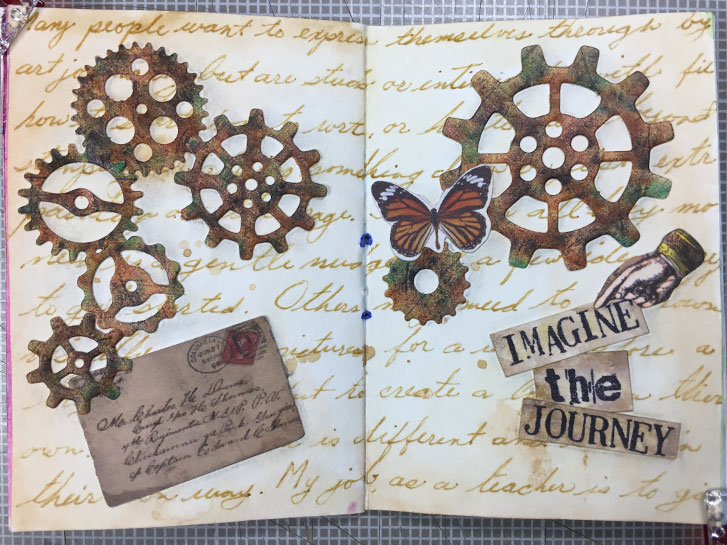
This is the fifth finished layout, incorportating the background created in earlier where we used a water-proof gel pen to write words across the layout. Then we painted over it with ink from water-based markers to create an antique look.
This tutorial shows you how to turn die-cuts into rusty metal object, how to use bits of ephemera and how to stamp out your words.
If you would like to join a group of fellow art journalists, follow along with the instructions for this layout and other tutorials, and show off your work, you can find this and more in the Micro Art Journal group on Facebook!
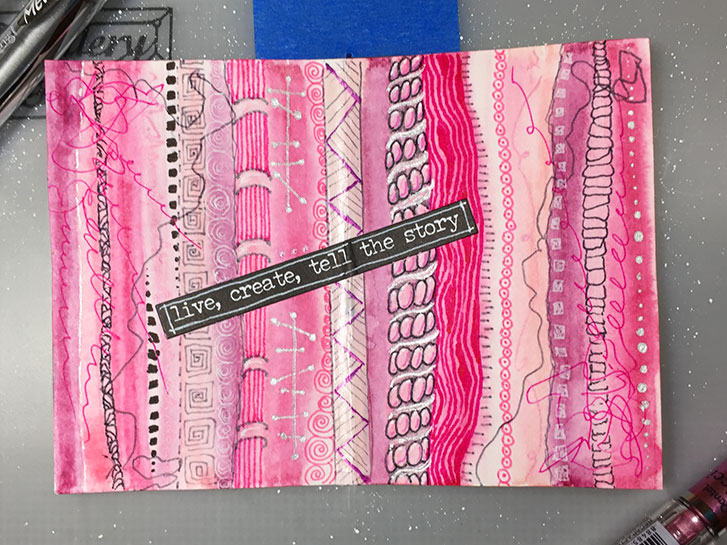
This is the fourth finished layout, incorportating the background . We used water-based markers to make a watercolored, striped background on the center spread of our tiny art journal.
This tutorial helps you discover different mark-making techniques which are then used to finish the background stripes. You’re also introduced to glue pens,and how to use one to attach word art to the layout.
If you would like to join a group of fellow art journalists, follow along with the instructions for this layout and other tutorials, and show off your work, you can find this and more in the Micro Art Journal group on Facebook! #microart #microartjournal #miniatureartjournal #miniartjournal #miniatureart #tinyjournalnation #allthingstiny #allthingsminiature #microartjournaling #tinyartjournal #travelersnotebook
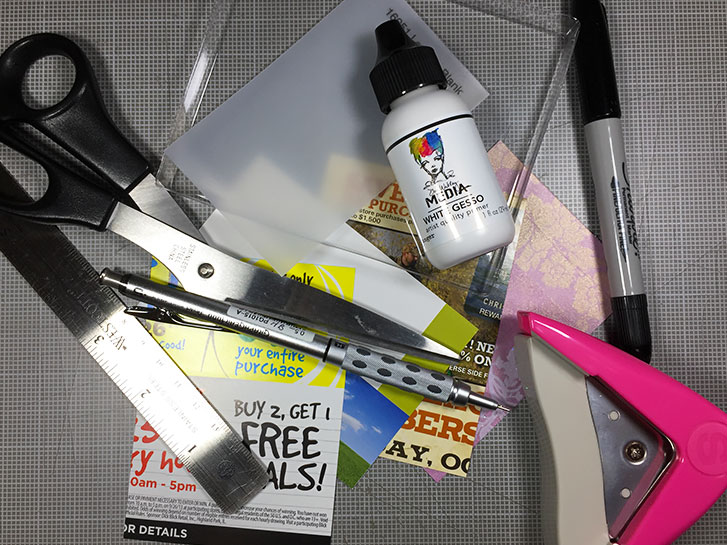
Today, we’re all taking a break from working in our tiny art journals. Instead, we are going to make tiny ATCs! Grab your supplies and join us on Facebook for further instructions!
If you would like to join a group of fellow art journalists, follow along with these and other tutorials, and show off your work, you can find this and more in the Micro Art Journal group on Facebook!
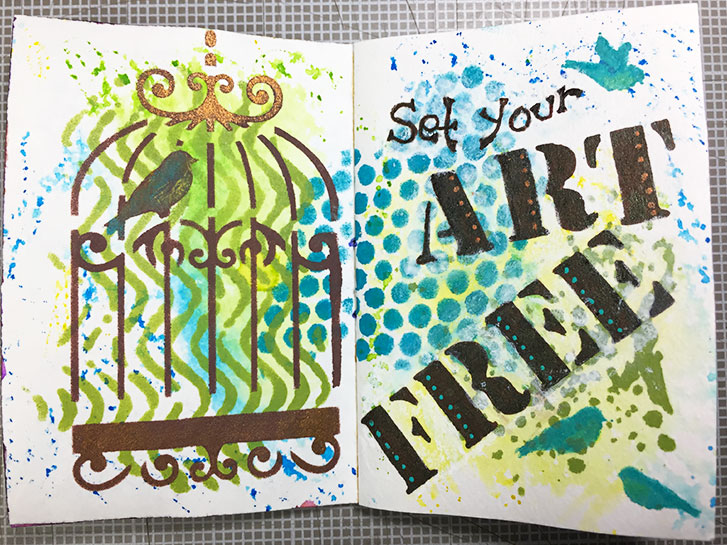
This is the third finished layout, incorportating the background created by scribbling color on a piece of plastic. It was the second background created in the book.
This tutorial gives you techniques for creating stencilled, painterly looks without using acrylic paints… Another way to “set your art free!”
If you would like to join a group of fellow art journalists, follow along with the instructions for this layout and other tutorials, and show off your work, you can find this and more in the Micro Art Journal group on Facebook!

This is the second finished layout, incorportating the background created by simply brushing color on the page. It was the first background created in the book.
Here, stamps, colored pencils and gel pens have been used to add the artwork to the page.
If you would like to join a group of fellow art journalists, follow along with the instructions for this layout and other tutorials, and show off your work, you can find this and more in the Micro Art Journal group on Facebook!
Last week, I posted a tutorial for creating a textured background using plastic food wrap.
I thought you would like to see what could be done with it.
If you would like to join a group of fellow art journalists, follow along with the instructions for this layout and other tutorials, and show off your work, you can find this and more in the Micro Art Journal group on Facebook!
#microart #microartjournal #miniatureartjournal #miniartjournal #miniatureart #tinyjournalnation #allthingstiny #allthingsminiature #microartjournaling #tinyartjournal #travelersnotebook
Note: I realize that many of you are experienced book makers and art journalers. However, this tutorial will make no assumptions about where you are at in your path. It is written for anyone, even those with little or no experience. You are welcome to follow exactly, or adapt it to your own skill level and needs.
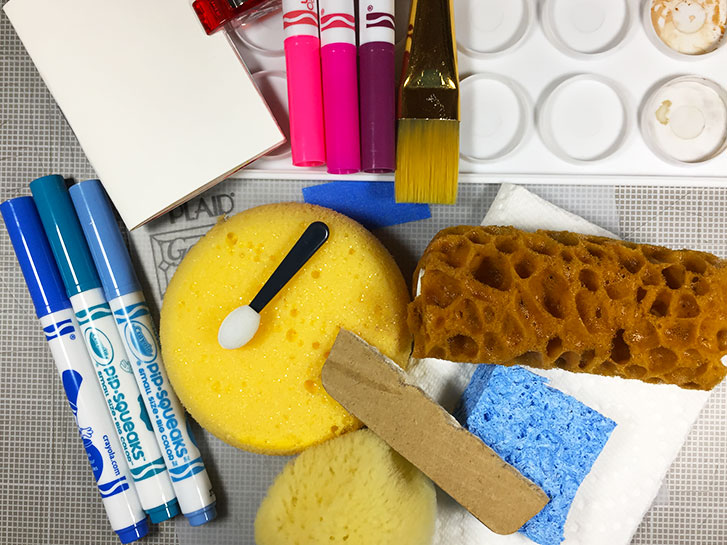
For this tutorial you are going to use water-based markers to paint the pages with color. Then you will use a variety of household objects to add texture to the spread.