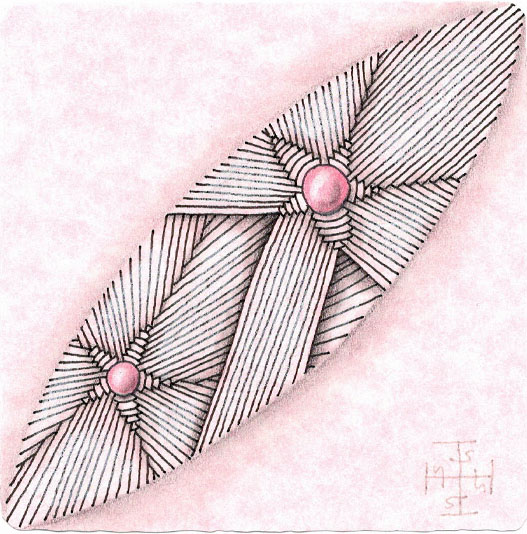
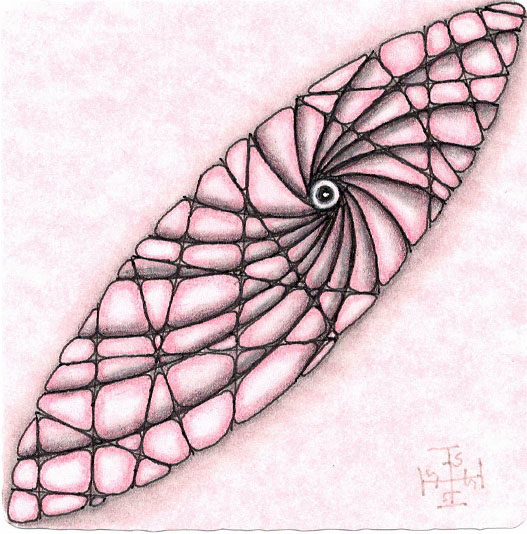
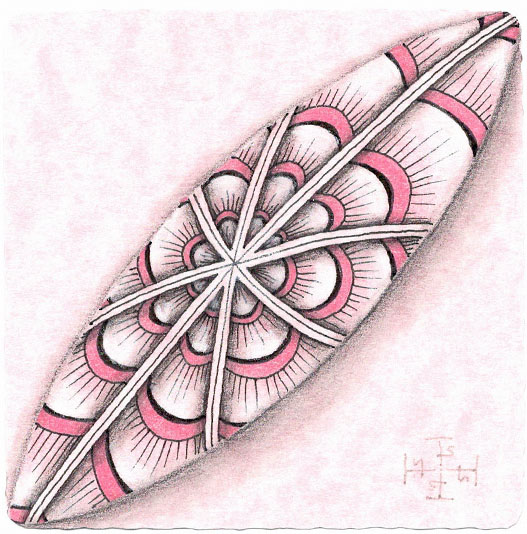
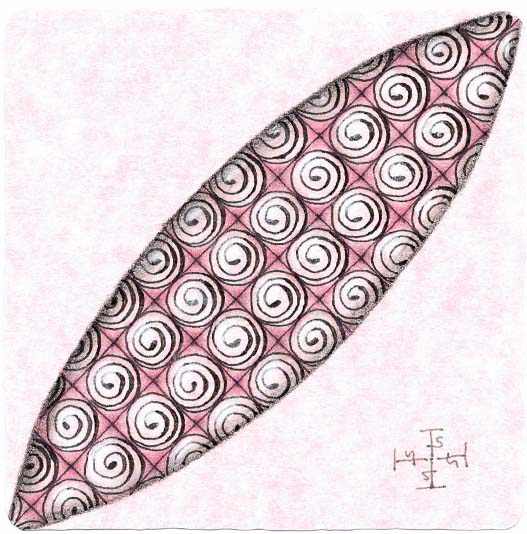
Today’s tile for Zentangle’s “Bijou Be Well 2025” project features the tangle Arukas.
The Bijouism for the day is “Dream”.
The video for this tangle is here .
Zentangle drawn on pink printed parchment card stock using a black, Micron pen. Coloring done with colored pencil. Shading done with black colored pencil and graphite pencil. Highlights done with white colored pencil.
#zentangle #tangle #BeWell2025 #MentalHealthAmerica #MentalHealthAwarenessMonth #4Rebecca
Tangles: Arukas
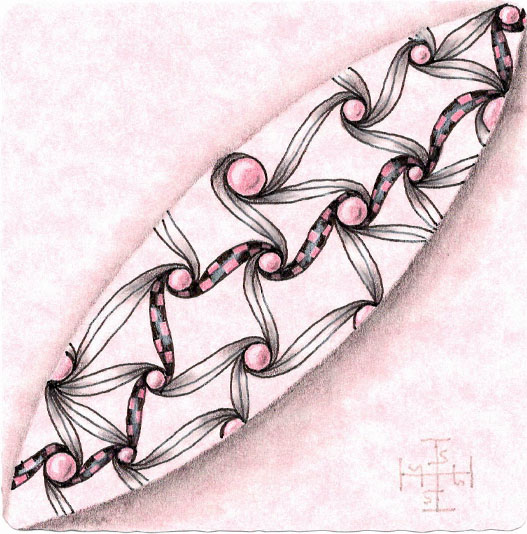
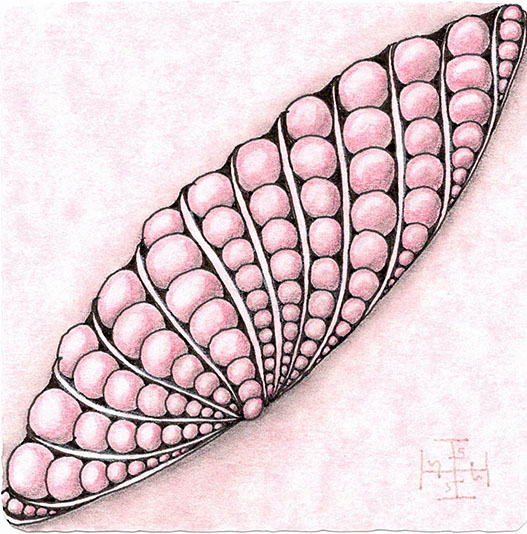
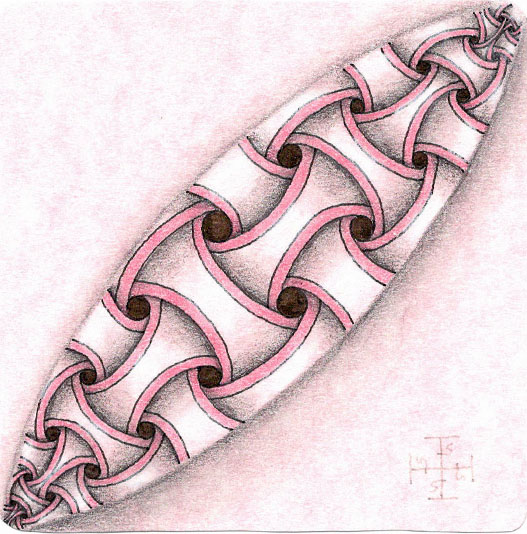
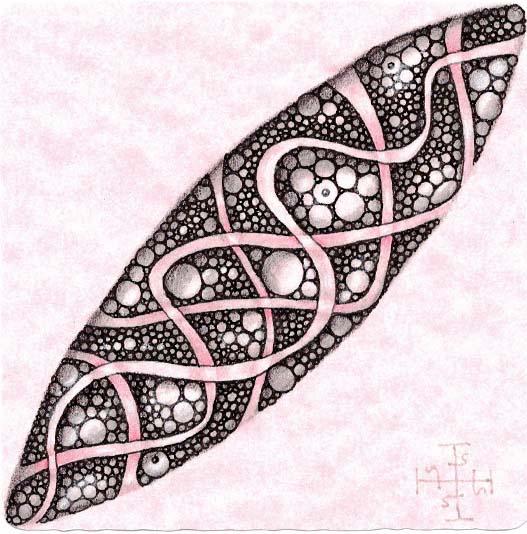
Today’s tile for Zentangle’s “Bijou Be Well 2025” project features the tangle Crazy Cadent.
The Bijouism for the day is “Find Balance”.
The video for this tangle is here .
Zentangle drawn on pink printed parchment card stock using a black, Micron pen. Coloring done with colored pencil. Shading done with black colored pencil and graphite pencil. Highlights done with white colored pencil.
#zentangle #tangle #BeWell2025 #MentalHealthAmerica #MentalHealthAwarenessMonth #4Rebecca
Tangles: Crazy Cadent
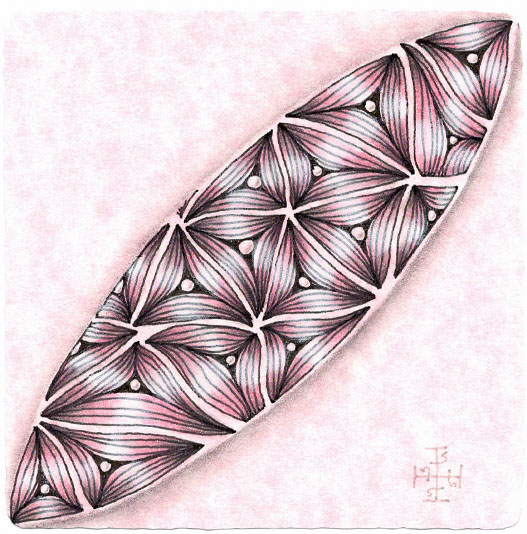
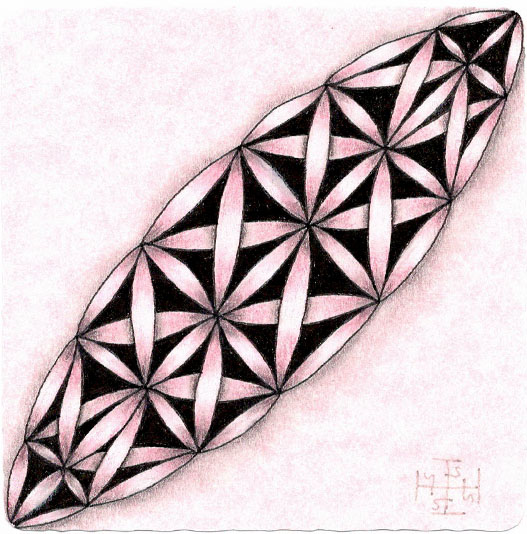
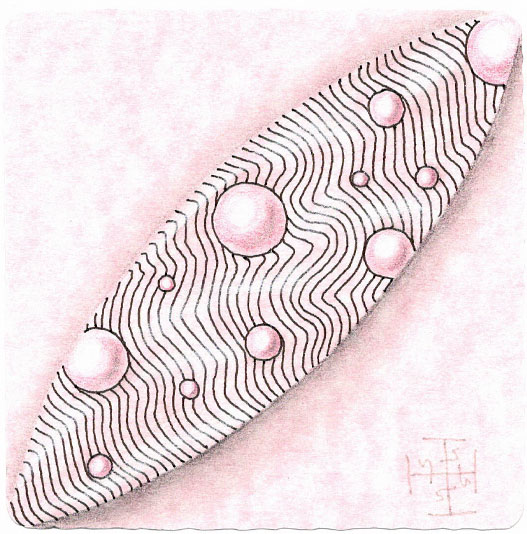
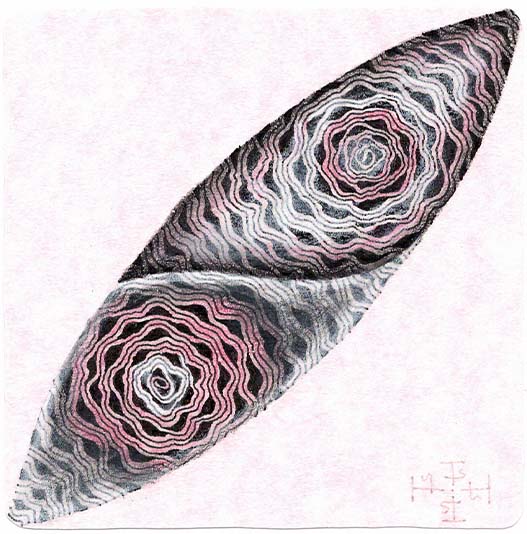
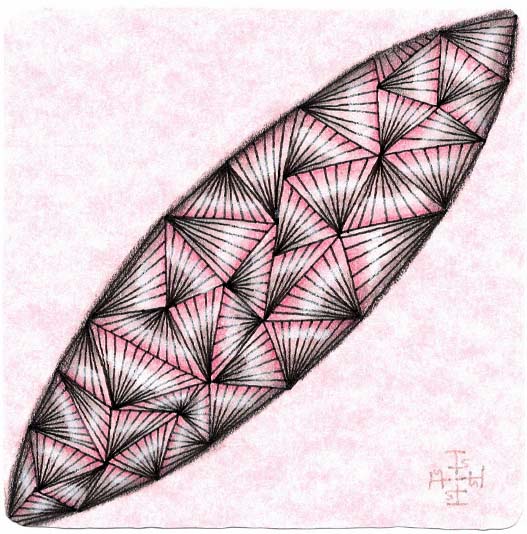
Today’s tile for Zentangle’s “Bijou Be Well 2025” project features the tangle Tripoli.
The Bijouism for the day is “Look up”.
The video for this tangle is here .
Zentangle drawn on pink printed parchment card stock using a black, Micron pen. Coloring done with colored pencil. Shading done with black colored pencil and graphite pencil. Highlights done with white colored pencil.
#zentangle #tangle #BeWell2025 #MentalHealthAmerica #MentalHealthAwarenessMonth #4Rebecca
Tangles: Tripoli
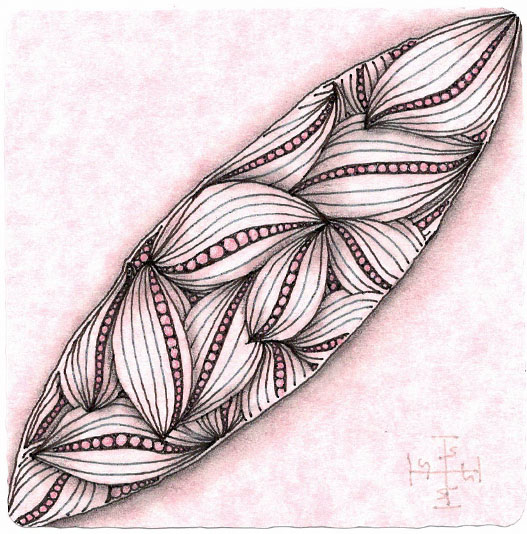
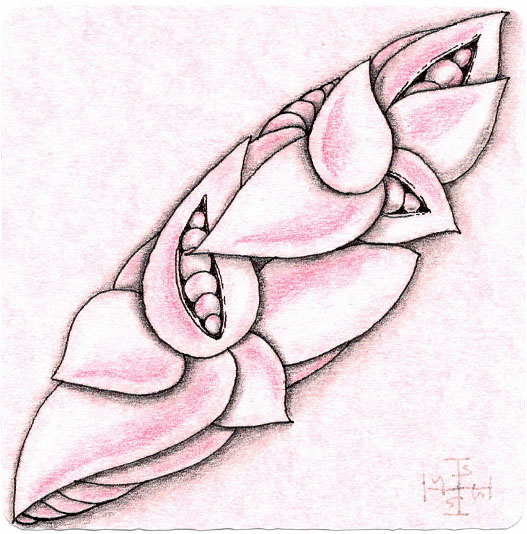
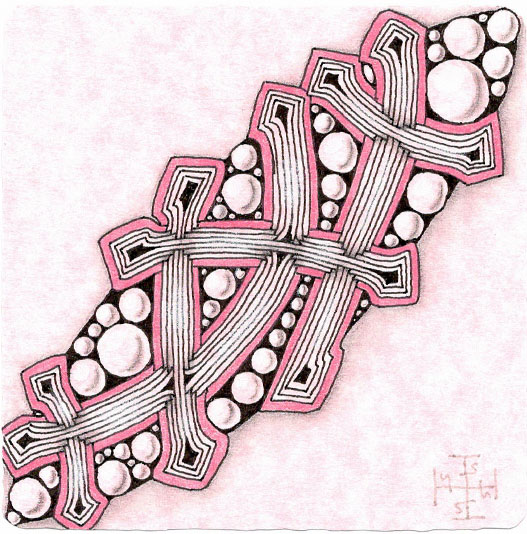
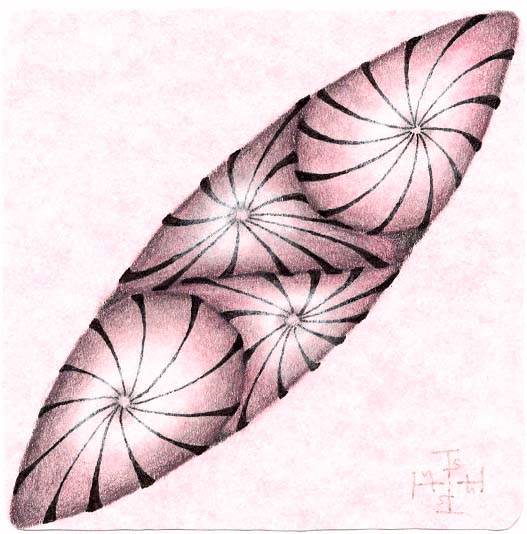
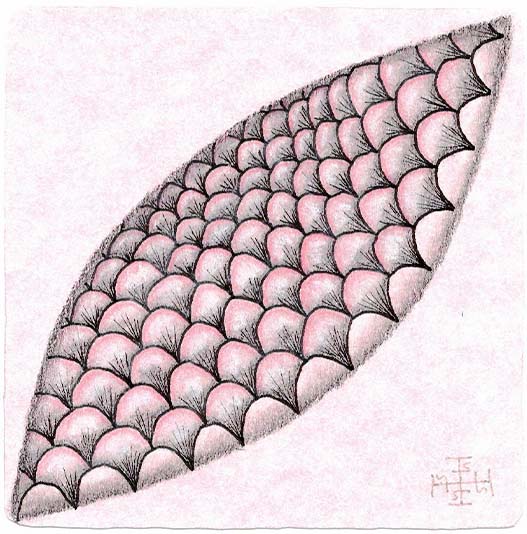
Today’s tile for Zentangle’s “Bijou Be Well 2025” project features the tangle Ravel.
The Bijouism for the day is “Stretch”.
The video for this tangle is here .
Zentangle drawn on pink printed parchment card stock using a black, Micron pen. Coloring done with colored pencil. Shading done with black colored pencil and graphite pencil. Highlights done with white colored pencil.
#zentangle #tangle #BeWell2025 #MentalHealthAmerica #MentalHealthAwarenessMonth #4Rebecca
Tangles: Ravel
Today’s tile for Zentangle’s “Bijou Be Well 2025” project features the tangle Nzepple.
The Bijouism for the day is “Change and Grow”.
The video for this tangle is here .
Zentangle drawn on pink printed parchment card stock using a black, Micron pen. Coloring done with colored pencil. Shading done with black colored pencil and graphite pencil. Highlights done with white colored pencil.
#zentangle #tangle #BeWell2025 #MentalHealthAmerica #MentalHealthAwarenessMonth #4Rebecca
Tangles: Nzepple
Today’s tile for Zentangle’s “Bijou Be Well 2025” project features the tangle Purk.
The Bijouism for the day is “Explore”.
The video for this tangle is here .
Zentangle drawn on pink printed parchment card stock using a black, Micron pen. Coloring done with colored pencil. Shading done with black colored pencil and graphite pencil. Highlights done with white colored pencil.
#zentangle #tangle #BeWell2025 #MentalHealthAmerica #MentalHealthAwarenessMonth #4Rebecca
Tangles: Purk
Today’s tile for Zentangle’s “Bijou Be Well 2025” project features the tangle Fife.
The Bijouism for the day is “Nurture”.
The video for this tangle is here .
Zentangle drawn on pink printed parchment card stock using a black, Micron pen. Coloring done with colored pencil. Shading done with black colored pencil and graphite pencil. Highlights done with white colored pencil.
#zentangle #tangle #BeWell2025 #MentalHealthAmerica #MentalHealthAwarenessMonth #4Rebecca
Tangles: Fife
Today’s tile for Zentangle’s “Bijou Be Well 2025” project features the tangle Idoz.
The Bijouism for the day is “Add love”.
The video for this tangle is here .
Zentangle drawn on pink printed parchment card stock using a black, Micron pen. Coloring done with colored pencil. Shading done with black colored pencil. Highlights done with white colored pencil.
#zentangle #tangle #BeWell2025 #MentalHealthAmerica #MentalHealthAwarenessMonth #4Rebecca
Tangles: Idoz
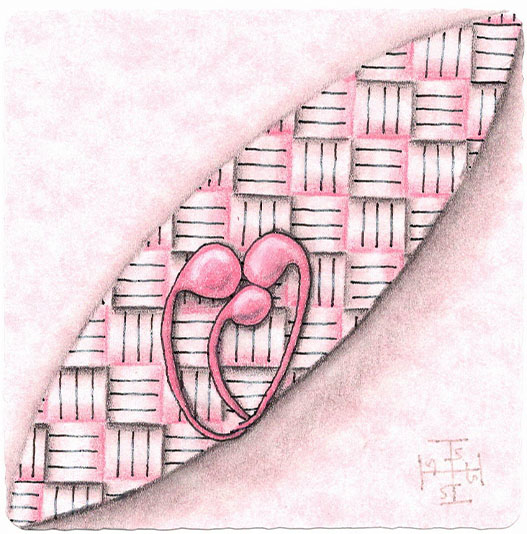
Today’s tile for Zentangle’s “Bijou Be Well 2025” project features the tangle Keeko.
I’ve also added Mooka, instead of the Pokeleaf shown in the video. I did this because today was 8th grade graduation for my teen! So I did a little “family portrait” to commerate the event.
The Bijouism for the day is “Be brave, be true”.
The video for this tangle is here .
Zentangle drawn on pink printed parchment card stock using a black, Micron pen. Coloring done with colored pencil. Shading done with graphite and colored pencil. Highlights done with white colored pencil.
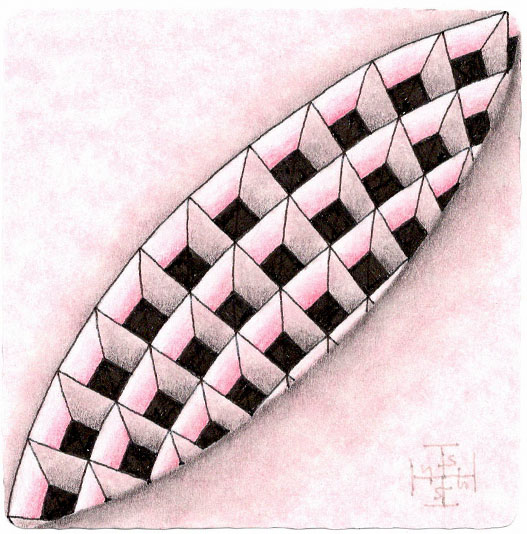
Today’s tile for Zentangle’s “Bijou Be Well 2025” project features the tangle Cubine.
The Bijouism for the day is “Patience”.
The video for this tangle is here .
Zentangle drawn on pink printed parchment card stock using a black, Micron pen. Coloring done with colored pencil. Shading done with graphite and colored pencil. Highlights done with white colored pencil.
#zentangle #tangle #BeWell2025 #MentalHealthAmerica #MentalHealthAwarenessMonth #4Rebecca
Tangles: Cubine
Today’s tile for Zentangle’s “Bijou Be Well 2025” project features the tangle Nipa.
The Bijouism for the day is “Silence”.
The video for this tangle is here .
Zentangle drawn on pink printed parchment card stock using a black, Micron pen. Coloring done with colored pencil. Shading done with graphite and colored pencil. Highlights done with Zentangle white chalk pencil and white colored pencil.
#zentangle #tangle #BeWell2025 #MentalHealthAmerica #MentalHealthAwarenessMonth #4Rebecca
Tangles: Nipa
Today’s tile for Zentangle’s “Bijou Be Well 2025” project features the tangle Ix.
The Bijouism for the day is “Take Another Look”.
The video for this tangle is here .
Zentangle drawn on pink printed parchment card stock using a black, Micron pen. Coloring done with colored pencil. Shading done with graphite pencil. Highlights done with Zentangle white chalk pencil and white colored pencil.
#zentangle #tangle #BeWell2025 #MentalHealthAmerica #MentalHealthAwarenessMonth #4Rebecca
Tangles: Ix
Today’s tile for Zentangle’s “Bijou Be Well 2025” project features the tangle Drupe.
The Bijouism for the day is “I Can Decide”.
The video for this tangle is here .
Zentangle drawn on pink printed parchment card stock using a black, Micron pen. Coloring done with colored pencil. Shading done with colored and graphite pencil. Highlights done with Zentangle white chalk pencil.
#zentangle #tangle #BeWell2025 #MentalHealthAmerica #MentalHealthAwarenessMonth #4Rebecca
Tangles: Drupe
Today’s tile for Zentangle’s “Bijou Be Well 2025” project features the tangle Huggins.
The Bijouism for the day is “It’s the journey”.
The video for this tangle is here .
Zentangle drawn on pink printed parchment card stock using a black, Micron pen. Coloring done with colored pencil. Shading done with colored and graphite pencil. Highlights done with Zentangle white chalk pencil.
#zentangle #tangle #BeWell2025 #MentalHealthAmerica #MentalHealthAwarenessMonth #4Rebecca
Tangles: Huggins
Today’s tile for Zentangle’s “Bijou Be Well 2025” project features the tangle Diva Dance.
The Bijouism for the day is “Respect”.
The video for this tangle is here .
Zentangle drawn on pink printed parchment card stock using a black, Micron pen. Coloring, shading, and highlights done with colored pencil.
#zentangle #tangle #BeWell2025 #MentalHealthAmerica #MentalHealthAwarenessMonth #4Rebecca
Tangles: Diva Dance
Today’s tile for Zentangle’s “Bijou Be Well 2025” project features the tangle Pepper.
The Bijouism for the day is “Share”.
The video for this tangle is here .
Zentangle drawn on pink printed parchment card stock using a black, Micron pen. Coloring done with colored pencil. Shading done with colored pencil. Highlights done with Zentangle white chalk pencil.
#zentangle #tangle #BeWell2025 #MentalHealthAmerica #MentalHealthAwarenessMonth #4Rebecca
Tangles: Pepper
Today’s tile for Zentangle’s “Bijou Be Well 2025” project features the tangle Tortuca. The Bijouism for the day is “Love Your Work”. The video for this tangle is here .
Zentangle drawn on pink printed parchment card stock using a black, Micron pen. Coloring done with colored pencil. Shading done with colored pencil. Highlights done with Zentangle white chalk pencil.
#zentangle #tangle #BeWell2025 #MentalHealthAmerica #MentalHealthAwarenessMonth #4Rebecca
Tangles: Tortuca
Today’s tile for Zentangle’s “Bijou Be Well 2025” project features the tangle Mysteria. The Bijouism for the day is “Pause”. The video for this tangle is here .
Zentangle drawn on pink printed parchment card stock using a black, Micron pen. Coloring done with colored pencil. Shading done with black colored pencil. Highlights done with Zentangle white chalk pencil.
#zentangle #tangle #BeWell2025 #MentalHealthAmerica #MentalHealthAwarenessMonth #4Rebecca
Tangles: Mysteria
Today’s tile for Zentangle’s “Bijou Be Well 2025” project features the tangle Muchin. The Bijouism for the day is “Elegance of Limits”. The video for this tangle is here .
Happy Mother’s Day!
Zentangle drawn on pink printed parchment card stock using a black, Micron pen. Coloring done with colored pencil. Shading done with blackwing pencil and colored pencil. Highlights done with Zentangle white chalk pencil.
#zentangle #tangle #BeWell2025 #MentalHealthAmerica #MentalHealthAwarenessMonth #4Rebecca
May is Mental Health Awareness Month. This year, the theme, as designated by Mental Health America is “Turn Awareness Into Action.” This encompasses taking action for yourself and taking action for all.
Zentangle is a tool for taking action for yourself AND for taking action for others. For myself, it helps me to deal with the stresses in my life. I also teach others, giving them new tools to deal with things in their lives.
