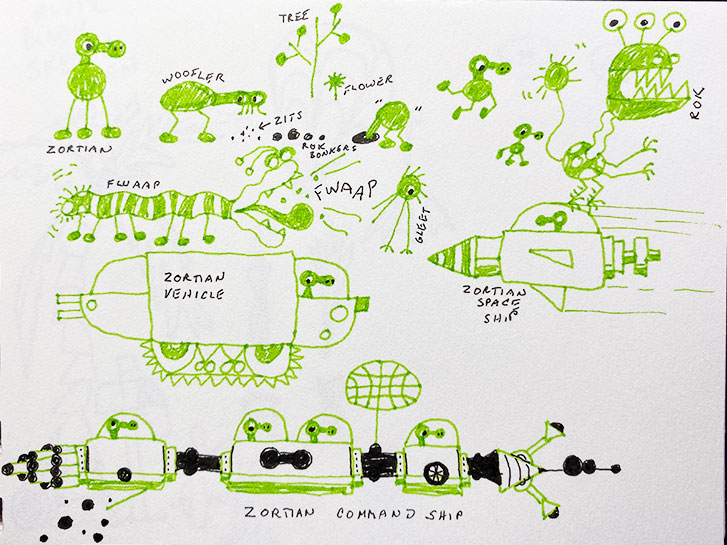
In the last Ed Eberley doodle installment is the Planet of Zort! This comes from the "Big Green Drawing Book" . This wonderful book is full of things that can be drawn by using the following simple shapes: triangle, square, I, C, D, O, (, ), and scribble! If you can draw those things, you can draw any of the things in this book! (Does this sound familiar?) There’s adorable Práta People, Snakes from every angle, Racing Cars and animals, Greengrin, Pine Island and Zort. Plenty of fun for everyone, large and small!
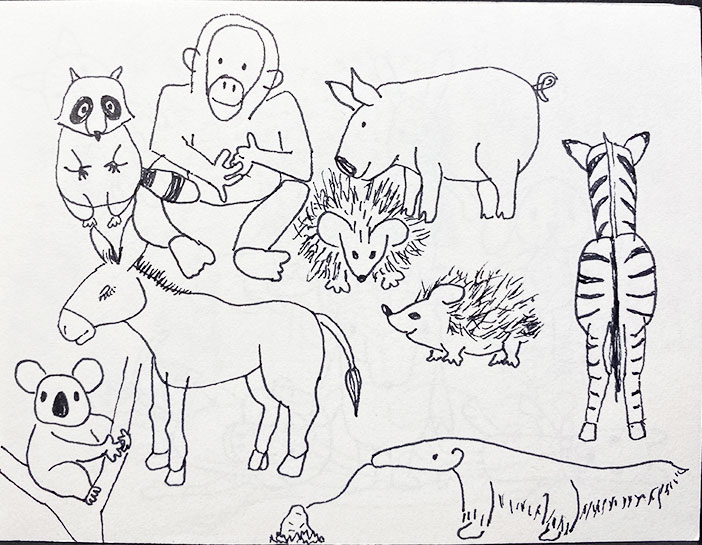
Last Friday, I introduced you to a style of doodle drawing created by Ed Emberley .
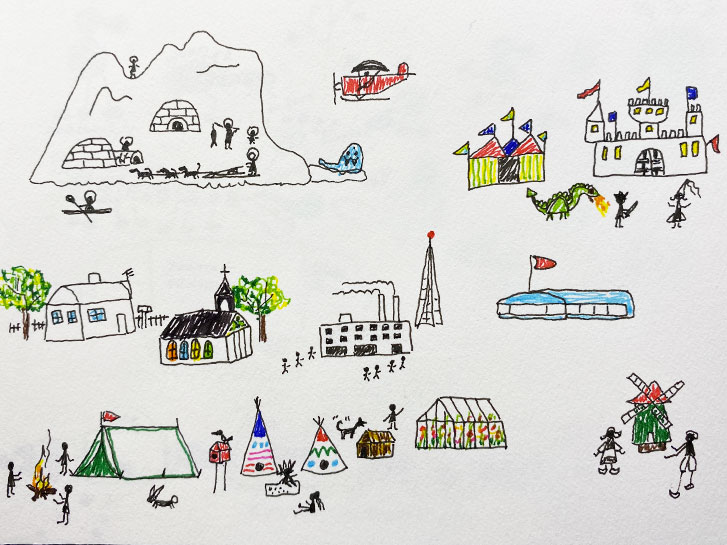
Today, I am continuing that journey. On this page in my little 4" x 6" sketch book, I’m illustrating some the various places that might live in the imagination in the “Emberley Style”.
So grab your pencil, or colored finliners and create your own imaginary world, or tiny story! When you post it, make sure to use the tag, #doodledoit!
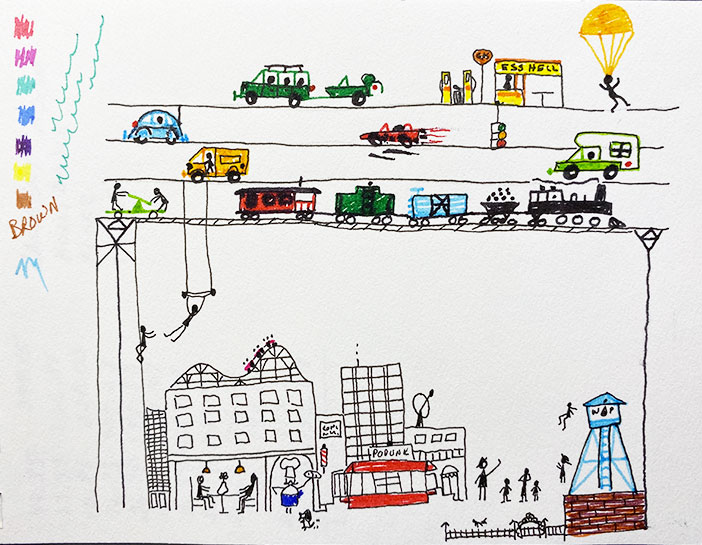
If you haven’t already met, I’d like to take this opportunity to introduce you to Ed Emberley ! Mr. Emberley is an artist and illustrator of children’s books. Of interest to us here are his kid’s instructional drawing books. Of these, my favorite is "Make a World" .
This book shows you how to use simple shapes to create everything from an astronaut to a castle by combining simple geometric shapes.
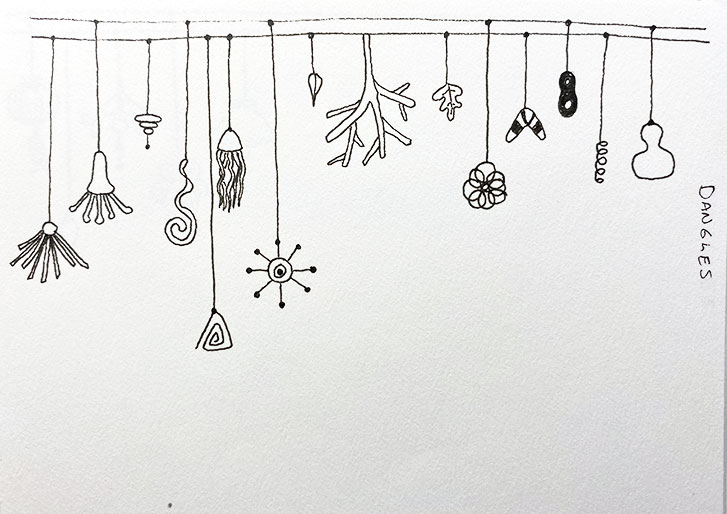
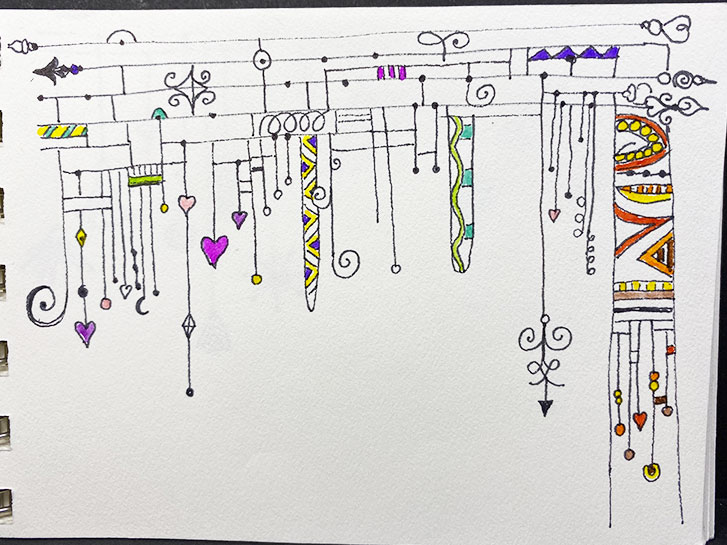
Yesterday, I showed you some dangles that were on a page in my small sketch book.
Today, I’m showing you some more dangles, but these are a slightly different style. These are more like the style illustrated in "The Art of Drawing Dangles: Creating Decorative Letters and Art with Charms" by Olivia A. Kneibler.
This style is a bit less abstract, choosing to create dangles illustrate items from nature and real life.
Doodle Dangle it!
Yesterday’s doodles were a variety of animals.
Today, we’re going for a variety of decorative, dangling elements that,together, create a composition.
The modern dangle concept illustrated here comes from Joanne Fink, first shown in her book "Zenspirations, Dangle Designs" .
This is a bit more structured doodling that can be a lot of fun!
Give it a try. Don’t forget to tag your post: #doodledoit!
#doodledoit
How do you doodle?
Just about everyone does it.
Maybe you doodle around the margins of your notes in school. Perhaps you like to play with your pen when you’re on the phone. How about while you’re waiting for an appointment?
Doodling helps to pass the time. It engages the brain. And it’s good practice for motor skills.
If you don’t doodle, maybe you should give it a try! You can get a little sketch book … one that fits in your pocket. Add a pen or a mechanical pencil and you’re good to go!

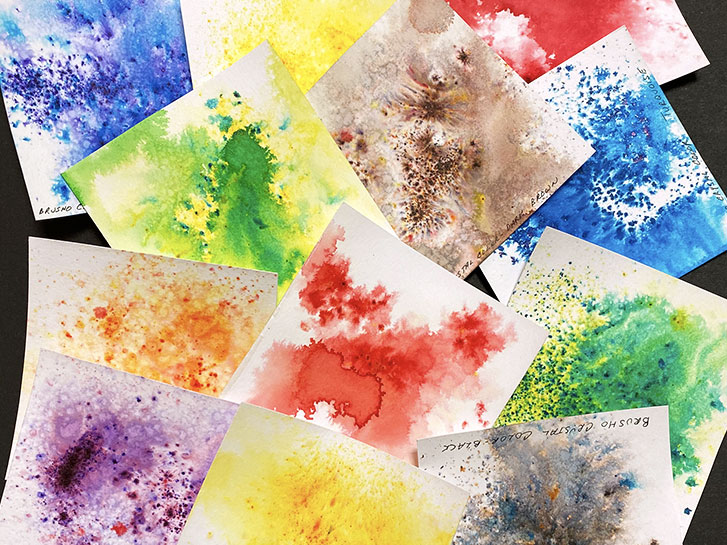
As I was cleaning up and rearranging this weekend, I came across this tablet of really nice watercolor paper.
I had purchased this to make some Zentangle tiles, but it turned out that this paper didn’t work well for that purpose.
So I’ve decided to make a new art journal from the remainder of the paper. To keep this fairly simple, I’m just folding each sheet of paper in half, and using two sheets to create a signature. This paper is heavy (140 lb) so using 3 sheets in a signature creates a wide variation between the open edges that is a bit too much for my taste. Two sheets creates a bit of variation, by I’m fine with it. The alternative would be to trim the irregular edges, but I would rather not do that.
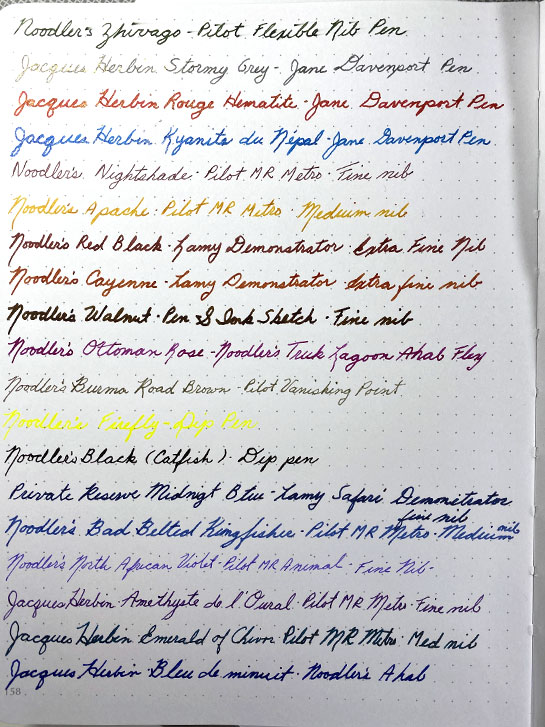
Every time we get a new ink for our fountain pens, I use a pen and write a sample of it into my journal in the back. That way, I have a running list of the inks that we have, and can see what they look like.
I also record which pen I used to create the sample because inks perform differently, depending on the nib and pen used.
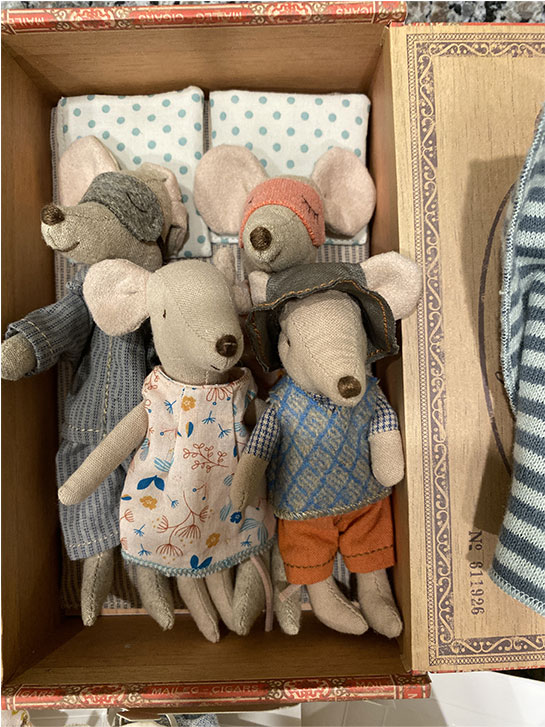
I think there are things that we have, as artist and people that just bring us joy.
These mice are one of mine. When I look at this little family, it just makes me happy. I dream of making them some new, tiny clothes one day…
I imagine them going on tiny adventures, traveling the world, or just trying to navigate a grocery store.
Do Dad and Mom work? Do the kids go to school. What would their tiny places away from home look like?
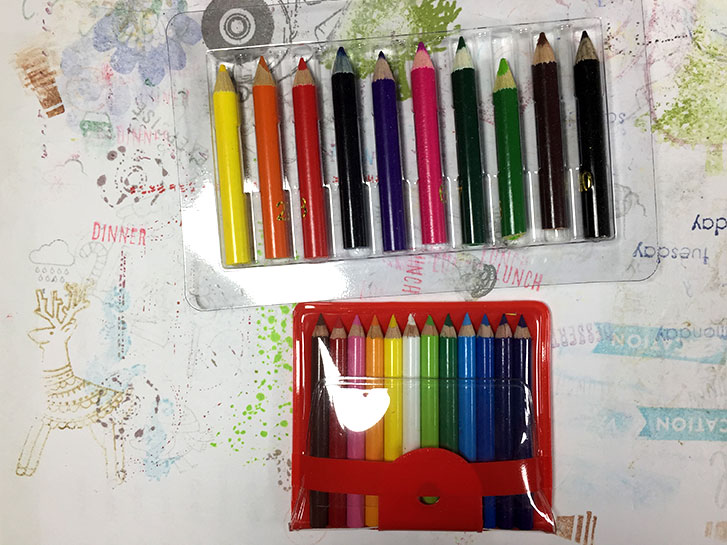
Sometimes, you just need tiny pencils! These are 1-1/2" to 1-3/4" long.
#microart #microartjournal #miniatureartjournal #miniartjournal #miniatureart #tinyjournalnation #allthingstiny #allthingsminiature #microartjournaling #tinyartjournal #travelersnotebook #inktober #spooktacular2019
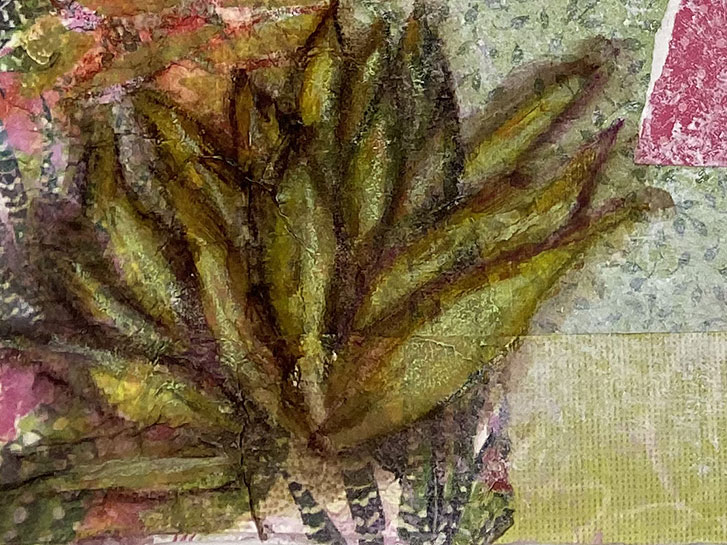
I have been working on a mixed media project for a while now. It’s not finished, by any means, but I thought I would give you a bit of a peek at what is happening.
Another part of the same work.
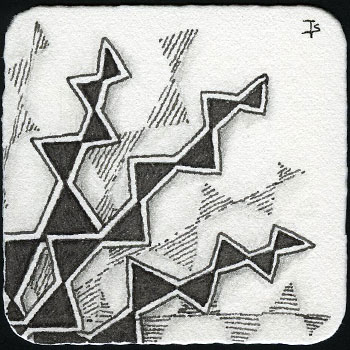
#4 - This is the fourth in my series of fountain pen, shimmer and sheen ink tests.
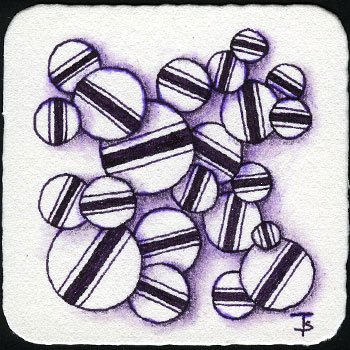
J. Herbin, Amethyste de l'Oural , a dark, purple ink with a beautiful crystalline-to-silver sheen, is such a deep, royal color. It’s beautiful with any tangle that has some filled in portion which allows the variations to shine when rotated in the light.
I wish you could see here, in the scan, the beautiful sparkle along the bands in the Jetties tangle. You’ll just have to try it for yourself!
#3 - This is the third in my series of fountain pen, shimmer and sheen ink tests.
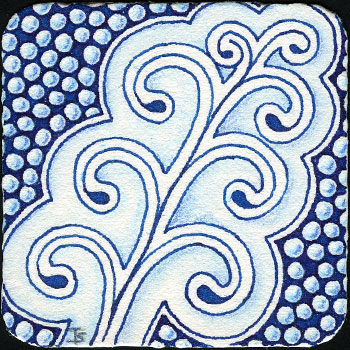
I think I am in love with this Jacques Herbin ink, , Kyanite du Népal ! It is a beautiful, turquoise-blue with a sheen consiting of turquoise and silver metallic flecks. It’s an ink that will make any mermaid swoon!
Although you can’t see it in the photo above, slightly rotating the tile under good light or outside in the sun causes the droplet ends of the opus to sparkle like a beautiful lagoon!
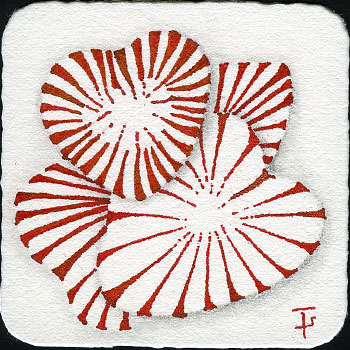
#2 - This is the second in my series of fountain pen, shimmer and sheen ink tests.
The ink used here, Jacques Herbin, Rouge Hematite is perfect for the second tangle in this series! Pepper reminds me of those red and white peppermint candies that you see everywhere during the Thanksgiving and Christmas season!
While you can’t see the pretty, gold sheen in this gorgeous ink, you can see how it affects the color and variations created when it is used to draw the stripes in the peppermints.
#1 - This is the first in my series of fountain pen, shimmer and sheen ink tests.
I am currently using the 2019 Gratitangles list. The first tangle is Rain.
What ink could me more appropriate than the Jacques Herbin Stormy Sky ink! This ink is a deep, flannel grey color with very tiny, sparse gold flecks. It worked well in the fountain pen and covered nicely in the areas that are filled in. The drying time on a standard Bijou tile was very reasonable.
Sometimes, what you’re looking for is right under your nose… and you don’t see it!
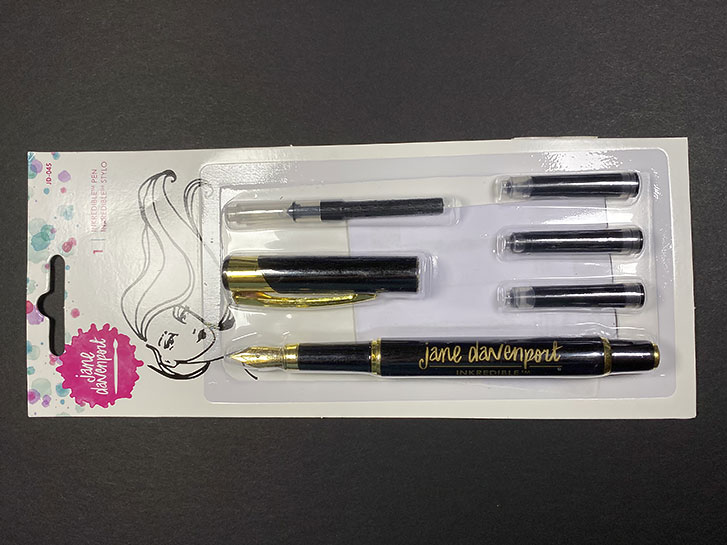
I’ve had this Jane Davenport fountain pen for a while now. It’s an inexpensive workhorse that I don’t worry about trying things with.
It comes with three ink cartridges, and a “converter” that you can fill with any fountain pen ink you wish. You use the converter instead of a cartridge.
Recently, along with a glass pen, my husband purchased two shimmer ink samplers from The Goulet Pen Company . One is a set of Jacques Herbin and the other is Robert Oster . I want to play with these for calligraphy and creating some interesting tangling effects.
One day last week, my husband was anxious about a package that was being delivered. His concern was that it would be by the front door on Halloween eve. And we were not going to be home.
As it turned out, it was put into the mail box and everything was fine!
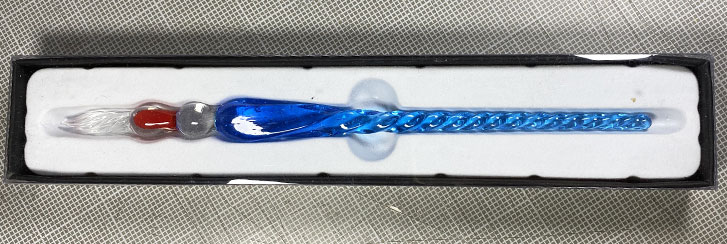
In the package was this glass pen, which he bought for me as a gift. He got it from The Goulet Pen Company . This pen is a Herbin Large Spiral Glass Dip Pen in the Royal Blue color.
On Wednesday, I went with a group of friends to the Art Resource Center . This is the first time I’ve been there, although I have donated to them in the past. They accept donations of cash or new, or partially used art materials. But it doesn’t end there! They have tons of interesting things from craft magazines and instructions to pieces of wood and metal, all kinds of containers, fabric, trims and buttons, books, stickers and binders… and more! Everything there has been donated by someone. Donations are tax deductable.
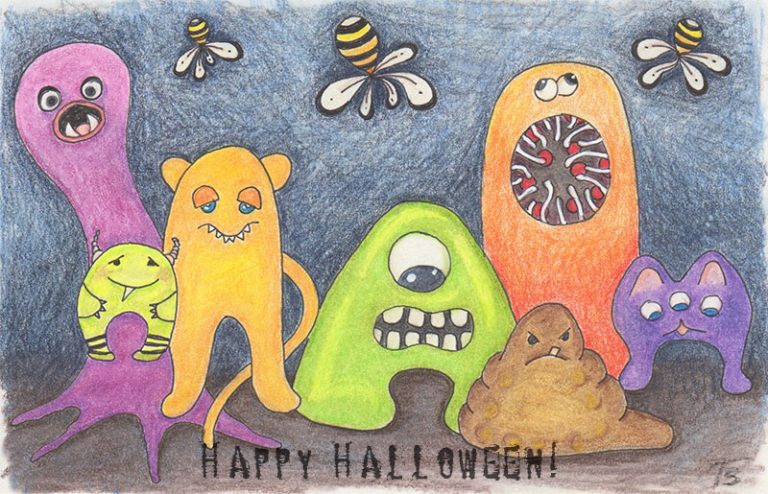
Throwback Thursday!
Three years ago today, I did a reset on this website. I changed the style and the content over to be able to show you my art. While I have been tangling, more than anything else, I also do other kinds of art. But I have to confess, tangles often slip into it.
This quick Halloween drawing was created with colored pencil. But you’ll probably find a couple of tangles here and there!
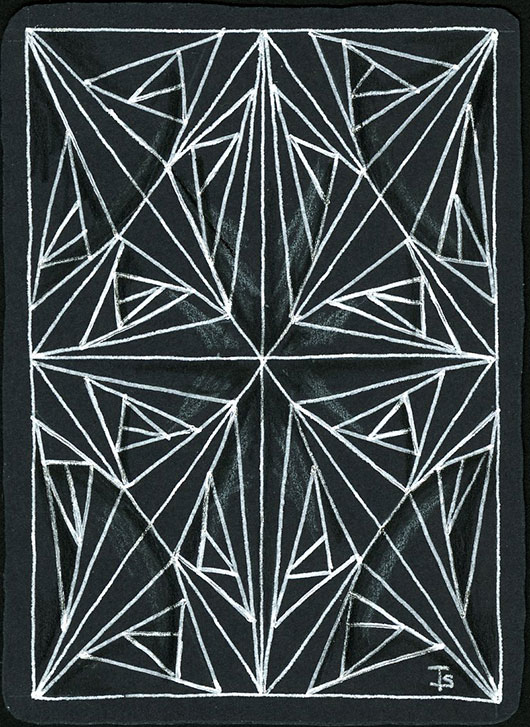
Did you notice that I skipped a number in this series of ATC cards? While this one was actually the sixth one I did, I saved it for the last because of the way it came out.
Ok. I had this idea about using Paradox to make a symmetrical design. I think it sort of worked… but not at all what I imagined it would look like!
ATC #6. Project done!