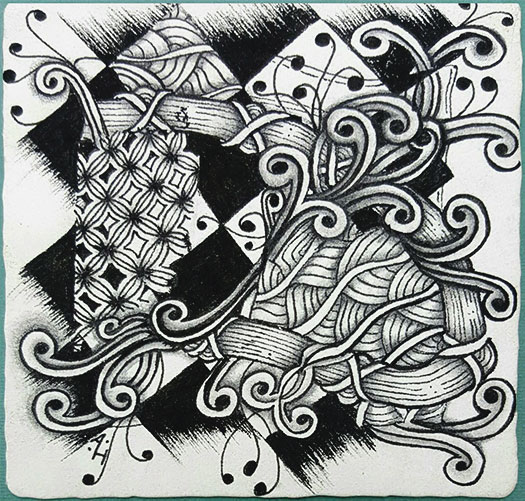
Disruption.
Every time the energy returned, it disrupted the planetary patterns. She knew it was time to travel again, to take the ship out. But the energy patterns just didn’t allow for it then. She would study the patterns… perhaps there was a way.
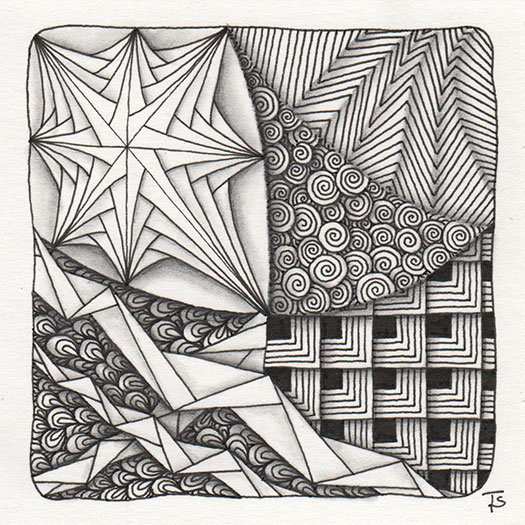
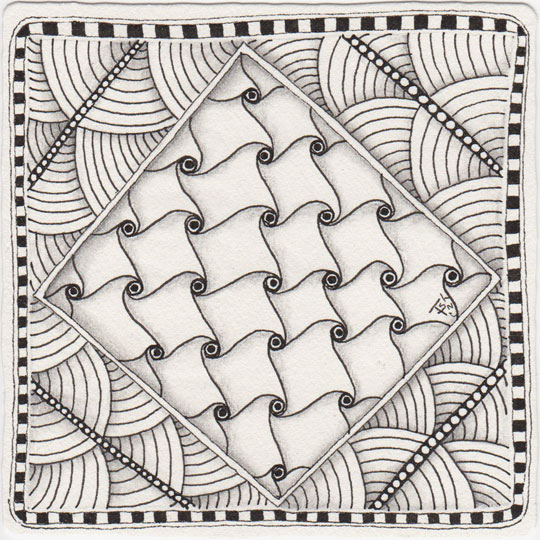
Zentangle drawn on Strathmore Vellum Bristol using a black, Micron pen. Shading done with graphite pencil.
Tangles: Antidots Betweed Flukes Ing Printemps Static

Another Introduction to Zentangle class at Good Gifts Healing Arts!
I am so blessed to be able to share with others!
Kicks!
As you know, I often feature tiles created by my daughter, Amanda Higbee, CZT. But what you might not know, is that her oldest son, Matthew is also a tangler! You can see a few of his tiles in the Guest Gallery. Matthew is almost 18 years old, and this year, he is a Senior in High School.
Amanda sent me these pictures yesterday morning, and I was just blown away!
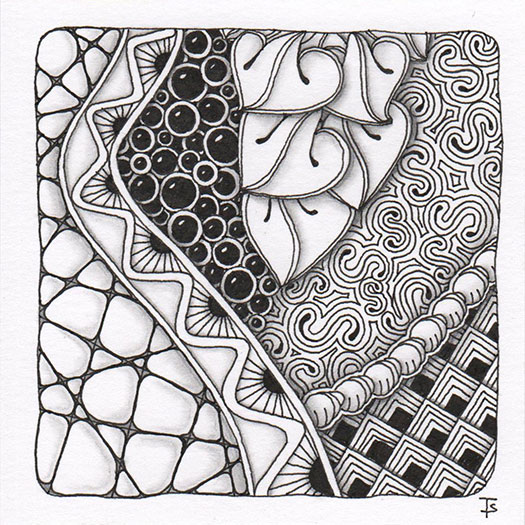
I love the overall composition of this tile from CZT Amanda Higbee!
Zentangle drawn on an Official Zentangle tile, using a black, Micron pen. Shading done with graphite pencil.
Tangles: Cobbles Floo Hypnotic Msst Purk Printemps Static
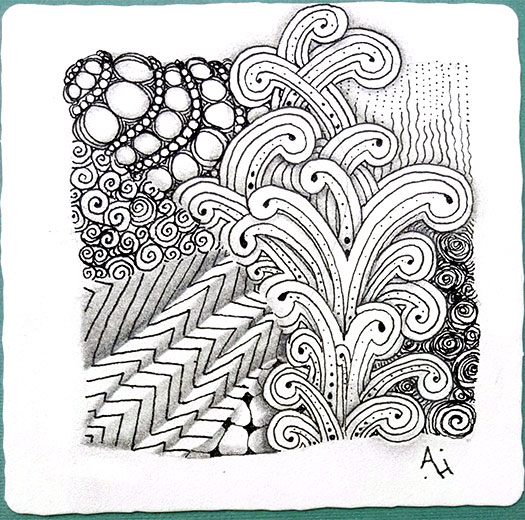
This tile was created from Eni Oken’s newest Art Club video, Feziii Tangle .
Feziii, created by Eni, is a different type of tangle because it is procedural, following specific rules. This is an interesting concept for how to draw a tangle. It was a lot of fun!
Shading Feziii requires some serious thinking because, when it’s used as a fill, there are multiple levels overlapping each other. Fortunately, the video gives you great instructions for handling this kind of tangle.
On the back of this tile, created by Amanda, is written:
“If you can’t run, then walk
If you can’t walk, then crawl,
But whatever you do, you have to keep moving forward.”
—Martin Luther King, Jr.
As we are working on tiles, we hear or think of things that we want to remember going forward. So the back of our tiles become a kind of journal, over time, as we write notes on them.
Yesterday I taught a classes at Good Gifts Healing Arts Studio . Above is the mosaic from the Introduction to Zentangle class , including my tile (the one with Florz).
I love sharing Zentangle with others!
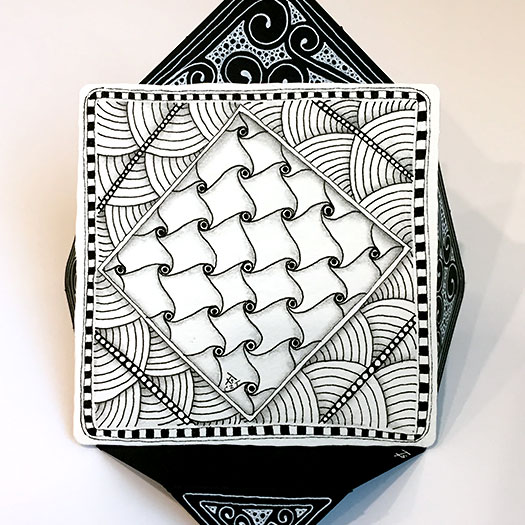
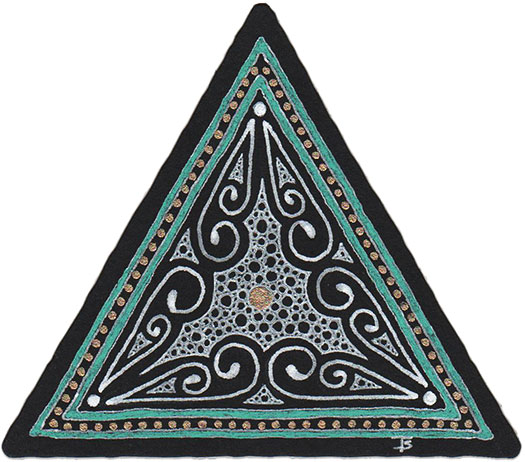
Zentangle drawn on Strathmore Vellum Bristol using a black, Micron pen. Shading done with graphite pencil.
Tangles: Bales Crescent Moon Florz Hollibaugh Printemps
Tenacity.
The vine had crept along the back fence for years. It never bothered anyone growing behind the flowers and other shrubbery.
When she noticed it, she reported it to the groundskeepers. They tried to remove it, but it came back again and again.
Maybe there was something to learn there.
Zentangle drawn on Strathmore Vellum Bristol using a black, Micron pen. Shading done with graphite pencil.
Tangles: Icanthis Papyrus
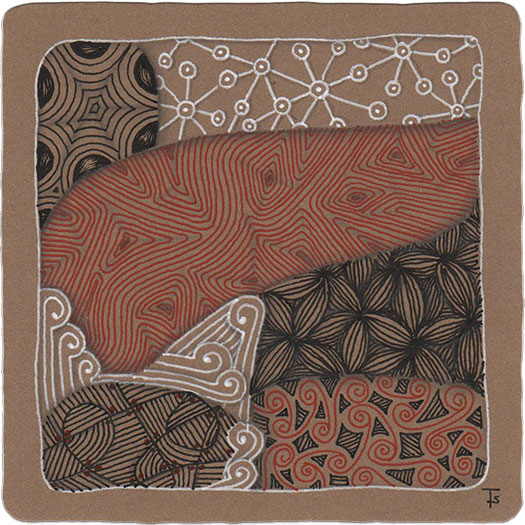
Northwest.
Various parts of the country have a history of native, tribal art which influences the decorative choices of that particular area. Recently, my husband traveled to Portland, Oregon for a business conference. While there, he found a book, "Looking at Indian Art of the Northwest Coast" by Hilary Stewart.
I like the graphic effect produced by using black, white and red. So I decided to give it a try on a Zentangle. I don’t know how effective it is here, but it was an interesting exercise.
You’ve seen this tile with Cadent in the center before. It was featured in a post on July 5th . And also in the post about the upcoming classes for August .
But here’s another sneak peak for the Beginner's 2: New Strokes class ! You may have noticed that the description mentioned a 3D project?
We’re going to be making a display stand to show off your favorite tile on your desk at work or home!
How do you Mooka?
I am playing around with the various ways of drawing Mooka.
Here, I’ve drawn half a little bijou-sized tile using a traditional style and then just added some dots to create a bit of texture. I also decided to add some auras in the empty spaces to fill in the design.
On the other half of the tile, I’ve drawn Mooka using a simplified method. Then I filled in the spaces with Tipple.
If you are in the Phoenix metro area, you can take Zentangle classes from me! If you are anywhere in the world, you can STILL take classes from me! (See the bottom of this post!)
Thursday, August 16, 10:30 am to 12:30 pm Thursday, August 23, 10:30 am to 12:30 pm Beginners 1: Introduction to Zentangle Class Zentangle is a simple-to-learn, relaxing, meditative way to create beautiful art by drawing structured patterns, one stroke at a time. Unlike other art forms, there are no mistakes in Zentangle. You do not have to have any art, drawing or tangling experience to succeed in this class. If you can print the letters i-c-s-o, you can tangle.
Sneak peak!
It is that time of year when we start thinking about the upcoming holidays. I know that the beginning of August seems like it’s way to early… But it depends on who you are.
If you are a CZT, we are all busy planning the fall classes for you! One of them that I have in mind is one in which my students will be making Holiday hanging ornaments.
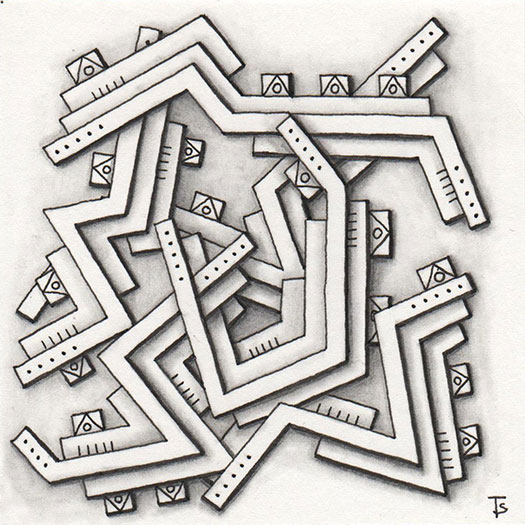
Hydroponics.
It had been months since she had taken the ship out on a mission. But it was time. Everything in the ydroponics bay was ready. And she knew the eggs would hatch right after her arrival.
The Zed’s wanted them all newborn before they would accept delivery.
Zentangle drawn on Strathmore Vellum Bristol using a black, Micron pen. Shading done with graphite pencil.
Tangles: Caviar Centipede Crazy N'Zeppel Deco Border Glukes Tidings Toodles
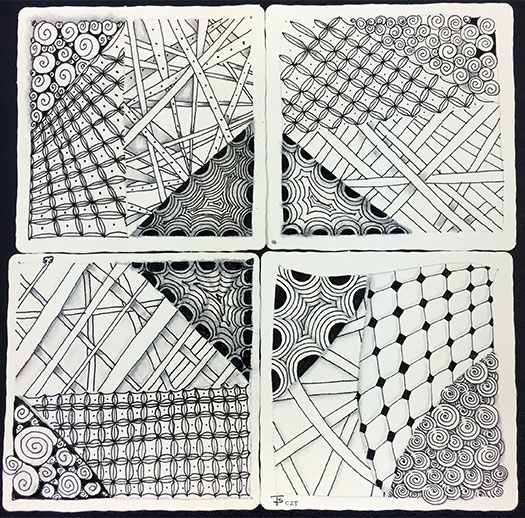
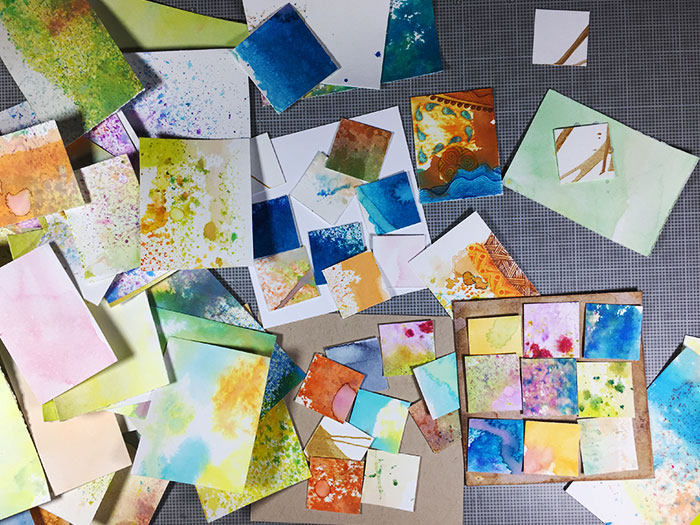
Inchies.
Remember last week when I showed you my desk scattered with some old art pieces? Well, here’s what I did with some of them!
I created an inchie mosaic following Eni’s instructions in her Inchies Mosaic Video Lesson . Inchies are little, 1-inch squares of art.
This is my first mosaic, following the instructions in the lesson. I got my tiles cut a bit wonky, which is totally my fault. I used a small paper cutter instead of following the instructions in the lesson. My bad! It caused my tile sizes to be inconsistent, which caused the entire grid to be off. That’s why my borders are an inconsistent size.
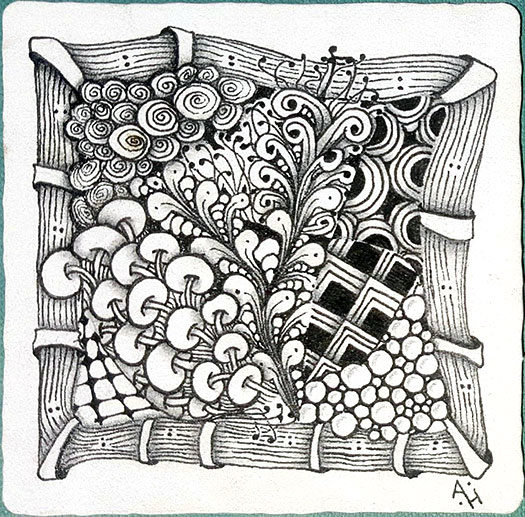
Amanda created this tile with the help of her family! She has four children that range in age from 7 to 17 years old.
She started by creating the string and then, each child would roll a dice and select a random tangle. The child would also choose where the tangle would go in the string.
The kids got a big kick out of challenging Mom, and they had a ton of fun. In addition, the final Zentangle came out great!
What do you do with all your leftover small pieces of paper with art of some kind on them? Look at this new lesson from Eni Oken’s art club! Doesn’t this look like fun?
Stay tuned for more updates!
Distress ink, acrylic ink, watercolor on Strathmore Bristol Vellum.
Tangles: Ennies Magma Meer Nekton
Folk art.
A few years ago, I was looking at various examples of American Folk Art. One of the things I liked about it was the bright colors and how the simple designs combined to create a more complicated finished product.
Here, I decided to use simple auras, perfs and tangles to create a more folk-art like tile. I like the simplicity of this design. Actually, if you look at the Zentangle Gallery , I’ve used it on another tile, (in a slightly different form,) recently!

Overhead.
We spend so much time looking down. I wonder how much we miss by not looking up once in a while? What is the ceiling like in the Cathedral or Museum? How about that old building on the corner? What does it look like above the trees at night? Or the clouds in the sky before or after a storm?
Zentangle drawn on Strathmore Vellum Bristol using a black, Pigma Micron pen and a cool grey Copic Multiliner. Shading done with graphite pencil.
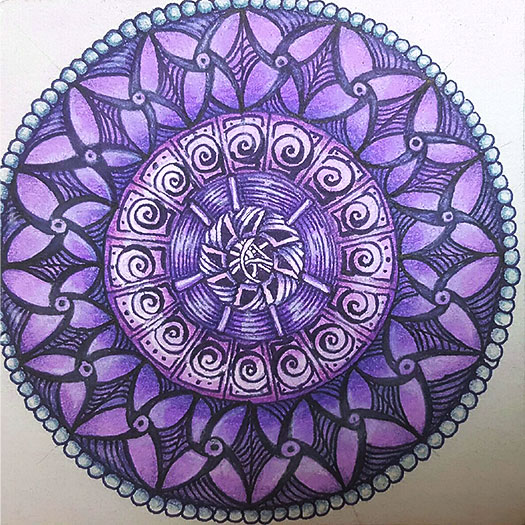
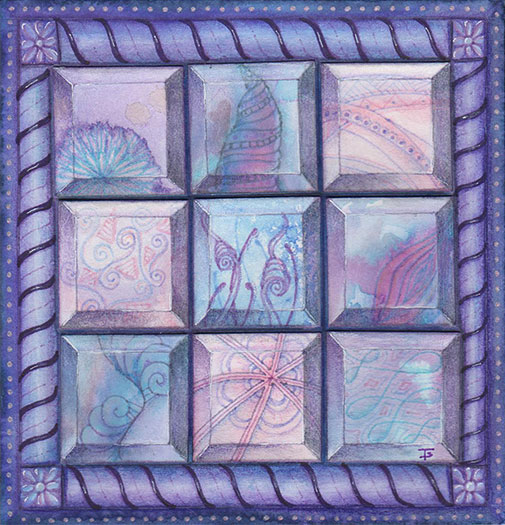
Amanda sent me this picture of a Zenbutton that she created recently. It’s a wonderful collection of fragments done in vibrant purple!
I love the combination of fragments that she used here. They create a lot of design movement and variation.
Zentangle drawn on an Official Zentangle tile using a pink and purple, Micron pens. Shading done with colored pencil.
Tangles: Fragment F2 Fragment G22 Fragment H15 Fragment V2