A while back, I showed you the art journal that I made from a pad of paper. I completed it at the end of November and you can read more about it here .
I made it specifically for Laly Mille’s The Artist and The Journal class.
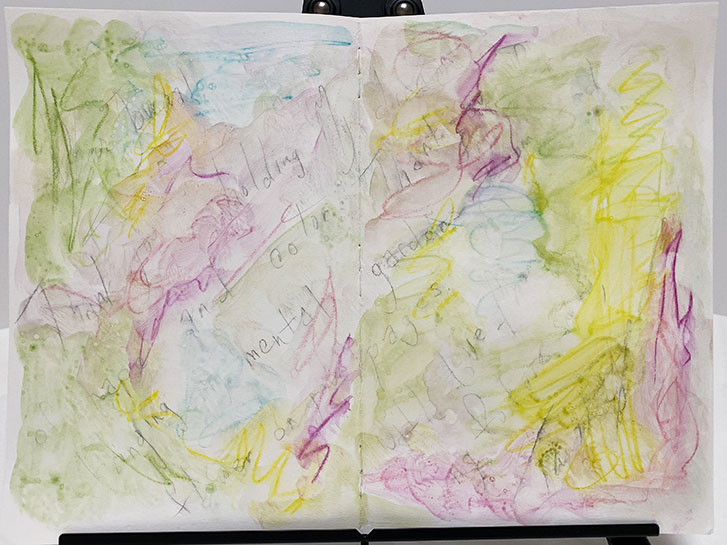
On the first day of 2020, I made the first marks in this new book! I began by writing a journal entry.
And then I added scribbles of colors using Caran d’Ache Neocolor II and Inktense pencils.
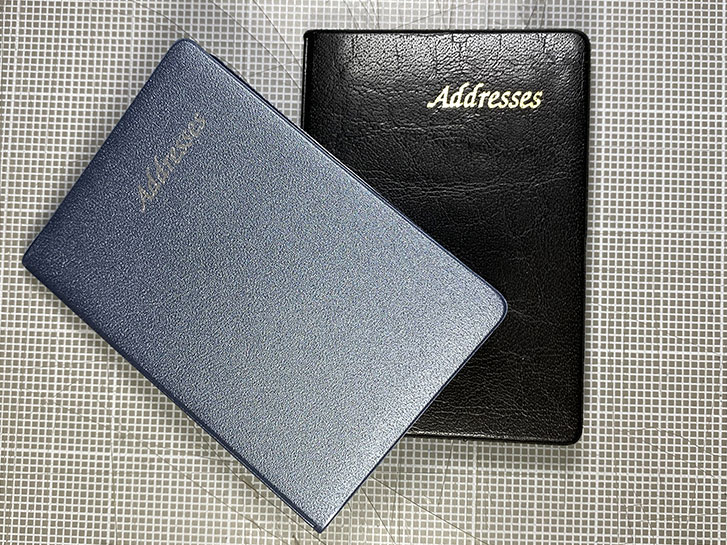
When I was shopping in Tucson over the holidays, I found these tiny address books in Plunket’s Office Supplies. They are actually a vinyl cover over a small, inserted booklet. The price was about $3.50 each.
These are a bit bigger than our A8 micro art journals, but they work very well as a protective cover.
So, I cut papers and covers to make several micro art journals. I used multi-media paper cut to size and stiffer craft paper for the covers.
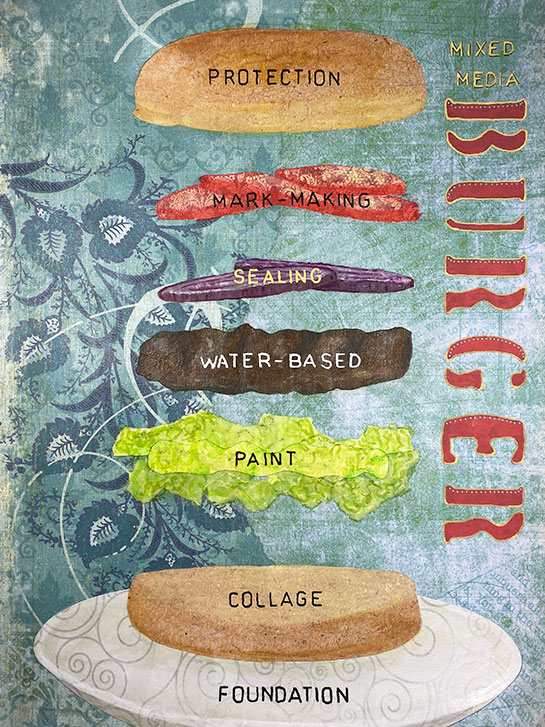
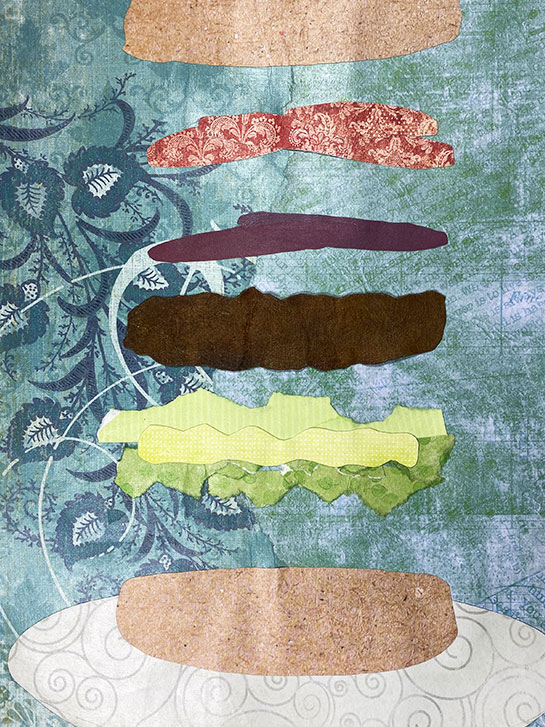
So, what are we building? A mixed-media burger! Yum!
The point of this exercise was to figure out for myself, what my mixed-media layers are/should be. This concept comes from Karen Campbell. You can learn more about this method by watching her Mixed Media Hamburger series of videos.
Before I watched these, I had the basic idea, and had actually executed a previous art journal of paper dolls. But I had some issues that needed resolution.
Adding large definition to the shapes on the page with Caran d’ache.
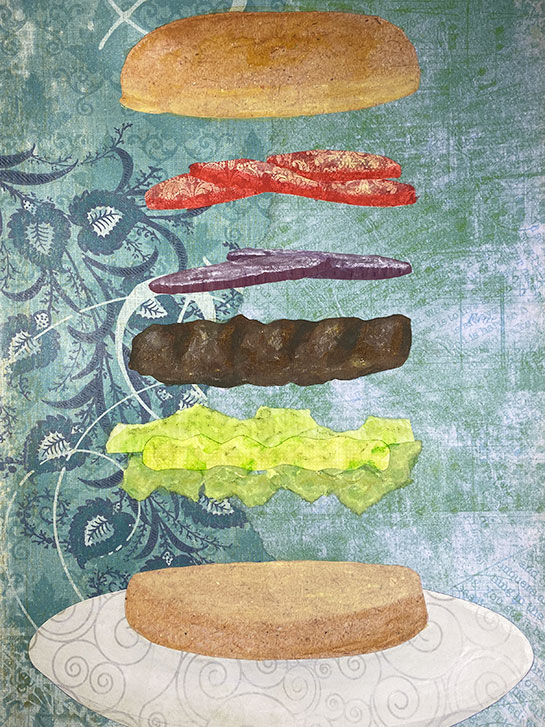
Printed paper collage, matte medium, on gessoed art journal page. Coloring added with Caran d’Ache and matte medium.
Plating up some more collage!
Printed paper collage, matte medium, on gessoed art journal page.
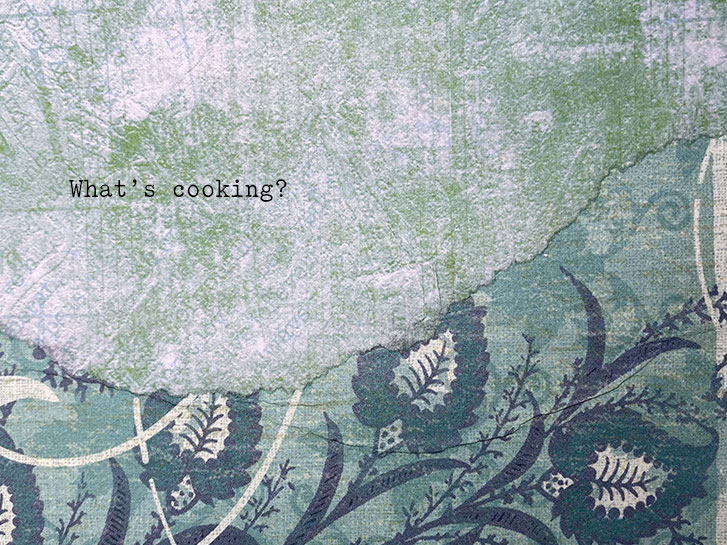
Just a sneak peek at something I’m cooking up today!
Printed paper collage, matte medium, on gessoed art journal page.
I am surprised at how many artists do not keep an art journal/sketch book. I’ve used one for years, and I find that they are invaluable learning tools for me.
I have recently started a new one, in a 12-inch by 9 inch, Bee, Super Deluxe Mixed Media Book . I really like these books because the paper is excellent. I can use it for pretty much any medium and it works well. I can also gesso the pages and paint directly on them.
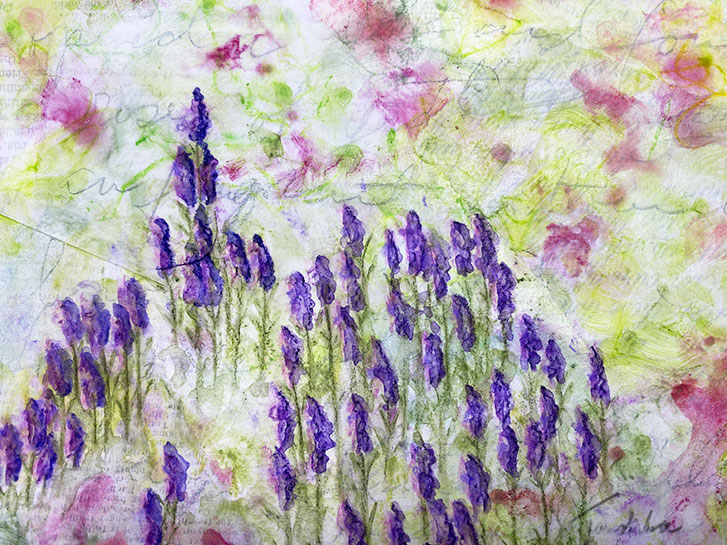
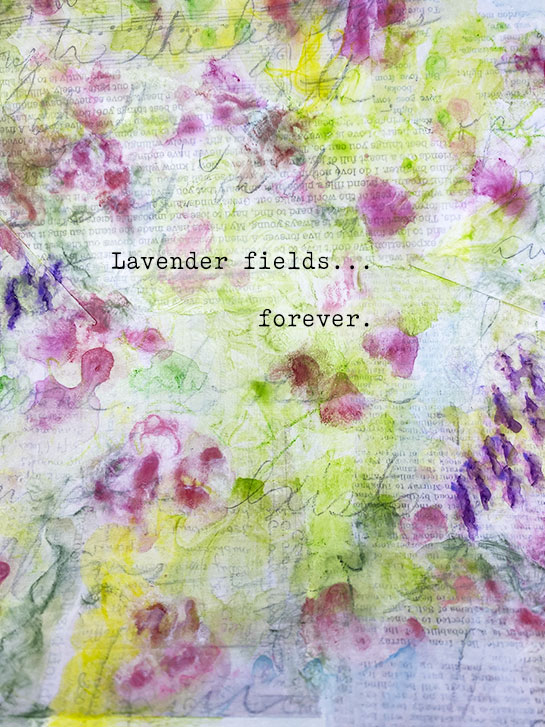
In the continuing development on this piece, the lavender has been advanced with more foliage and contrast.
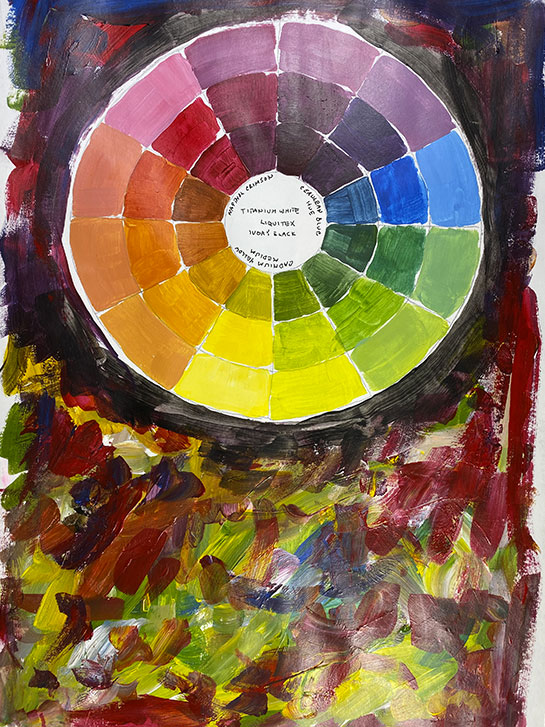
Working with color in pencil form has been interesting.
Caran d’Ache, Inktense, Stabilo, Albrecht Dürer, matte medium on 300 lb Arches.
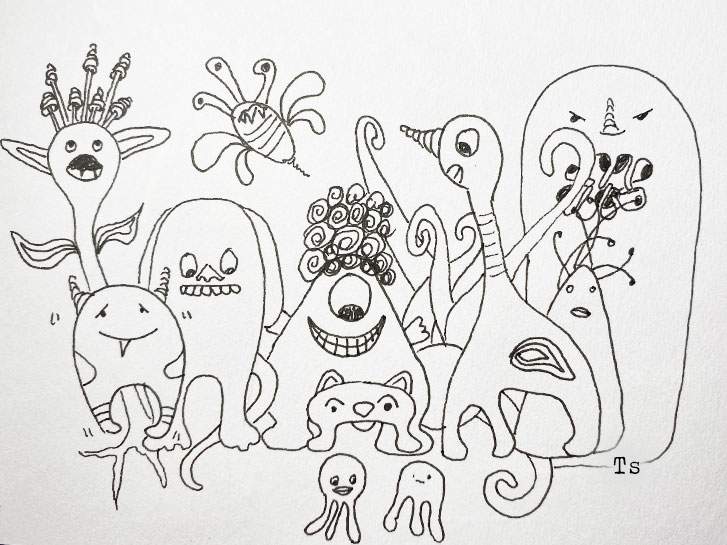
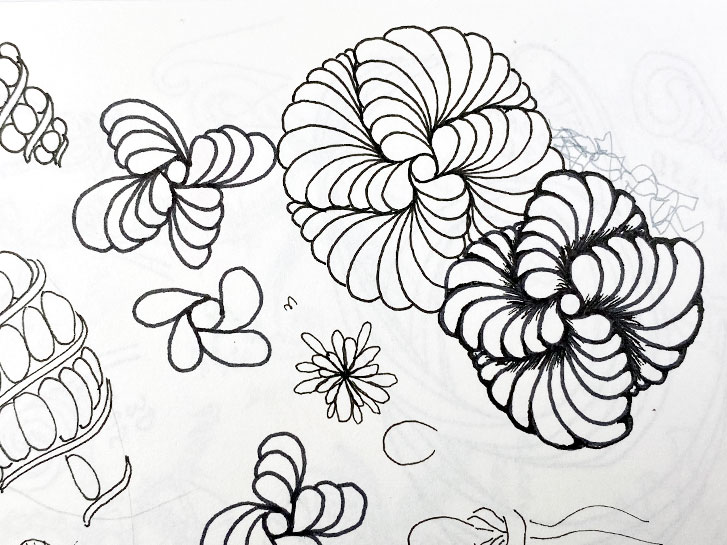
Sometimes, I sit down to practice something in my small sketch book, and my pen has different ideas than I do!
Here, I was going to practice various tangles… and a “shapie” family just flowed out! There are still some tangles… can you spot them?
Small sketchbook page, drawing done with Sakura Pigma Micron pen.
Tangles: Bumper Fescu Mooka Printemps Springle
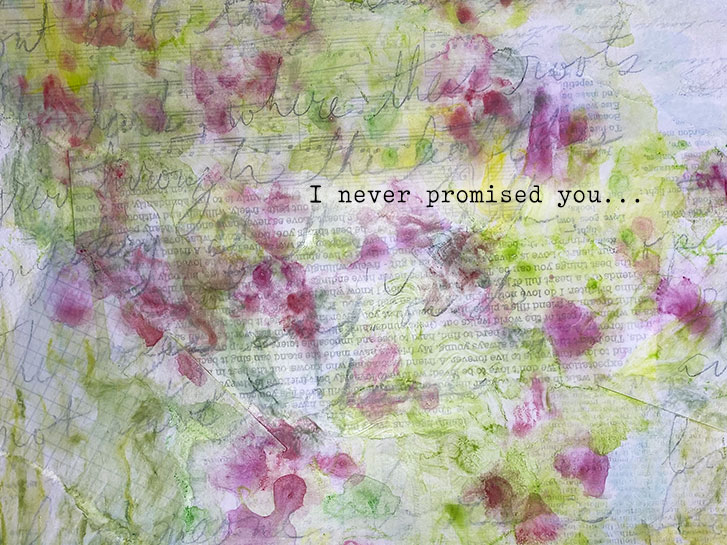
Continuing development of yesterday's project . Adding a little definition to roses and some lavender bushes.
Caran d’Ache, Inktense, Stabilo, matte medium on 300 lb Arches.
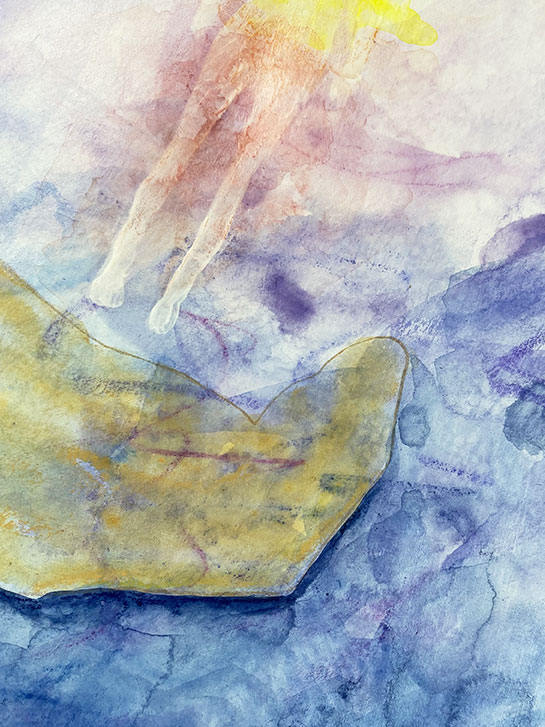
This is by no means finished, but it is a tiny bit of something that I am working on. I thought you might like to see it.
Caran d’Ache, matte medium on 300 lb Arches.
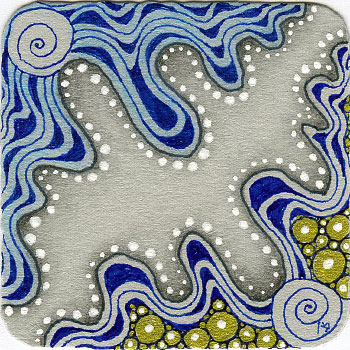
For the first project in the new Zentangle Project pack for grey tiles, we are creating a small, rearrangeable puzzle of four Bijou tiles, all with the same tangles.
These can be assembled into your own mosaic and arranged in different designs depending on how you place each little tile.
This is my first tile. I got carried away with the Diva Dance, on the second side, so I will be redoing this.
I am willing to bet that everyone who tangles for any length of time has those few designs that are just difficult for them.
Showgirl was one of mine. Everytime I did it, I would end up with something that wasn’t quite right. You can see some of my failed attempts in the smaller tests in the image above.
I kept practicing, for several months, on and off. Then, after following a lesson from Eni Oken , the light bulb came on, and I finally got it! I just drew two of them, correctly, easily!

I recently spied a package of multi-colored fountain pens at my local bookstore. I’ve looked at them several times, and finally decided to purchase them on Monday.
They are called "Color Write Fountain Pens" , made by Ooly. This company makes a variety of fun art supplies suitable for the hobbiest.
There are eight pens in the set, and they retail for $14.99. That’s about as cheap as it gets for a fountain pen, under $2 each. At that price, I wasn’t expecting anything super fabulous. I figured I could use the ink cartridges in a better pen, if they totally didn’t work.
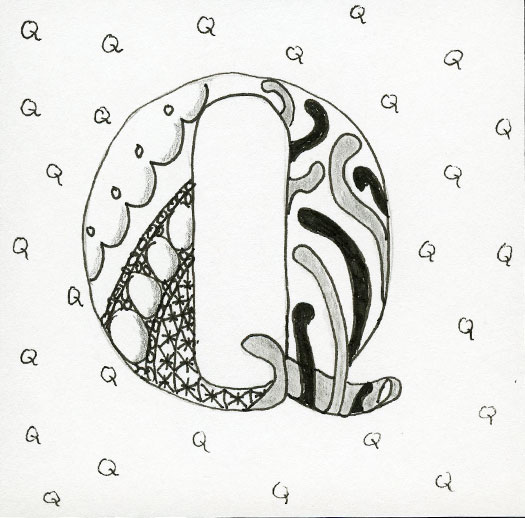
When my MIL passed away, we found the ZIAs and Zentangles she created later in her life. One of the things in these was a box with a tangled alphabet.
Today is brought to you by the letter “Q”, as tangled by Twyla!
Zentangle drawn on white card stock using a black, Micron pen. Shading done with graphite pencil.
Tangles: Quabog Quipple Queen's Crown Quiltz
Yesterday’s progress.
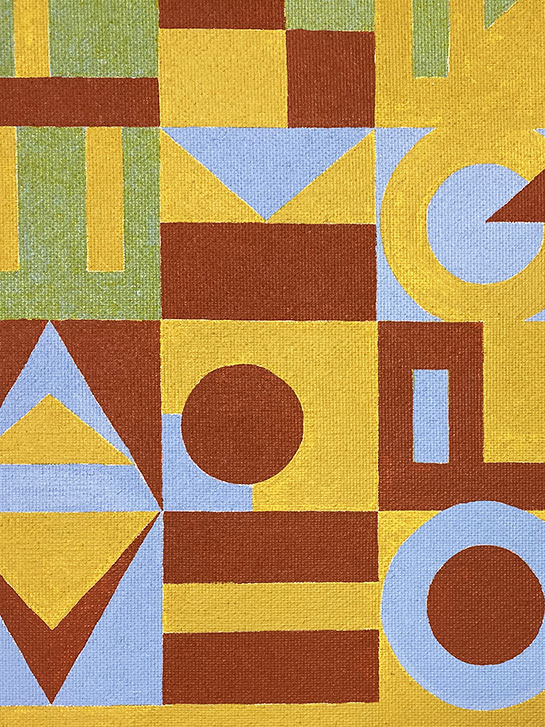
Many… MANY… (like, probably, 45) years ago, I had this idea for a painting. I grabbed the nearest paper (a brown paper lunch sack) and a ballpoint pen to sketch it out before I forgot about it. After about 15 minutes, I had all the shapes drawn. I also had color notes on the back of the bag. I have the bag around here somewhere. If I find it, I’ll post a pic of it.
A while back, I told you that I was making a new art journal . It’s now bound and the covers have been added and gessoed! In the pic above, it’s show with the binding towards the bottom of the image.
This journal was created from a pad of Stonehenge, Hot Pressed Watercolor paper . The covers (front and back) are cut from the backing board of the pad. The only piece that hasn’t been used (yet) is the hot pink cover.

If you recall, yesterday, I showed you a page in my pocket sketch book where I was trying to work out how to draw the tangle, Peanuckle.
As you can see here, I did finally figure it out! This was after doing the “Peanuckle Lesson” from Eni Oken! This lesson was part of her Art Club .
This little page is later on in the same pocket sketch book as yesterday’s page.
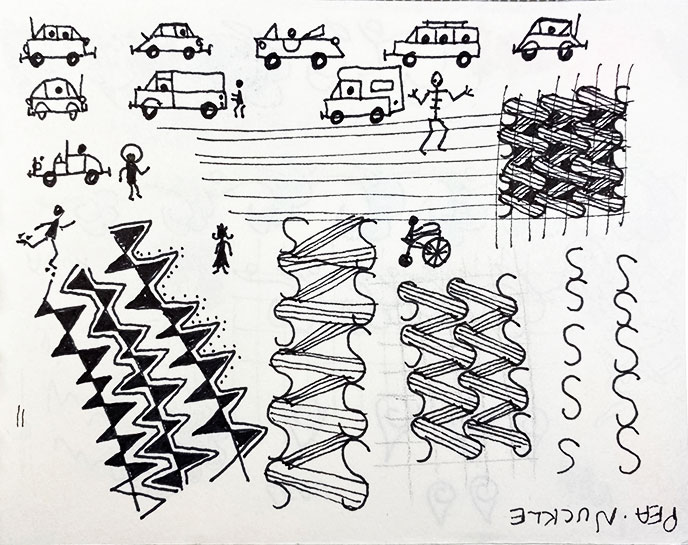
I was looking through my little sketch book for other things I use it for, and I found a couple more Emberley sections. So here’s one.
But that’s not want I actually wanted to talk about. I wanted to show you that I use this little book to work out tangles that I’m having difficulty with!
In this case, it was Peanuckle. I tried for a long time to work this one out. I had all kinds of trouble with it, as you can see.