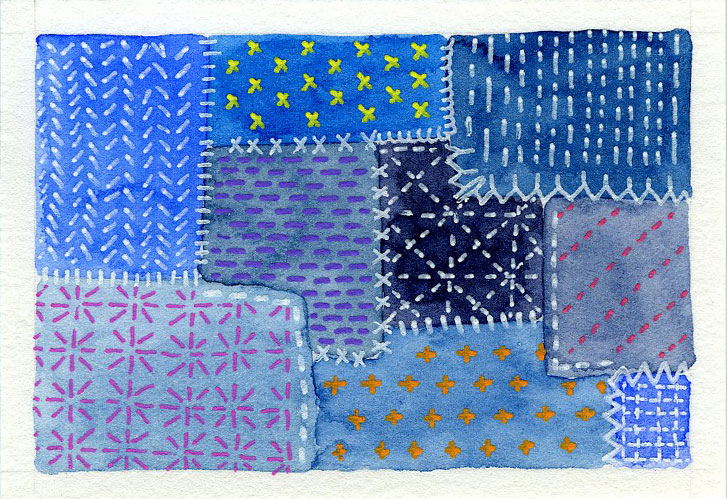
As I mentioned on Friday , we sometimes fine works of art along our walking or biking path.
I am sharing these with you to help brighten your day, as they do mine.
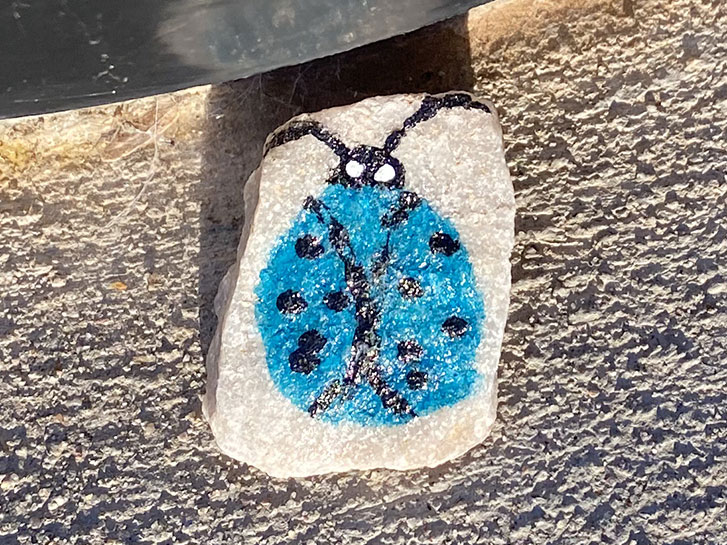
Today’s is a little blue beetle. I love that whoever created it, decided to make her blue, instead of red!
Stay safe! Stay well!
We go out walking or bike riding, early in the morning, now that we are stuck at home. It’s good exercise, and being out in the morning sun helps to elevate mood and keep us happy.
Along our walking path, we have found many “works of art”. I was thinking you might like to see some of them!
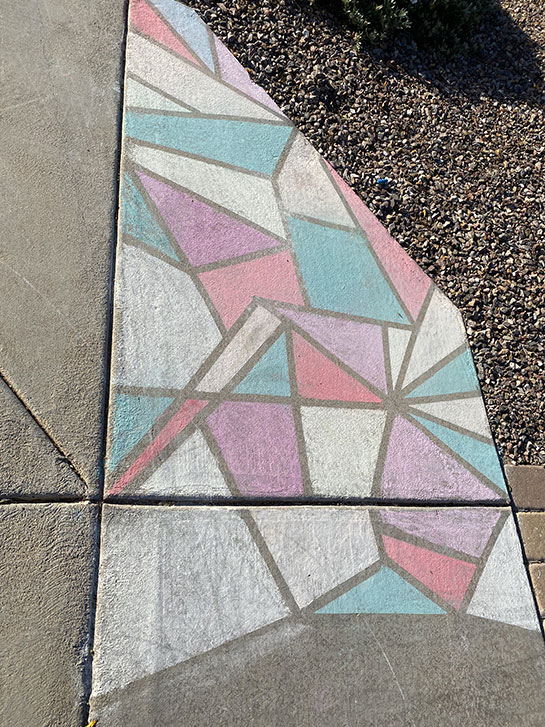
On yesterday’s walk, we took a different route, just for a change of scenery, and we came across these chalk-art paintings on either side of the driveway at one of the neighbor’s homes.

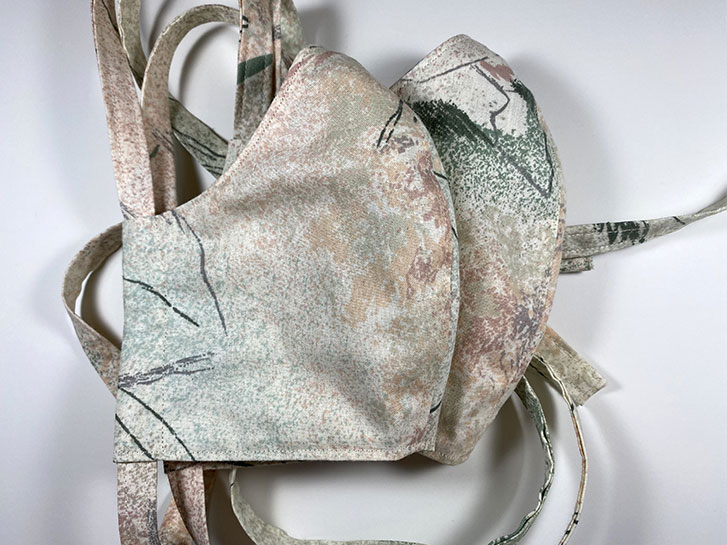
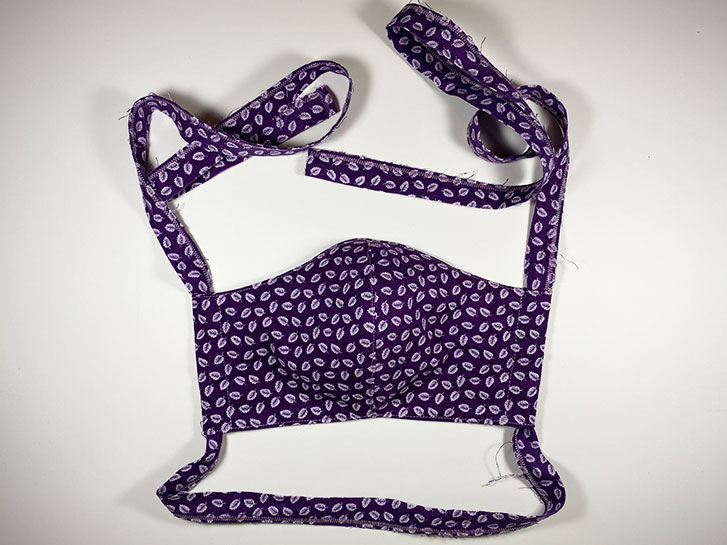
Another set of masks for a friend and his wife.
I don’t remember why I bought this fabric. There is quite a bit of yardage, at least 4 yards, it looks like. That’s fine, because it means I can make a bunch of masks from it.
I like the way it looks like lots of little paint spatters. Kind of artistic, without being “in your face”. Instead, it’s going to be “on the face”!
Yesterday, I got up later than usual, so I was running behind. After a trip to return unneeded things to the storage unit, and a walk to pick up the mail, I was further behind. My regular social media tasks also took up a good chunk of time.
By the time I was going to sew masks, I realized I wasn’t really up for it. I decided to give myself a “personal day” to do whatever I felt like.
I’m not planning on going into business making masks. However, I understand the need.
On Friday, we had a Zoom meeting with a group of friends. There were several rectangles on the screen, lined up in rows. The person next to my husband sneezed. As a joke, my husband picked up one of his masks and put it over his face.
But, as it turns out, when others saw him do that, they wanted to know where he got the mask. He told them that I made them. Immediately a few people were very interested because they also need masks.

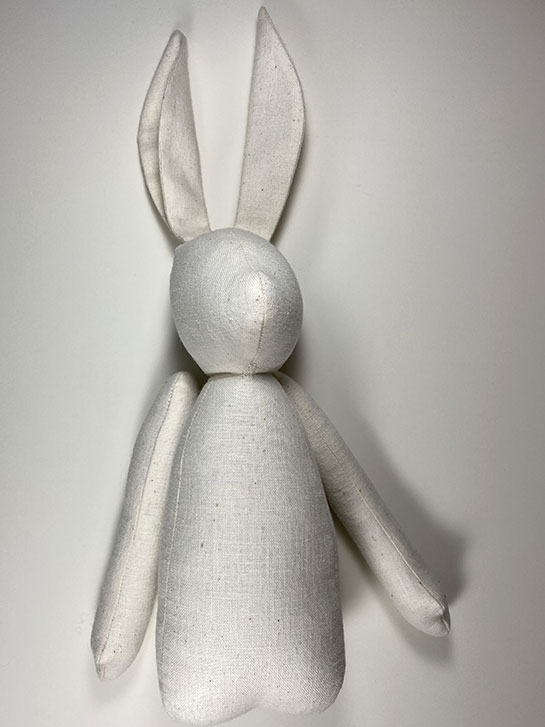
Sometimes, you just need some bunny to love!
With everything going on in the world, I am having some issues with making art. However, I don’t want to let that stop my creativity completely.
I’ve been making masks for myself and my husband, and now I will be making more this week for a few friends.
But over the weekend, I decided to sew something just for the fun of it!
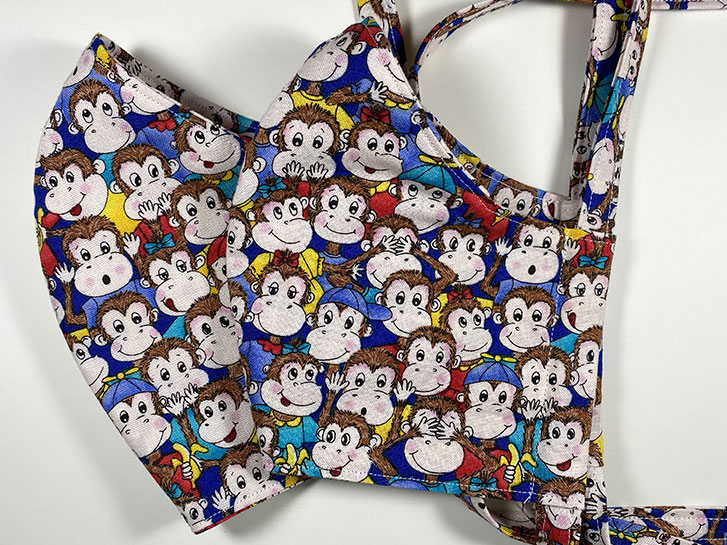
Five little monkey jumping on the bed,
One fell off and bump his head.
Mama called the doctor,
And the doctor said,
“No more Monkey jumping on the bed.”
– Nursery Rhyme
Not my circus,
not my monkeys.
– Polish saying
The higher a monkey climbs, the more you see of its behind.
– Joseph Sidwell
This is another piece of fabric that I purchased just because it made me happy to look at it. Every time, I think of my grandkids, when they were little, running around and playing, having fun like “little monkeys!”
This is for me, just because it makes me happy!
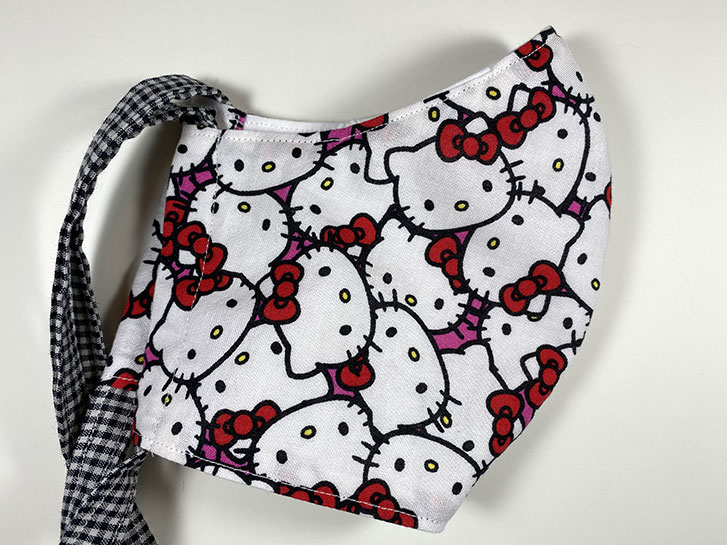
I bought this Hello Kitty character fabric just before I stopped sewing and put my machine in storage. I bought it, not knowing exactly what I was going to do with it.
When I found it in my stash, I decided, since it looks like we’re going to be wearing masks for a while, that I would go ahead and stitch it up.
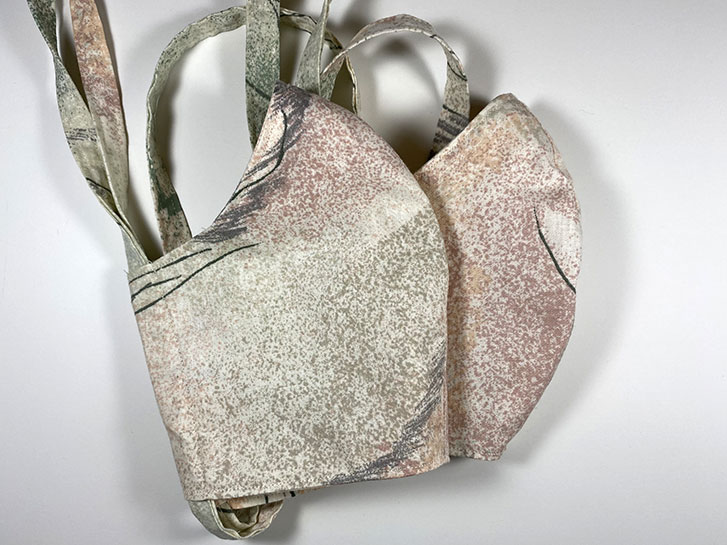
Today’s masks are brought to you by the spa. This fabric has been in my stash for years. I don’t even remember what I bought it for, originally. I have always loved the pattern because it reminds me of a meditative spa.
Everyone can use a break of calm and a chance to create that pampering, spa feeling!
Stay well!
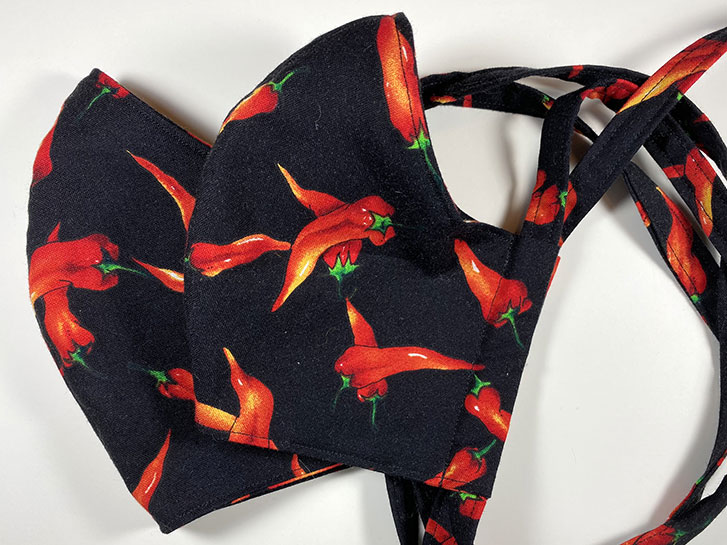
Many years ago, I made my husband a shirt out of this fabric. He loved it. He wore it a lot. Now it is very worn and not particularly presentable any more.
But I did find some leftover fabric from his favorite shirt in my stash! So I made a mask for him and one for myself.
Also, we found a group of people who need masks. So for the rest of this week, I will be making masks for them.

As I was going through all of my bits and pieces of fabric to find some to make masks, I was thinking about what colors and patterns would be best.
When I was talking to my husband, he mentioned that he didn’t care as long as “It didn’t have pink flowers.” Well, yeah! I was planning on picking things that were more “him”, than what I chose for myself.
Usually, when I am talking about masking, it is as it applies to art. For example, watercolor painting. You use a “masking fluid” to preserve the white of the paper to create highlights. When you are done, and your paint is dry, you remove the masking to reveal the white.
Because of the new corona virus, we are looking at masking in a different way. However, it’s purpose is to preserve. Preserve health and life.
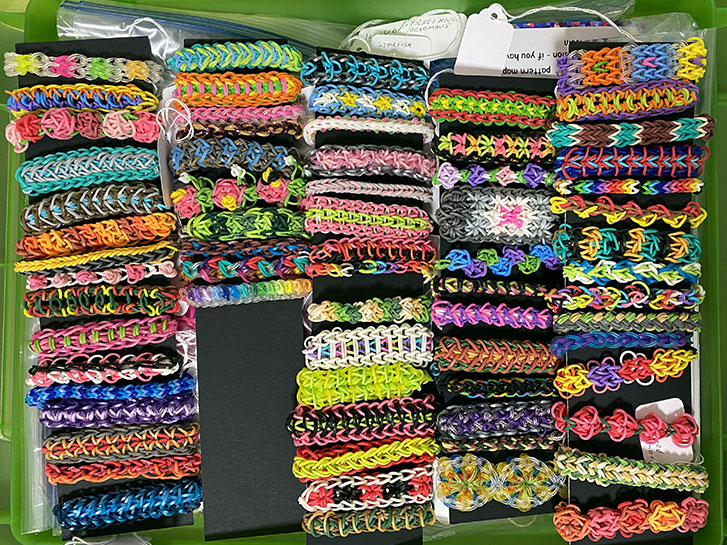
Remember these? I loved the challenge of new patterns. But I only wore one or two a few times.
I am unpacking my sewing machine to make some masks, and I came across these in one of the bins. I thought the colors and patterns were bright and cheerful, so I thought I would share this picture with you.
Use your art to heal your spirit!
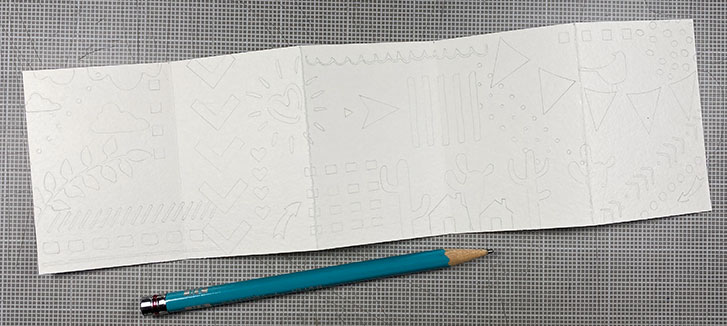
Today, I am creating content for my tiny accordion books. For the first one, I used journaling stencils and traced out designs that I thought were interesting and created patterns.
There is no particular message, or order, other than I went though the stack of the stencils, one-by-one and if I saw something I thought would be fun, added it to the page with pencil.
I may add more interesting designs directly with the paint, but I think I’m off to a good start here!
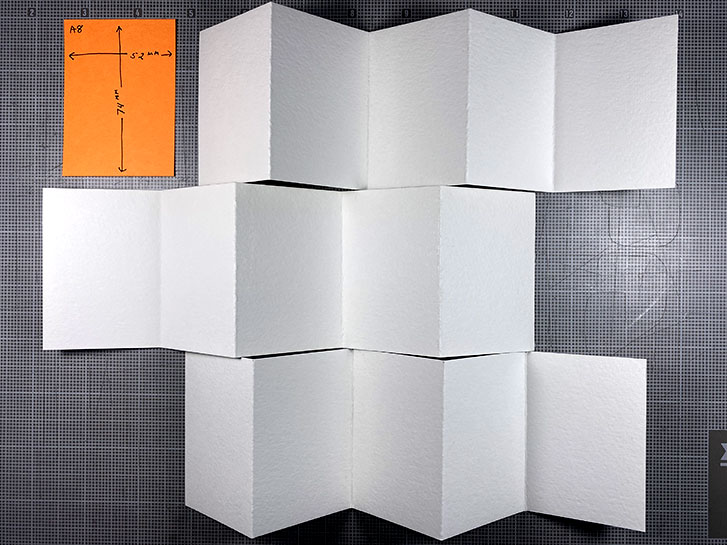
Now that I have my Arteza gouache paints all set up and ready to use, I’ve folded a few accordion books from 140 lb watercolor paper.
I don’t have any particular themes in mind yet, but I’m thinking for one, I want to use some journaling stencils that I have to create various random shapes throughout the book. I think that would be fun to paint, like using a coloring book!
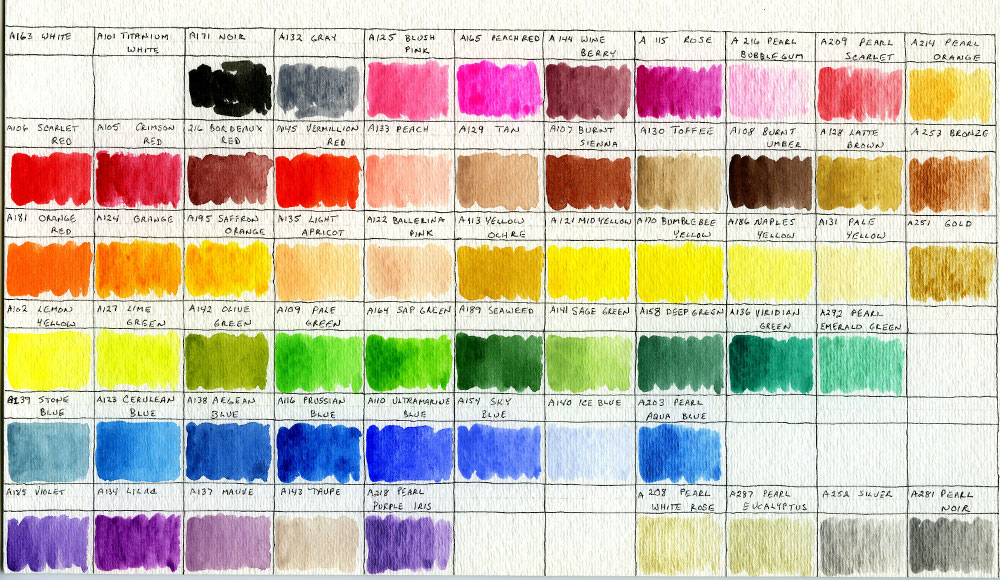
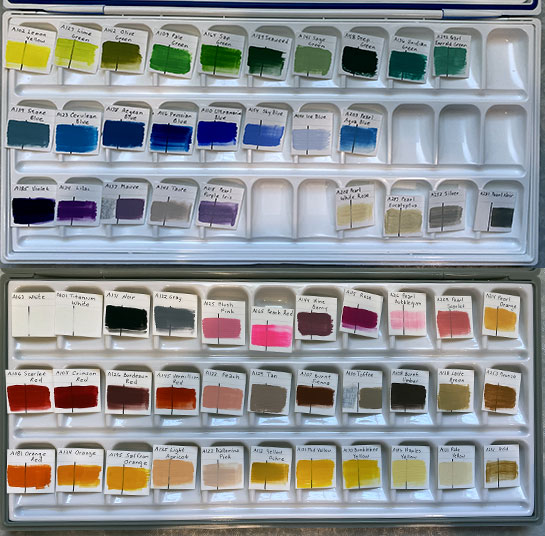
This is my new, Arteza Gouache swatch board, based on the layout of the colors in my boxes. The top three rows are in the blue box, and the bottom 3 are the grey box. There are 60 colors, total.
When I did the original swatches, I used paint right from the tube. For this board, water was added to the dried paint and then painted in each rectangle. This is more of a watercolor style and I like the colors much better this way.
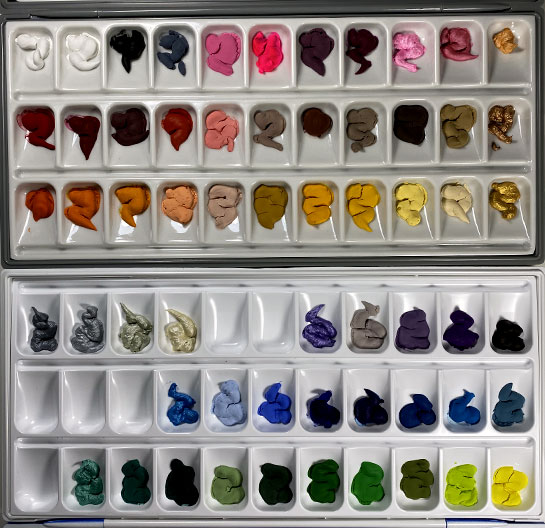
Yesterday, I showed you my planned palette set up for my Arteza gouache.
Here, you can see that I’ve added the paint to each well, in the pre-planned positions. I let it dry over night. It is really interesting to see how matte the colors are now that they have dried. Originally, they were very shiny and wet looking right out of the tube.
The paint was very creamy and easy to squeeze out of the tube. Even though I had previously opened these, there didn’t appear to be any problems with the paint being dried out. A few of the covers had a small amount of dried paint in the top, but it fell out onto my mat without any problems. And the covers went back on easily.
I have had a large set of Arteza Gouache for several months. When I first got it, I swatched out the colors but then I put them away to concentrate on another project.
Now that I have a lot of time on my hands, I decided to pull them out and set them up in the palette boxes.
I cut apart the little swatchs, and that allowed me to arrange them on top of the wells in the order that I want.
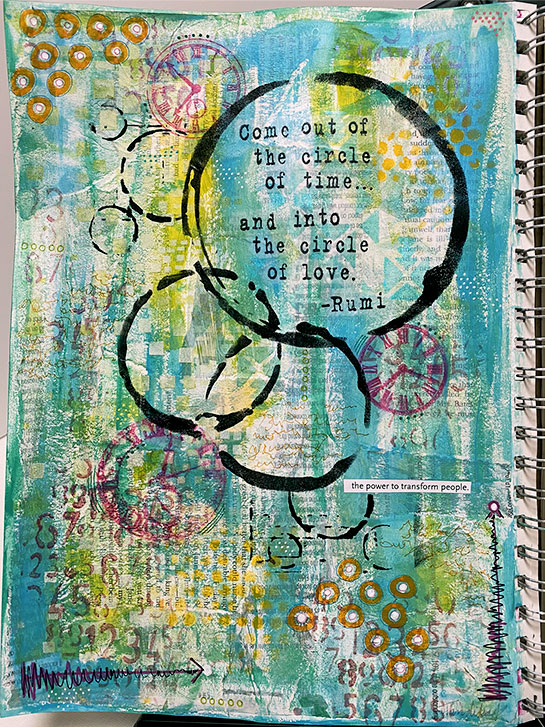
This is the big sister to a layout in my tiny art journal , which I showed you a few days ago.
While this has a different arrangement, it started with the same concept, circles and the same quotation. It also has the same paint colors. Both backgrounds were painted at the same time.
Just as with the tiny version, this began with text papers from a book, magazines and junk mail being attached to the page with Liquatex Matte Medium. When it dried, a layer of gesso mixed with a bit of water was brushed over the page to lower the contrast.
While we are in the PT (Pandemic Time), I am, like many others, having trouble concentrating on long-term projects. I am finding myself drawn to new and different things that I hadn’t previously considered. For example, I tried knitting an stuffie. It went well, until I got to the head. I want to knit the “hair” as I am knitting the head. I keep loosing my pattern count and I still don’t have a completed head, although I’ve started over many times.