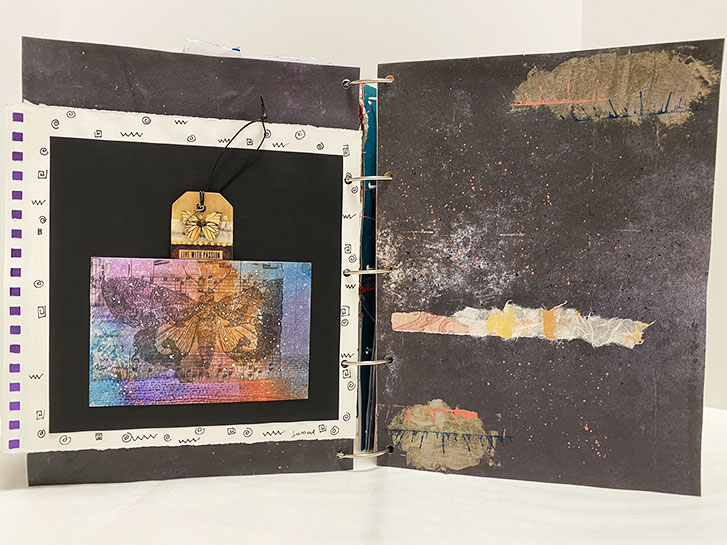
This is the other side, with the page flipped over to the left. Again, I chose to put these similar pages (yesterday’s and today’s) back to back and use them together because of the similar colors, icons and theme. I also added the metallic paper, between the two pages, that shows through the square holes along one edge of each layout.
The tag in this pocket says “LIVE WITH PASSION” and features wooden butterfly wings and a tiny key.
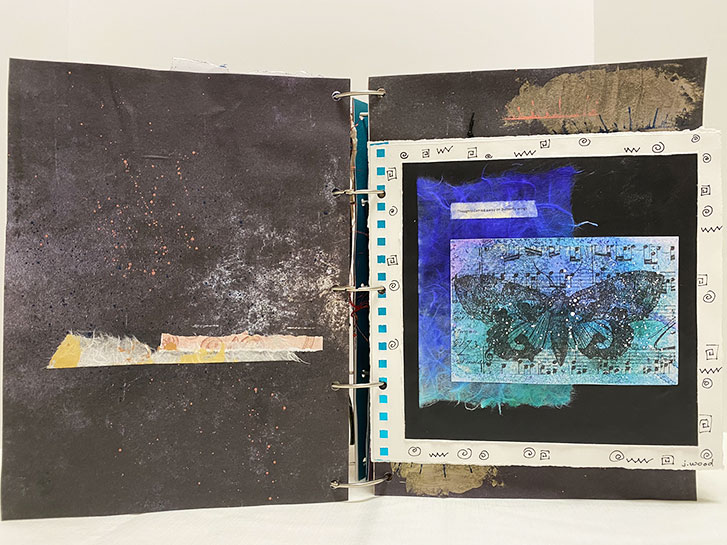
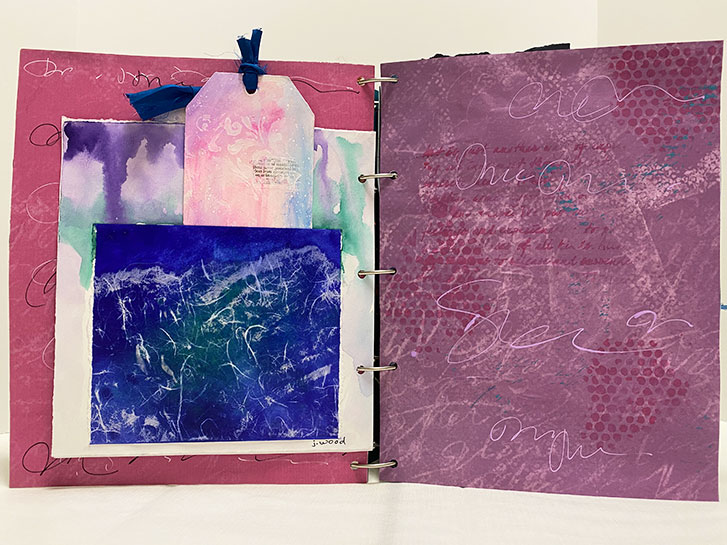
From Patron Saint, the book moves into the contributions for Inner Spirit. This layout is from Judy Wood, with my contribution being the background paper.
When Judy gave me her pages for inclusion, she made no specification for which prompt she followed, if any. So I made the choice to include these here, as an introduction to this section. I did this, because to me, they just “felt” like they belonged here.
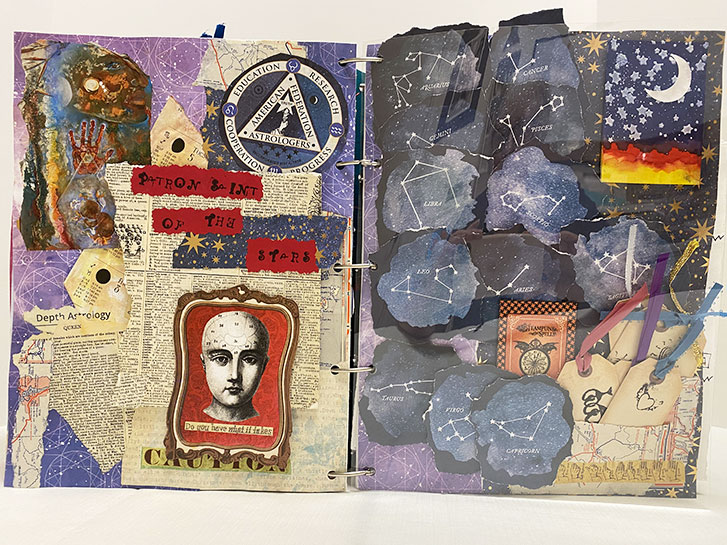
The fourth layout introduces the third and final artist of the book, Madeline Hill Kasian!
She has created the Patron Saint of the Stars based on the Saint prompt.
Madeline has a wonderful, dimensional style. She also journals quite a bit so there is hidden information that you can only see when you view the book in person.
Because of the raised elements on this layout, I chose to put a sheet of clear plastic between the two pages. This prevents them from getting entangled in each other when the book is closed.
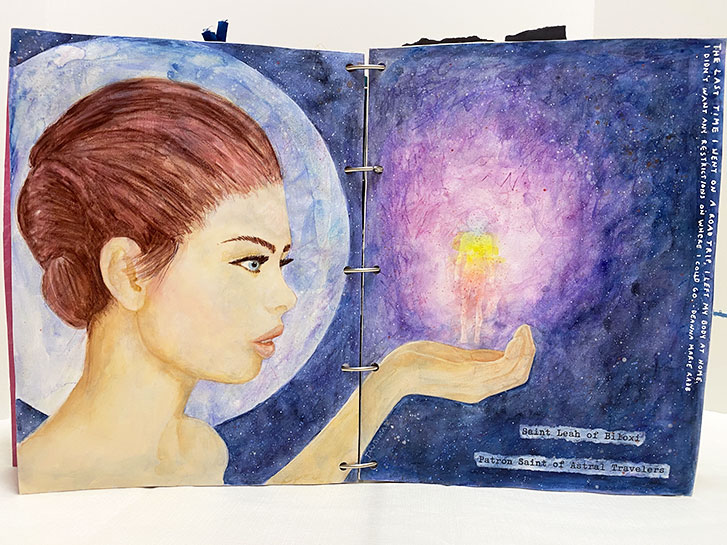
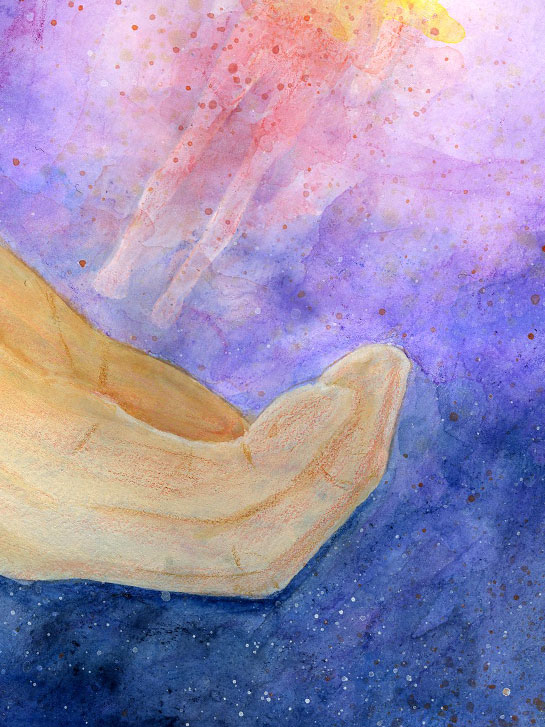
If you’ll recall, I mentioned that we had prompts that we could follow, if wished. This third spread in the book is my response to the Patron Saint suggestion. She is Saint Leah of Biloxi, Patron Saint of Astral Travelers.
The words on the side are:
“The last time I went on a road trip, I left my body at home. I didn’t want any restrictions on where I could go”
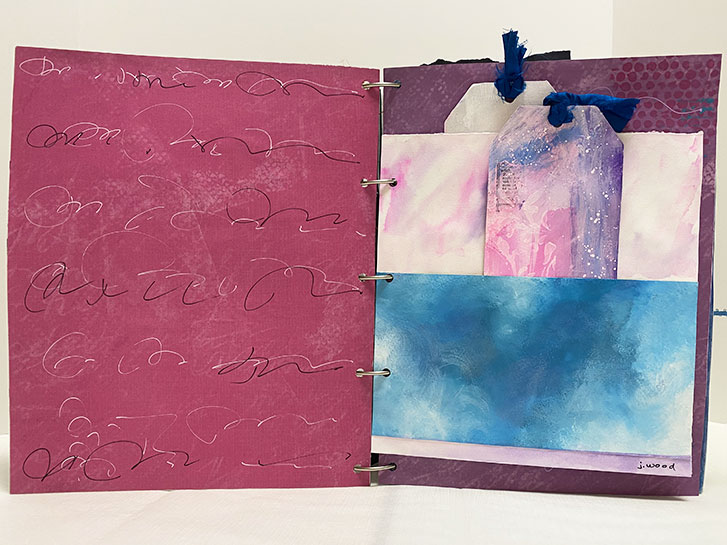
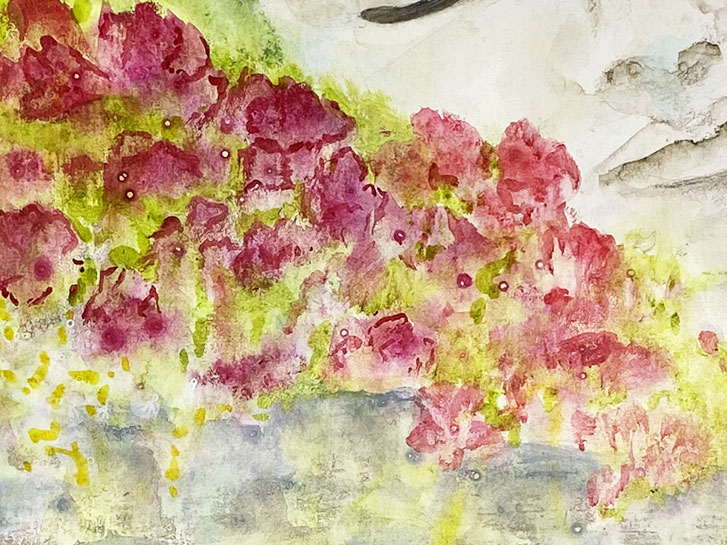
The is the second layout, created by turning Judy’s smaller page over against the other side of the layout.
I chose to make the additional papers on each side different to better showcase each of Judy’s pages. Then she added her own magic to each of the new papers.
Left: Judy Wood
Right: Judy Wood
We started out with a list of prompts that each artist could follow, or ignore. There were six categories:
Patron Saint Inner Spirit Princess Shrine Element Self Portrait Each artist could follow all, some or none of these. The general hope was to have 12 “pages” from each artist. These would then be mounted, back to back, in the order of my choice.
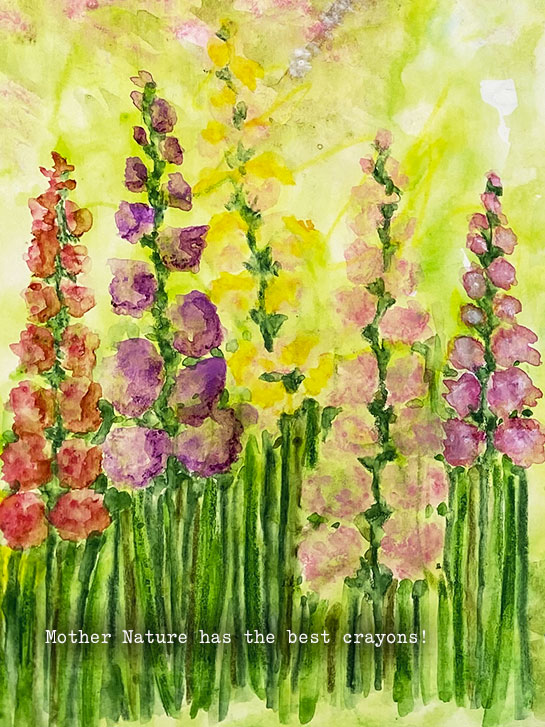
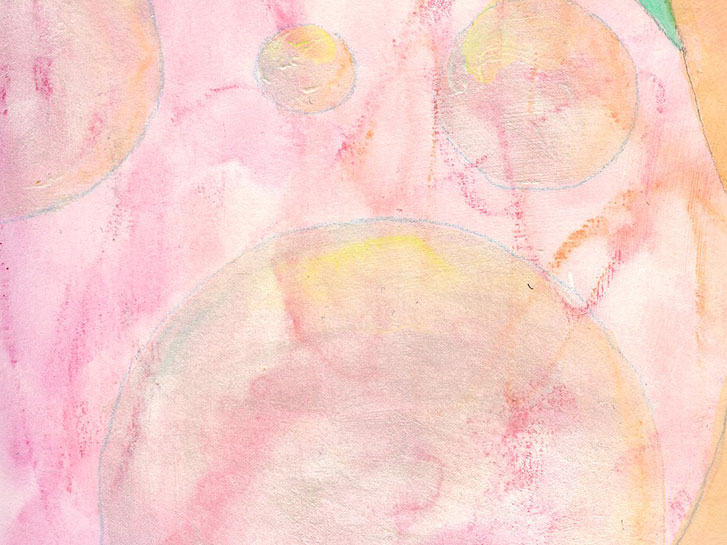
This first layout is by Judy Wood. She creates beautiful, romantic, abstract art using watercolor and mixed media techniques.
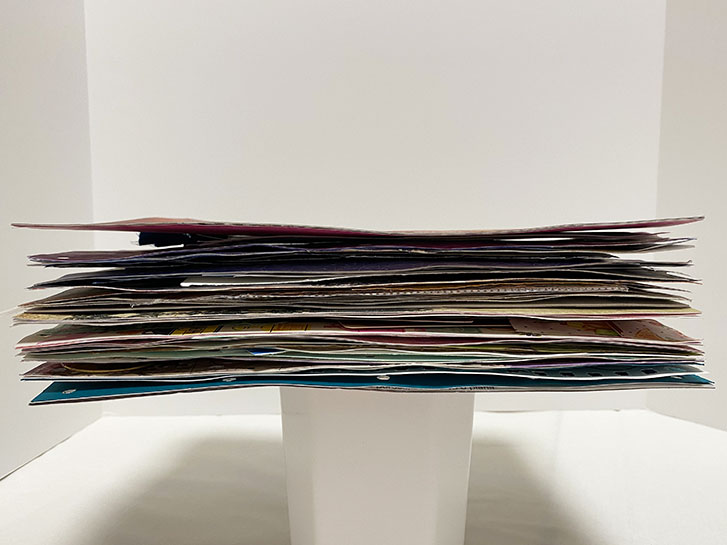
I’ve been teasing everyone for some time now with “sneak peeks” of a collaborative project that I’ve been working on with two other artists. Well, pull out your popcorn and grab a seat! Over the next few weeks, you’re finally going to get to see it all!
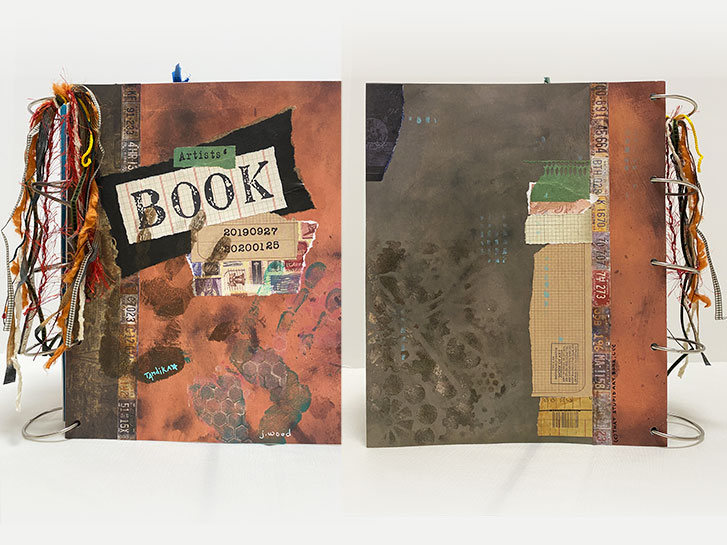
Today’s image is the front and back cover.
This is not the originally planned cover. I ended up having to make a new front and back, that was larger, to protect the inside of the book.
is art
what you see
or
WHAT you see
or
what YOU see
is an artist
what they see
or
WHAT you see
or
what YOU see
?
Over the last two months I’ve shown you some little peeks at a collaborative project that I’ve been working on with two other artists.
Our project will be delivered on Saturday for everyone to see, in a showing with other collaboratives.
So today, I’m showing you a final peek.
But don’t worry… Starting next week, I will show you, in various posts, the project in it’s entirety!
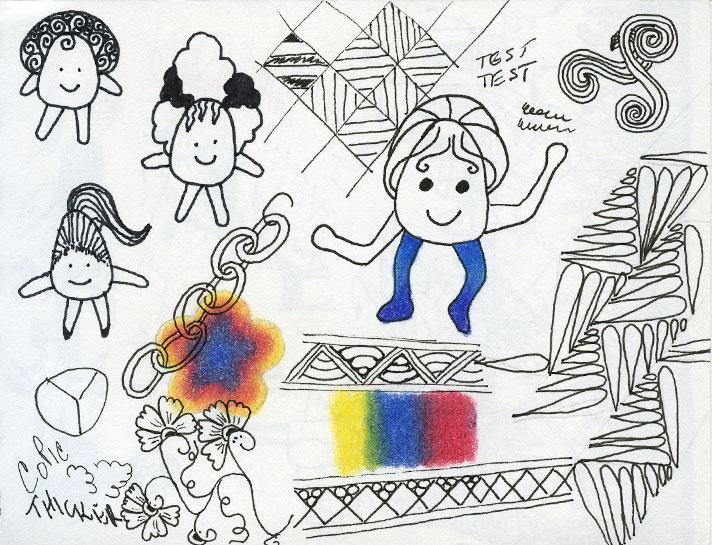
Still having fun with Lilah Beans, created from the examples in Sandy Steen Bartholomew's "Zentangle for Kidz!" book!
I think, for me, the most fun is inventing unique hair styles!
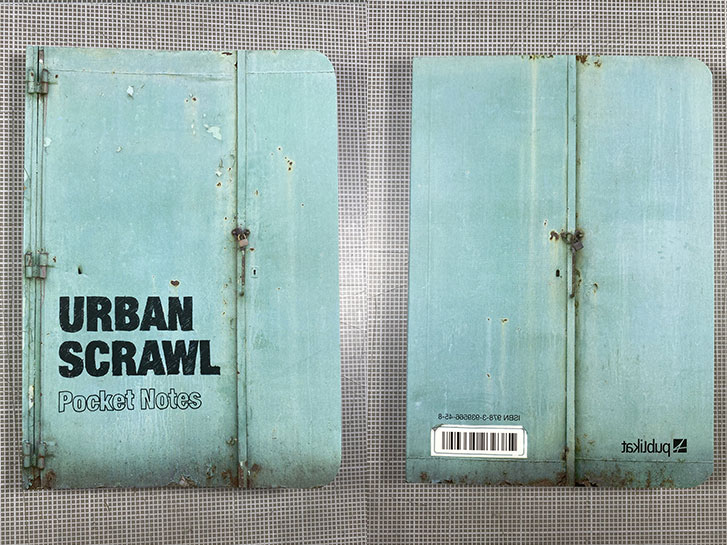
I went to the Phoenix Museum of Art yesterday. While browsing in the gift shop, I came across this little book. The title is "Urban Scrawl Pocket Notes" . It is sold for $5.95. The measurments are about six inches high by a little over four inches wide.
Inside of the book, there are many 2-page spreads featuring a variety of urban photographs.
Some of them are fairly simple.
Some are more complex.
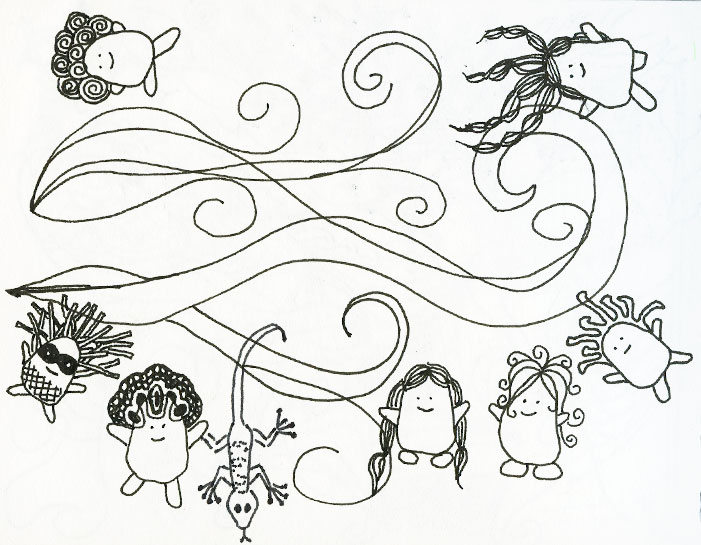
If you want to have some fun, try your hand at drawing Lilah Beans from Sandy Steen Bartholomew's "Zentangle for Kidz!" book!
You can make an entire town of tiny, bean-shaped characters.
Inspiration.
Things to think about.
Another small view…
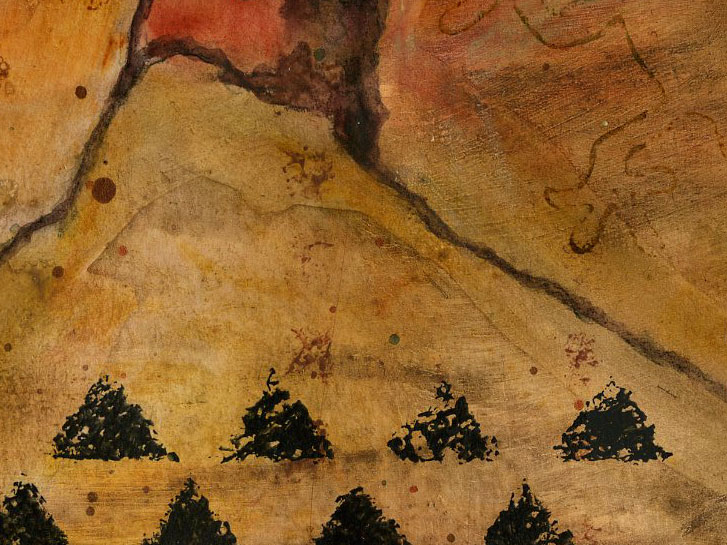
Before Christmas, I showed you a little peek of a very old acrylic painting that I started when I was young.
I recently found another unfinished work that I began in the 1980’s. I will probably either finish or redo this one also.
I don’t know if I will keep the original theme on this one, but the small part I’m showing you in this image, I still like.
We’ll see what this becomes!
I am influenced by so much around me.
Another small window into a collaborative project spread.
Soon.
How about a peek at another layout? Just a little, though!
I had a great day in the studio yesterday, working with a friend, chatting, sharing thoughts and ideas!
Thank you, Madeline!
I know it’s been a while, and you probably don’t remember, but I showed you a sneek peek of this small bit of a larger work when it was in the very beginning stages.
It’s now finished, and you’ll get to see the whole thing before the end of the month!
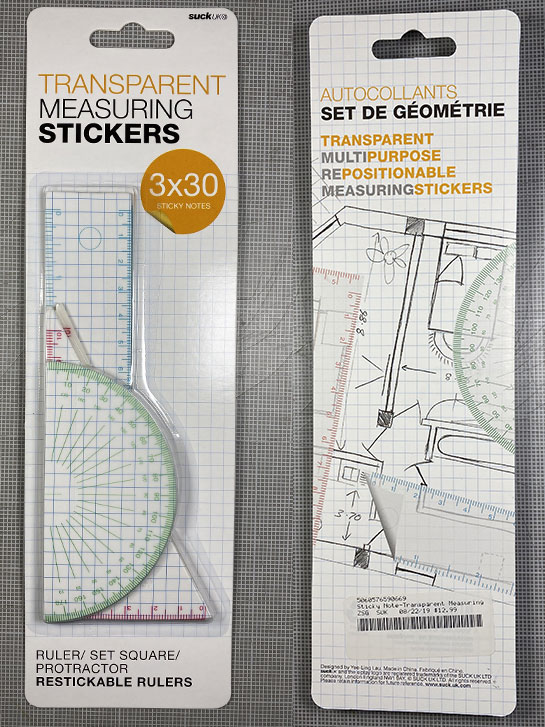
Have you ever been trying to draw something like a mandala, using a plastic protractor, and your tool slides as your drawing? It’s happend to me a lot over the years. It can be frustrating, and makes it difficult to construct something precise!
Well, recently I was shopping in Plunkett’s Stationery in Tucson, Arizona, and I came across these stickers! Since then, I’ve also discovered that you can get them on Amazon .